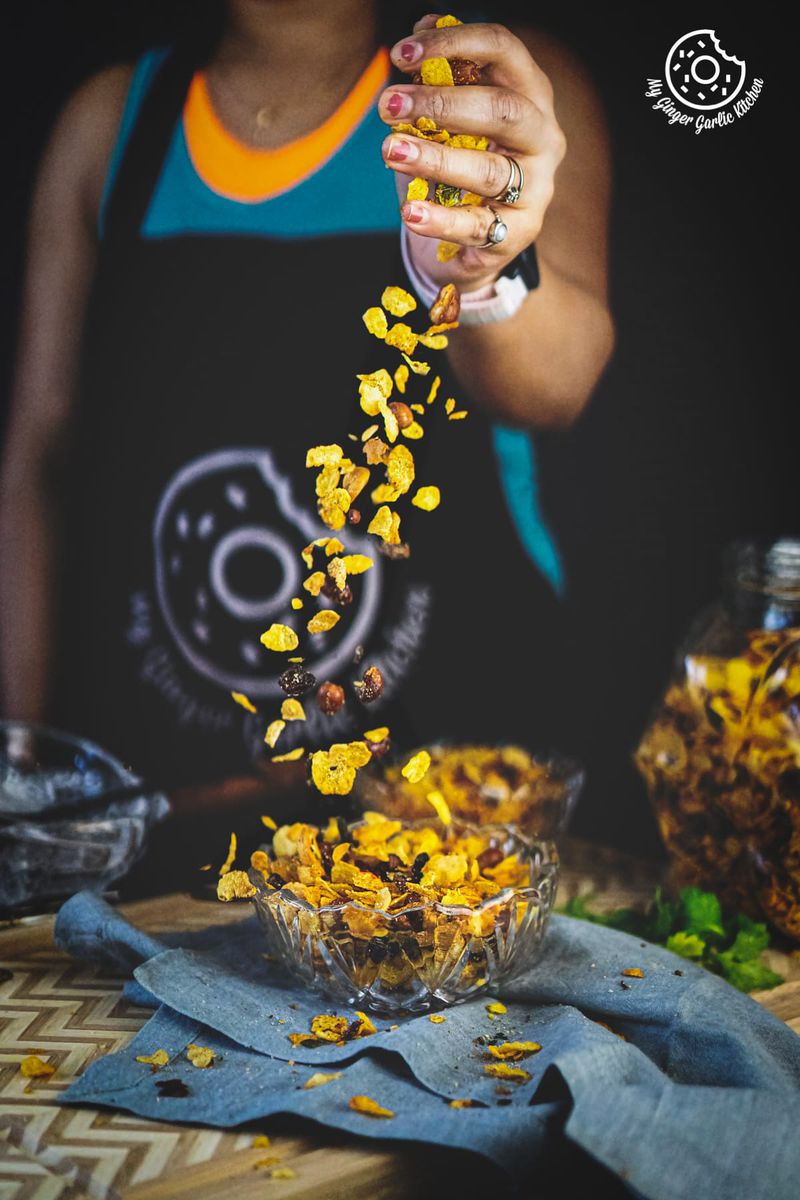
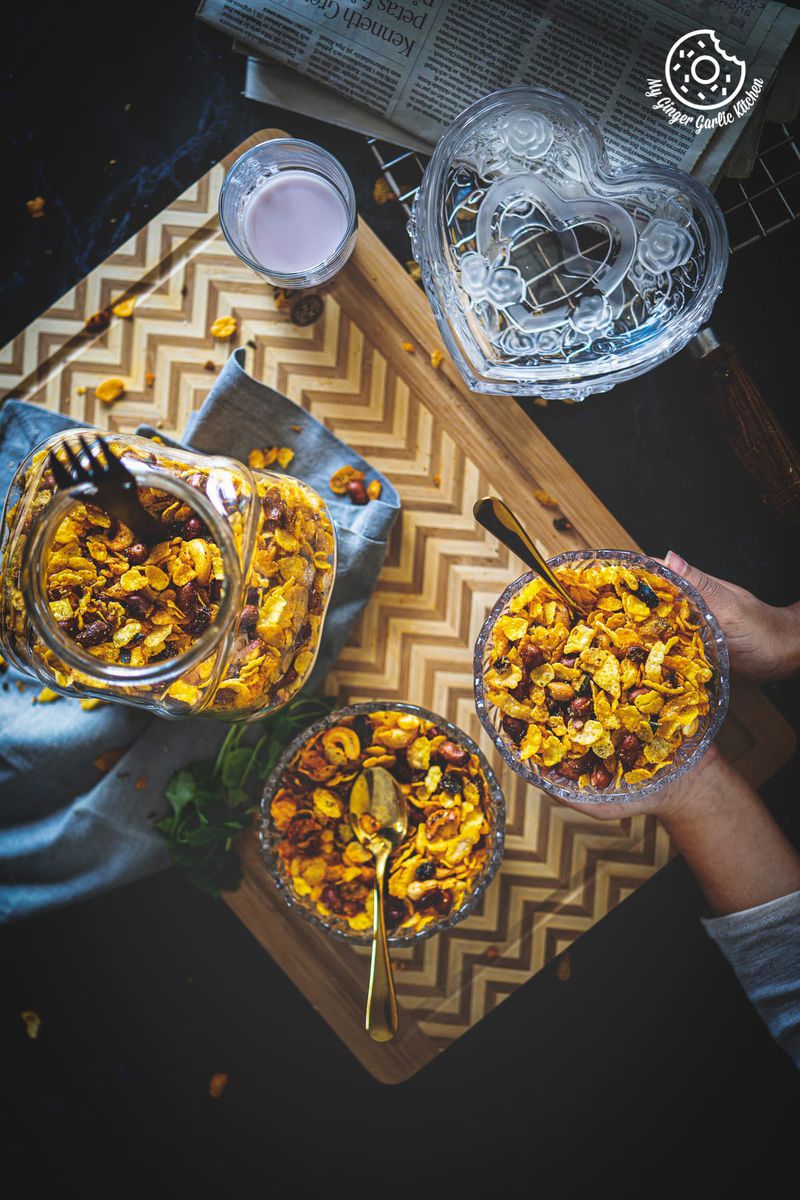
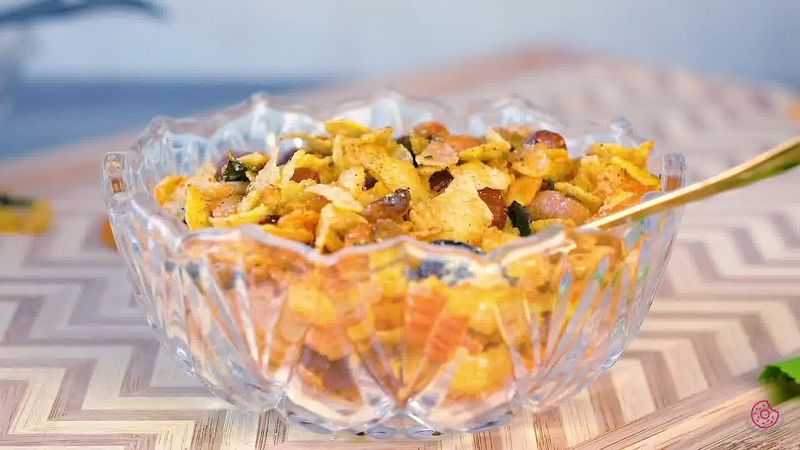
This 10-minute crispy, easy, delicious, and healthy roasted cornflakes chivda or namkeen is a perfect snack to munch on. It is a stupendous blend of spicy, sweet-sour, and absolutely delectable flavors.
Searing paneer on high heat gives golden edges. It adds texture before adding to curries.
Don’t want to miss such incredible time-saving tips from My Ginger Garlic Kitchen, set us as a preferred source in Google Search by clicking the button below.

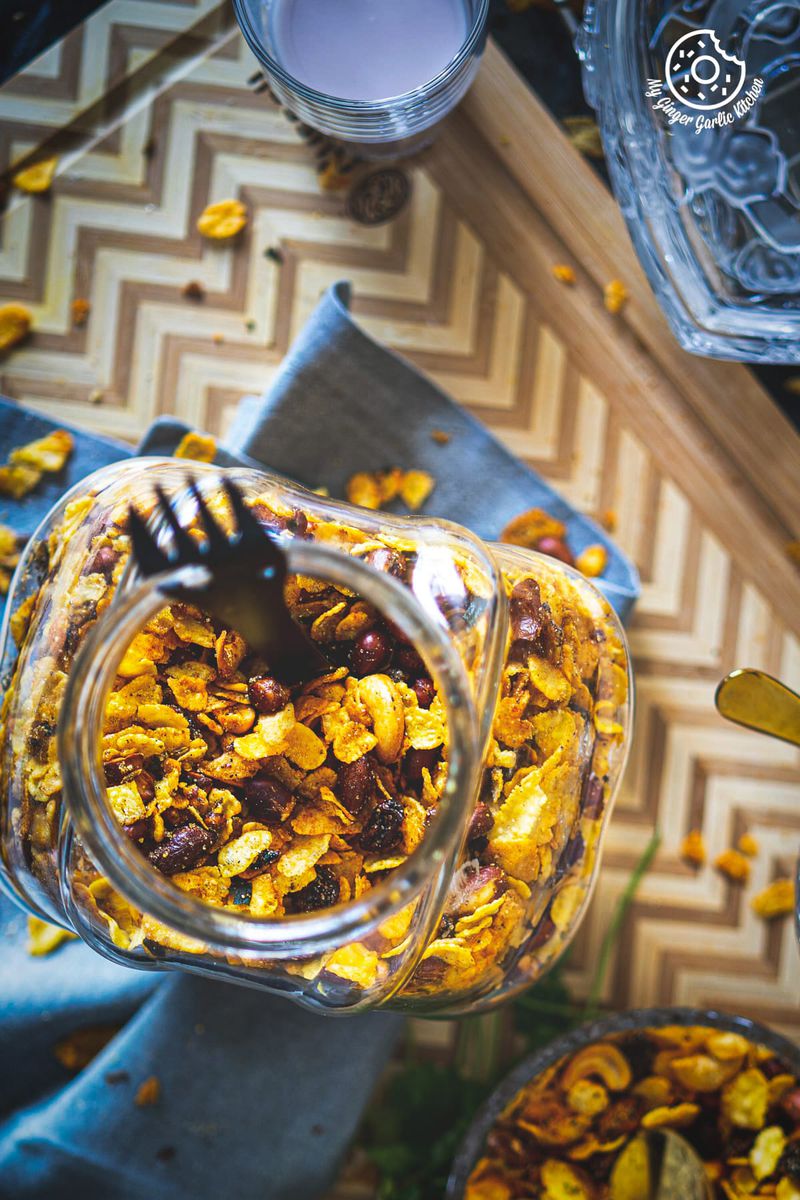
This dream to eat chivda is more awesome when paired with a cup of evening masala chai, coffee or even with Masala Shikanji.
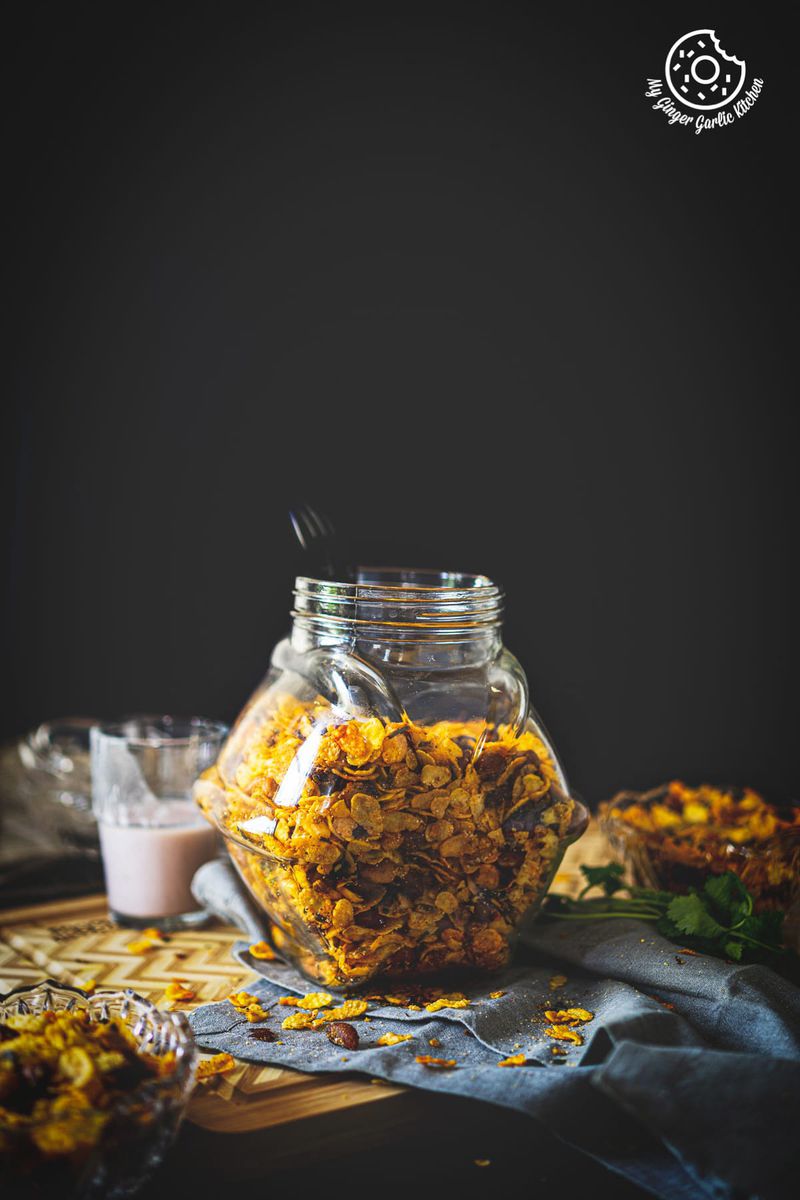
Roasted Cornflakes chivda namkeen is a delectably healthy version of ever-so-popular chivda snack. This wholesome non-fried version of cornflakes chivda makes it a victor at any time of the year.
Made from scratch and much-loved cornflakes chivda is easy to make, and is ready in under 10 minutes. You can get the detailed VIDEO recipe at the end of this post!
It’s made with off-the-charts delicious ingredients such as cornflakes, peanuts, cashews, green chilies, salt, sugar, and some spices. It is sure to become an instant hit with the kids and adults alike. The crunchiness and deliciousness of this savory snack is just beyond YUM!
Make it for festivals or have it just as a teatime corn snack on any other day of the year. This mixture or chiwda would make sure to win a place in your hearts.
Why? Because it is roasted, super tasty, wholesome, and very easy to make. Some stir-frying and tossing is all you have to do for making this chivda. Can it get any simpler than this?
Another great thing about this cornflakes chivda recipe is that it is made without deep frying.
Whenever you are craving for something salty, spicy and flavourful, fill a bowl with this crispy and crunchy namkeen mixture.
With this, you are all set to go on a munching journey where you get a comforting rollercoaster of mixed flavors and textures that transports your taste buds on a ride in the joy land. Just tastes SO SO GOOD.
In my home, this roasted cornflakes chivda is a very frequent visitor. As soon as I make it, it gets finished within a week. My family is more into savory tea time snacks.
As soon as the jar of this cornflakes chivda finishes, my husband and daughter keep asking for the next batch.
And I gleefully make it for them, because I know that this made with love chivda is a million times better than the packet snacks we get from the stores.
This Cornflakes Chivda:
✓ is an ideal crispy snack to munch on
✓ is a vegan and gluten-free snack (use gluten-free cornflakes)
✓ is low-fat, healthy and delicious
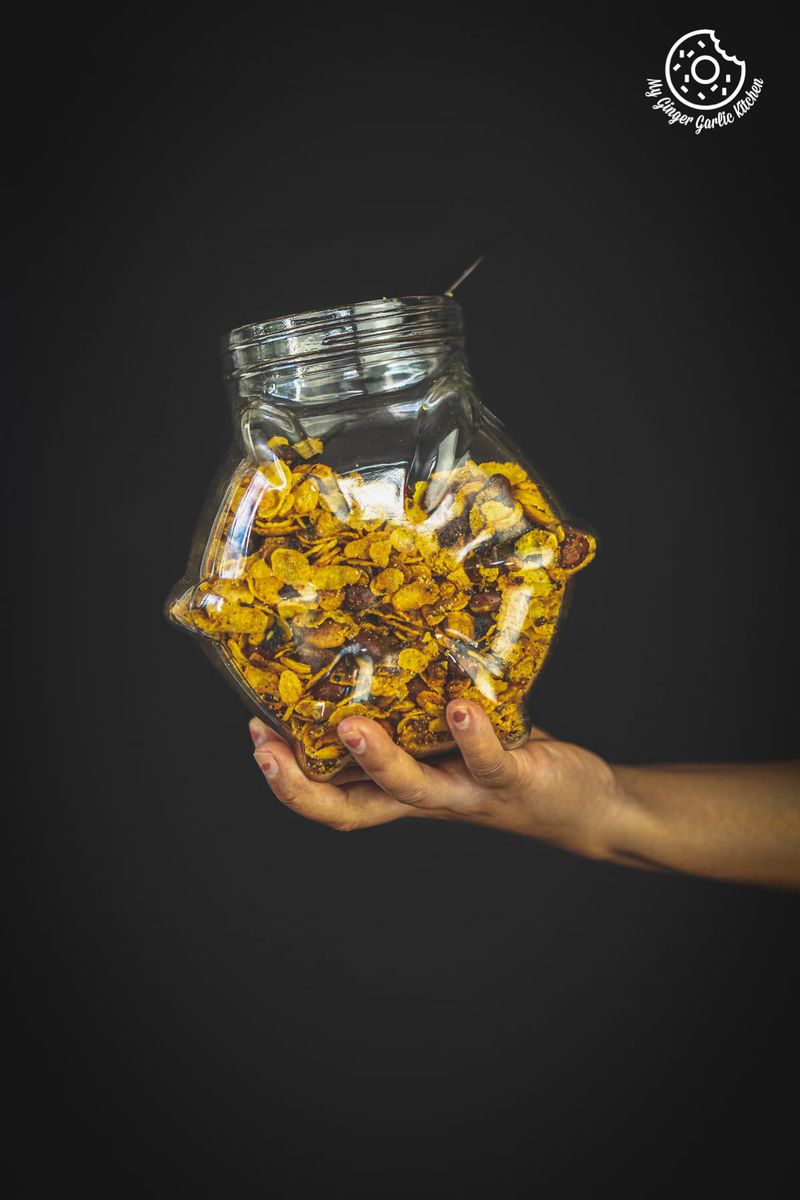
✓ has a good shelf life
✓ makes a lovely holiday gift
✓ perfect for picnics or road trips
✓ goes well with tea or coffee
✓ makes a satisfying brunch
✓ is so full of amazing flavors and textures
✓ is quick, easy and fun to make
✓ a delight for cornflakes lovers
✓ is a guilt-free tea time snack
✓ is a great after school snack
What is Chivda (Chiwda)?
Chivda or Chiwda is a crispy Indian snack mix which is an assortment of various ingredients. Chivda is generally made with a mix of deep-fried dry ingredients, which are fried lentils, flaked rice, peanuts (or other nuts), gram flour noodles (sev), corn, green chilies, coriander leaves, and curry leaves. These fried ingredients then mixed with salt, sugar, and some powdered spices.
Chivda, namkeen, or any other dry snacks have always been an essential part of any Indian kitchen.
Other namkeen chivda you may also love are, makhana namkeen, and Murmura Chivda.
What is Cornflakes Chivda?
Traditional Cornflakes Chivda is a mix of deep-fried cornflakes, peanut, cashews, raisins, and some spices. Whereas this roasted cornflakes Chivda is a healthy twist on deep-fried variant where cornflakes are tossed with stir-fried ingredients.
The fact that it is roasted makes it much better.
This addictive namkeen snack is a wonderful substitute for your regular namkeen or any other dry snack.
What are the ingredients used in roasted cornflakes chivda?
This chivda is made with simple and handy ingredients available in any kitchen. These ingredients are:
-
Peanuts
-
Cashews
-
Chana dal (split chickpeas)
-
Coriander leaves
-
Curry leaves
-
Fennel seeds
-
Green chilies
-
Oil
-
Raisins
-
Spices (salt, red chili powder, chaat masala powder, turmeric powder, and citric acid powder)

Love corns? Then you would also love these snacks:
How to Make Roasted Cornflakes Chivda?
Making this cornflakes chivda is very easy. It’s like turning lemon into lemonade. You only need a pan, a spatula, and a slotted spoon to make this. Here is how to make it in 10 easy and simple steps:
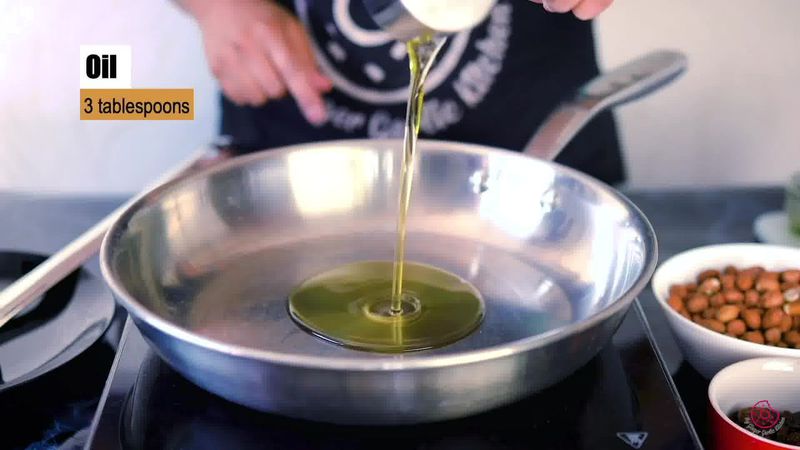
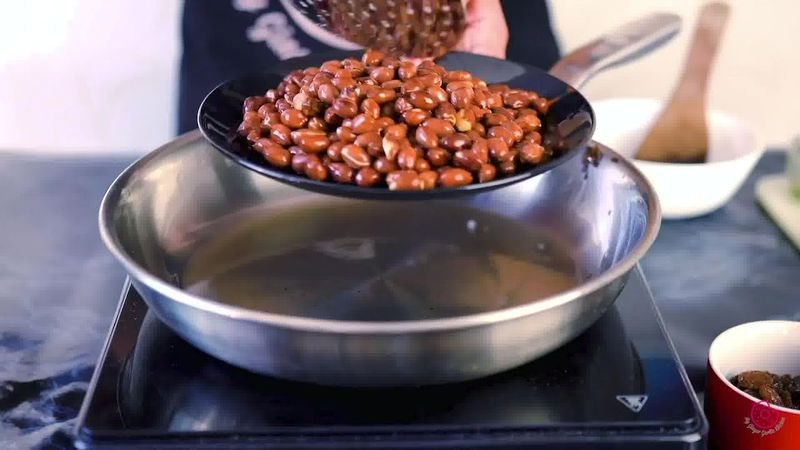
Step 1: Heat oil for frying in a pan. Add peanuts and fry over low heat until crispy. Drain with a slotted spoon, and transfer onto a plate.
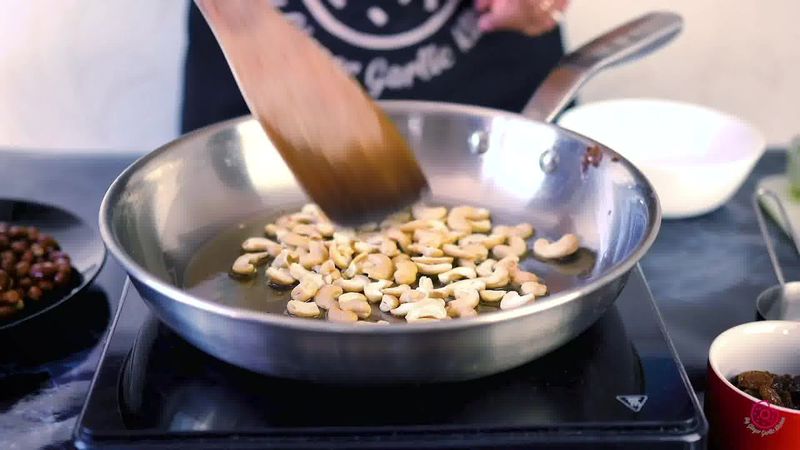
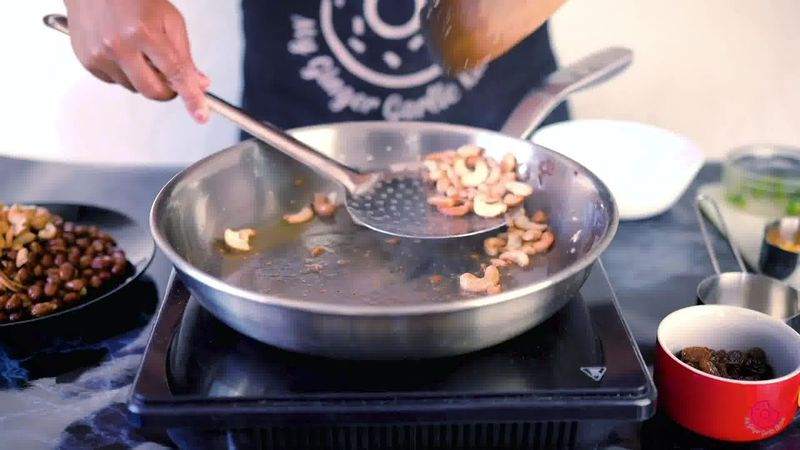
Step 2: Add cashews, and fry over low heat until golden. Transfer them onto a plate.
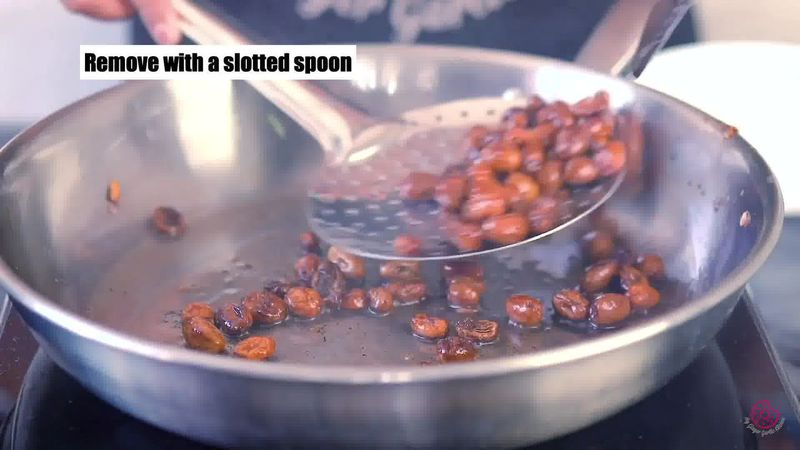
Step 3: Add raisins and fry them until they puff up. Remove and transfer on the plate.
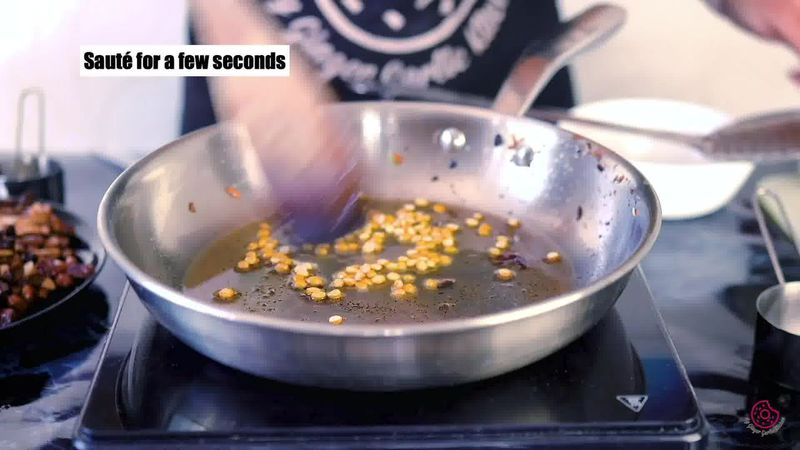
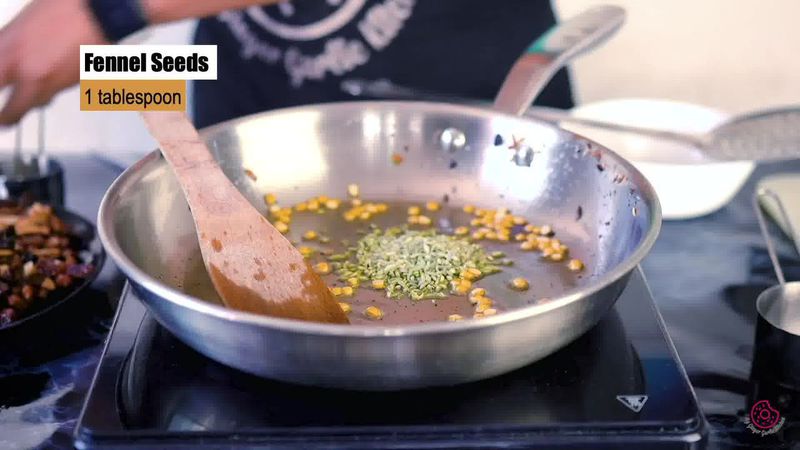
Step 4: Add chana dal, fennel seeds, and saute for a few seconds.
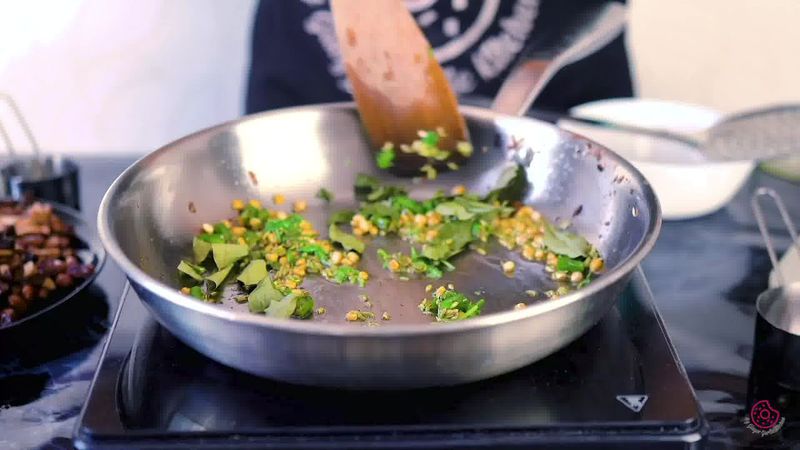
Step 5: Next, add green chilies, coriander leaves, and curry leaves. Stir and sauté for a few seconds.
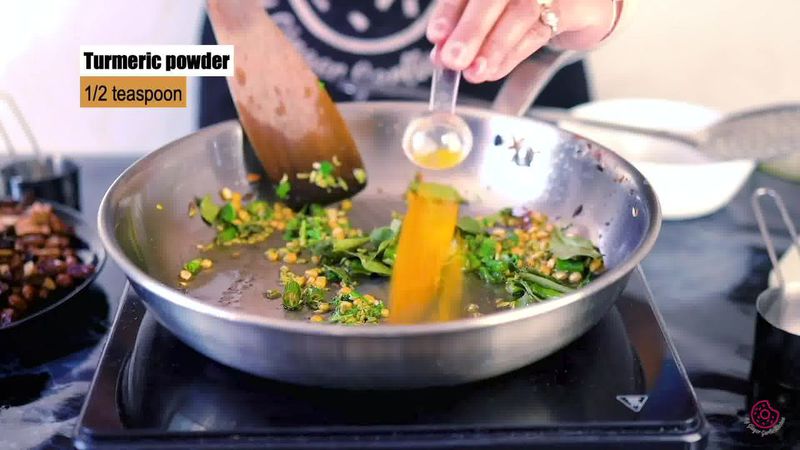
Step 6: Add turmeric powder and then fry until they are crisp.
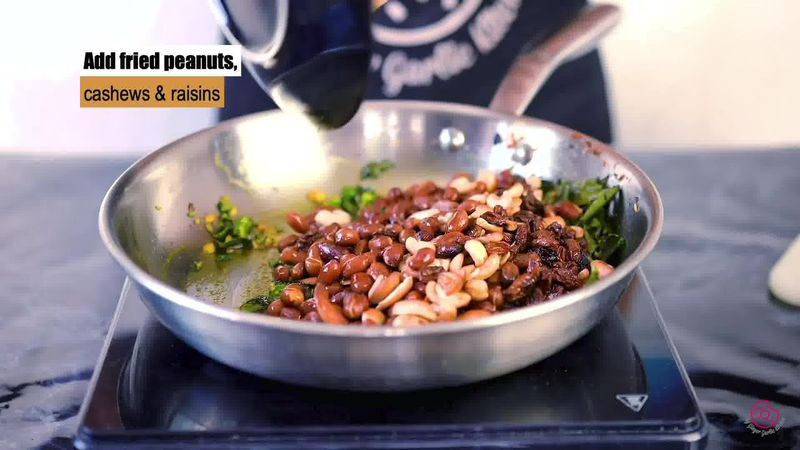
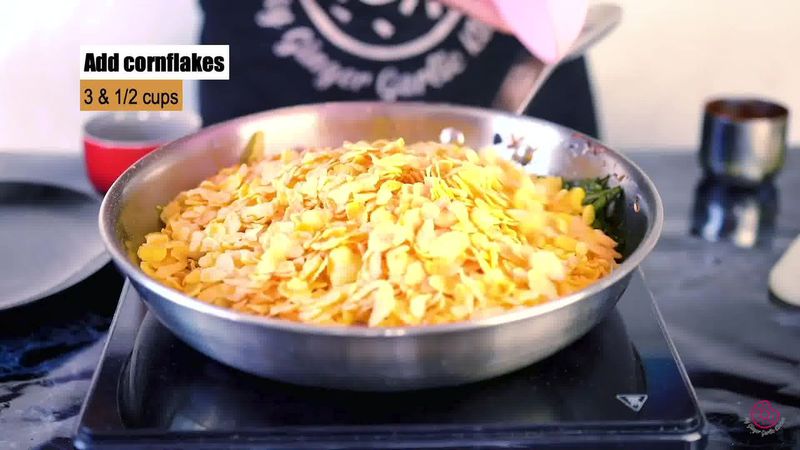
Step 7: Add fried peanuts, cashews, raisins, red chili powder, chaat masala powder, salt, sugar, and cornflakes.
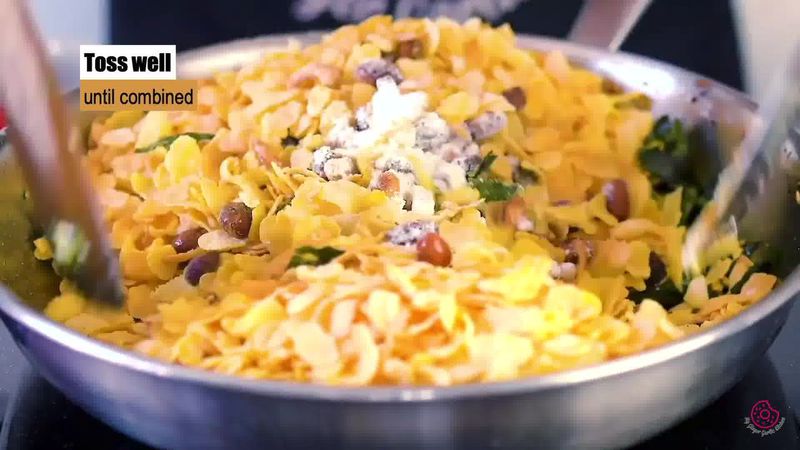
Step 8: Toss well to combine. Turn off the heat.
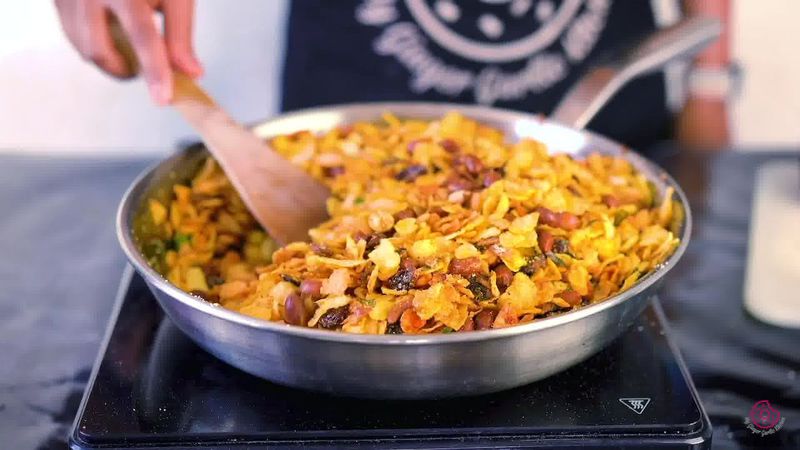
Step 9: Add citric acid powder, and toss again. Let it cool completely.
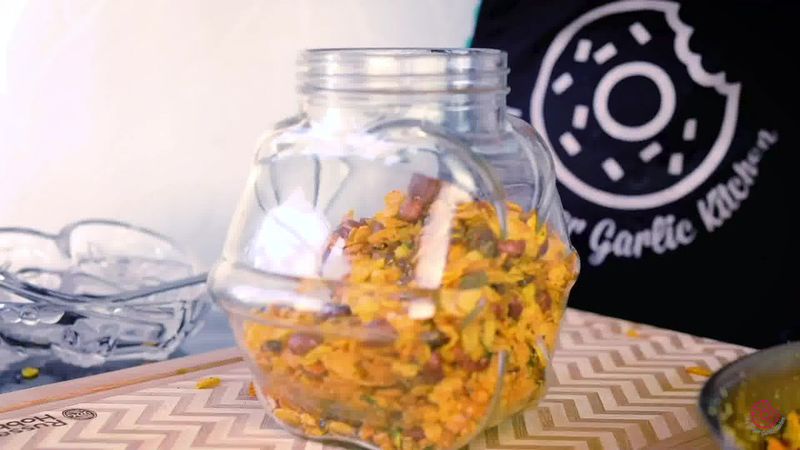
Step 10: Store in an airtight container for up to 1 month.
You can also get the full detailed recipe in the recipe box on this page.
Other dry snack you may also love:
Roasted Cornflakes Chivda Variations:
You can make this same chivda with any of the below ingredients. Or you can mix any of the following key ingredients to this cornflakes chivda.
-
Puff rice (murmura)
-
Popcorns
-
Flattened rice (thin poha)
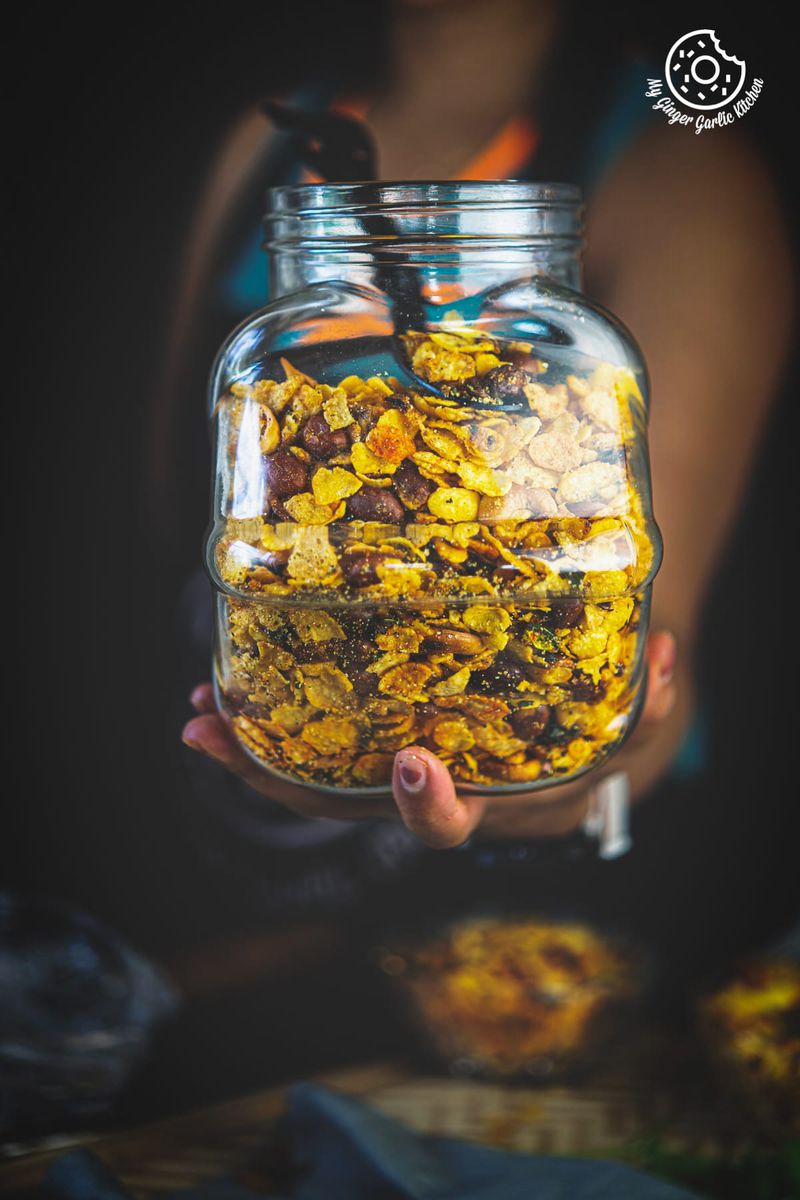
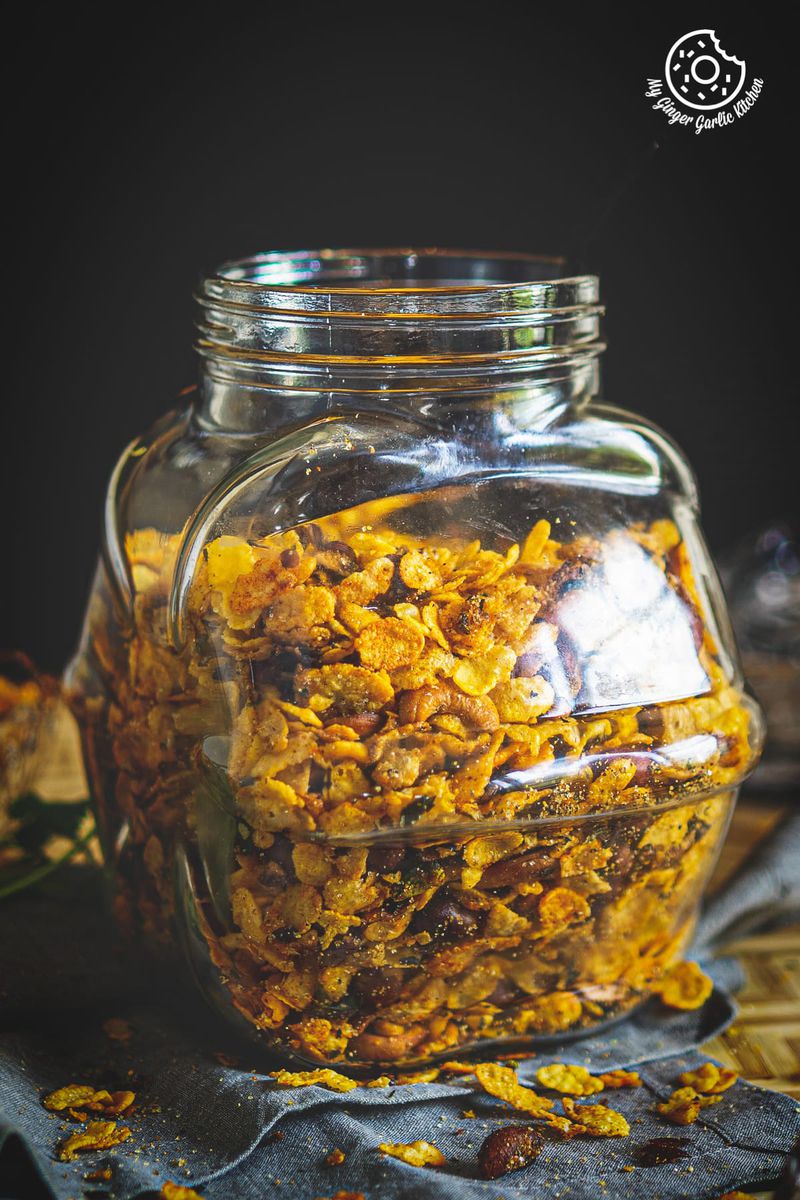
How to store Chivda?
To store Chivda, let it cool down entirely at room temperature. Once cooled, transfer this chivda into an air-tight jar. It stays fresh for up to 1 month when stored in a cool and dark place.
Some great tips, tricks, and variations to make your most delicious roasted cornflakes chivda:
-
I only used peanuts and almonds in this chivda recipe, but you can also use other nuts like almonds, and sliced coconuts.
-
Do not use raw cornflakes for this recipe. Since the cornflakes are not deep-fried here, you need to make sure to use instant cornflakes or the ones we use as a breakfast cereal.
-
You can easily customize the flavorings according to your taste preference.
-
For seasoning, I opted for a simple and well balanced salty, spicy, sweet, and tangy flavors. But feel free to choose your own spice blend. You can simply go with salt and pepper. Or use the spices like salt, turmeric, red chili powder, chaat masala powder, and citric acid powder.
-
The addition of powdered sugar adds a nice sweet aftertaste to this chivda which balances with the spicy flavors. Again it is entirely optional. You can omit it completely.
-
I used citric acid powder in this recipe, which adds a nice tang to this spicy and sweet snack. But if you don’t find citric acid powder then you can also add dried mango powder or skip it completely.
-
Raisins (kishmish) add a nice sweetness to this rich, delicious, and exotic chivda. So it is recommended to add it to the chivda recipe.
-
I used 3 tablespoons of oil for making this chivda, but you can also make it in a lesser amount of oil.
-
This chivda is easy to pack and carry. Just transfer it into a ziplock bag and you are good to go.
-
Let the chivda cool completely before storing it. Don’t store chivda mixture while it is hot or warm, or else it would lose crush and turn soggy.
-
The addition of chaat masala adds a nice flavor to this chivda. If you don’t want to use it, then you can skip it.
-
This chivda stays fresh and crispy for up to 1 month. But if for some reason it turns slightly soggy, then place it in a baking tray, and bake it for about 10-15 minutes in a 120°C preheated oven. Let it cool completely and then store it again in a clean airtight jar.
-
For ease, keep the ingredients handy before making the chivda.
-
Fry nuts over low heat. Do not fry nuts over medium or high heat, otherwise, they will burn and will ruin the taste of chivda.
I hope you will like this recipe.
Your feedback is so helpful for me and other MGGK readers. So, if you make this Roasted Cornflakes Chivda - Corn Flakes Mixture recipe, then tag me on Facebook or Instagram using @MyGingerGarlicKitchen. I would love to see your photos. :)
More delicious Indian Snacks to try:
Roasted Cornflakes Chivda (Step-by-step photo instructions)
How To Make Roasted Cornflakes Chivda //
- Heat 3 tablespoons oil in a heavy bottom pan over low heat.
- Once hot, add the peanuts and sauté until they are golden and crispy.
- Drain using a slotted spoon and transfer fried peanuts onto a plate. Keep it aside.
- In the same pan, add cashews and sauté until they are golden.
- Once done, drain them using a slotted spoon and transfer fried peanuts onto a plate. Keep it aside.
- Next, add raisins to the same pan and sauté them until they plump up & swell.
- Drain onto a plate. Keep it aside.
- In the same pan, add chana dal and sauté for a few seconds.
- Then add fennel seeds and sauté for more seconds.
- After that add green chilies, coriander leaves, and curry leaves. Stir well and sauté for a minute.
- Add turmeric powder to the pan and mix everything well. Sauté until all the ingredients are crisp.
- Once done, add fried peanuts, fried cashews, and fried raisins.
- Next add salt, red chili powder, chaat masala powder, and cornflakes.
- Toss everything well to combine. Make sure not to break the cornflakes.
- Turn off the heat. Then add citric acid powder and toss again.
- Allow the mixture to cool completely in the pan.
- Once cooled, store in an airtight jar/container.
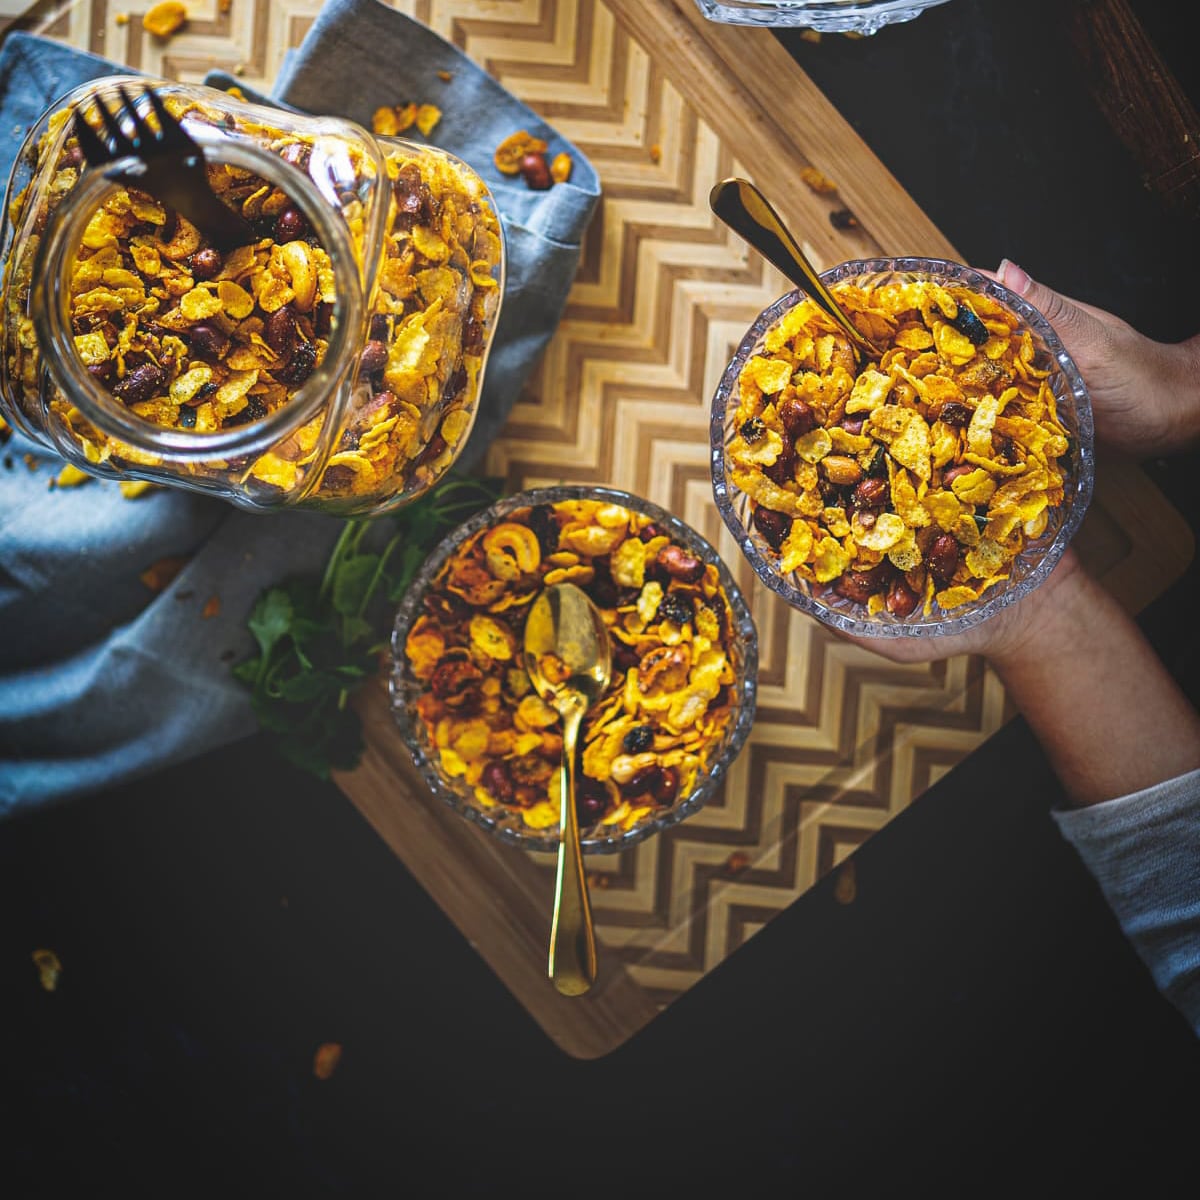
- Serve cornflakes chivda as a teatime snack with some masala chai!


Recipe Card
Roasted Cornflakes Chivda [Recipe]
★★★★★
(Rating: 5 from 46 reviews)
| Prep time 🕐 | Cook time 🕐 | Total time 🕐 |
|---|---|---|
| Category ☶ | Cuisine ♨ | Servings ☺ |
| Snacks | Indian | 20 |
| Nutrition Info ⊛ | Serving size ⊚ | |
| 90 calories | 1 serving |
INGREDIENTS
For Cornflakes Chivda //
- 3.5 cups cornflakes (instant)
- 2 tablespoons powdered sugar (optional)
- 3 tablespoons oil
- 1.5 cups peanuts
- 1/2 cup cashews
- 1/4 cup raisins
- 1 tablespoon split chickpeas (chana dal)
- 1 tablespoon fennel seeds (saunf)
- 2 tablespoons green chillies, roughly chopped
- 3 tablespoons chopped coriander (cilantro) leaves
- 3 tablespoons curry leaves (dried or fresh)
- 1/2 tsp haldi/turmeric powder
- 1/2 tsp citric acid powder or 1 tablespoon amchur/dried mango powder
- 2 tsp kashmiri red chilli powder (you can also use cayenne pepper powder)
- Salt as per taste
- 1/2 teaspoon chaat masala powder
INSTRUCTIONS:
How To Make Roasted Cornflakes Chivda //
- Heat 3 tablespoons oil in a heavy bottom pan over low heat.
- Once hot, add the peanuts and sauté until they are golden and crispy.
- Drain using a slotted spoon and transfer fried peanuts onto a plate. Keep it aside.
- In the same pan, add cashews and sauté until they are golden.
- Once done, drain them using a slotted spoon and transfer fried peanuts onto a plate. Keep it aside.
- Next, add raisins to the same pan and sauté them until they plump up & swell.
- Drain onto a plate. Keep it aside.
- In the same pan, add chana dal and sauté for a few seconds.
- Then add fennel seeds and sauté for more seconds.
- After that add green chilies, coriander leaves, and curry leaves. Stir well and sauté for a minute.
- Add turmeric powder to the pan and mix everything well. Sauté until all the ingredients are crisp.
- Once done, add fried peanuts, fried cashews, and fried raisins.
- Next add salt, red chili powder, chaat masala powder, and cornflakes.
- Toss everything well to combine. Make sure not to break the cornflakes.
- Turn off the heat. Then add citric acid powder and toss again.
- Allow the mixture to cool completely in the pan.
- Once cooled, store in an airtight jar/container.
- Serve cornflakes chivda as a teatime snack with some masala chai!
Watch Full Recipe Video:
NOTES:
- I only used peanuts and almonds in this chivda recipe, but you can also use other nuts like almonds, and sliced coconuts.
- Do not use raw cornflakes for this recipe. Since the cornflakes are not deep-fried here, you need to make sure to use instant cornflakes or the ones we use as a breakfast cereal.
- You can easily customize the flavorings according to your taste preference.
- For seasoning, I opted for a simple and well balanced salty, spicy, sweet, and tangy flavors. But feel free to choose your own spice blend. You can simply go with salt and pepper.
- Or use the spices like salt, turmeric, red chili powder, chaat masala powder, and citric acid powder.
- The addition of powdered sugar adds a nice sweet aftertaste to this chivda which balances with the spicy flavors. Again it is entirely optional. You can omit it completely.
- I used citric acid powder in this recipe, which adds a nice tang to this spicy and sweet snack. But if you dont find citric acid powder then you can also add dried mango powder or skip it completely.
- Raisins (kishmish) add a nice sweetness to this rich, delicious, and exotic chivda. So it is recommended to add it to the chivda recipe.
- I used 3 tablespoons of oil for making this chivda, but you can also make it in a lesser amount of oil.
- This chivda is easy to pack and carry. Just transfer it into a ziplock bag and you are good to go.
- Let the chivda cool completely before storing it. Dont store chivda mixture while it is hot or warm, or else it would lose crush and turn soggy.
- The addition of chaat masala adds a nice flavor to this chivda. If you dont want to use it, then you can skip it.
- This chivda stays fresh and crispy for up to 1 month. But if for some reason it turns slightly soggy, then place it in a baking tray, and bake it for about 10-15 minutes in a 120°C preheated oven. Let it cool completely and then store it again in a clean airtight jar.
- For ease, keep the ingredients handy before making the chivda.
- Fry nuts over low heat. Do not fry nuts over medium or high heat, otherwise, they will burn and will ruin the taste of chivda.
If this recipe helped you, then please spread the word by sharing and subscribing to us on YouTube to get more such Recipe Videos.
Your feedback is so helpful for me and other My Ginger Garlic Kitchen readers. So, for Facebook and Instagram, please mention @MyGingerGarlicKitchen or #mygingergarlickitchen. I would love to see your photos. :)
Author: Anupama
Recipe Source Link: https://www.mygingergarlickitchen.com/roasted-cornflakes-chivda/
Questions or comments about this recipe:
Ask on