Cold patty mixtures hold shape better. They brown more evenly and flip without breaking.
Don’t want to miss such incredible time-saving tips from My Ginger Garlic Kitchen, set us as a preferred source in Google Search by clicking the button below.

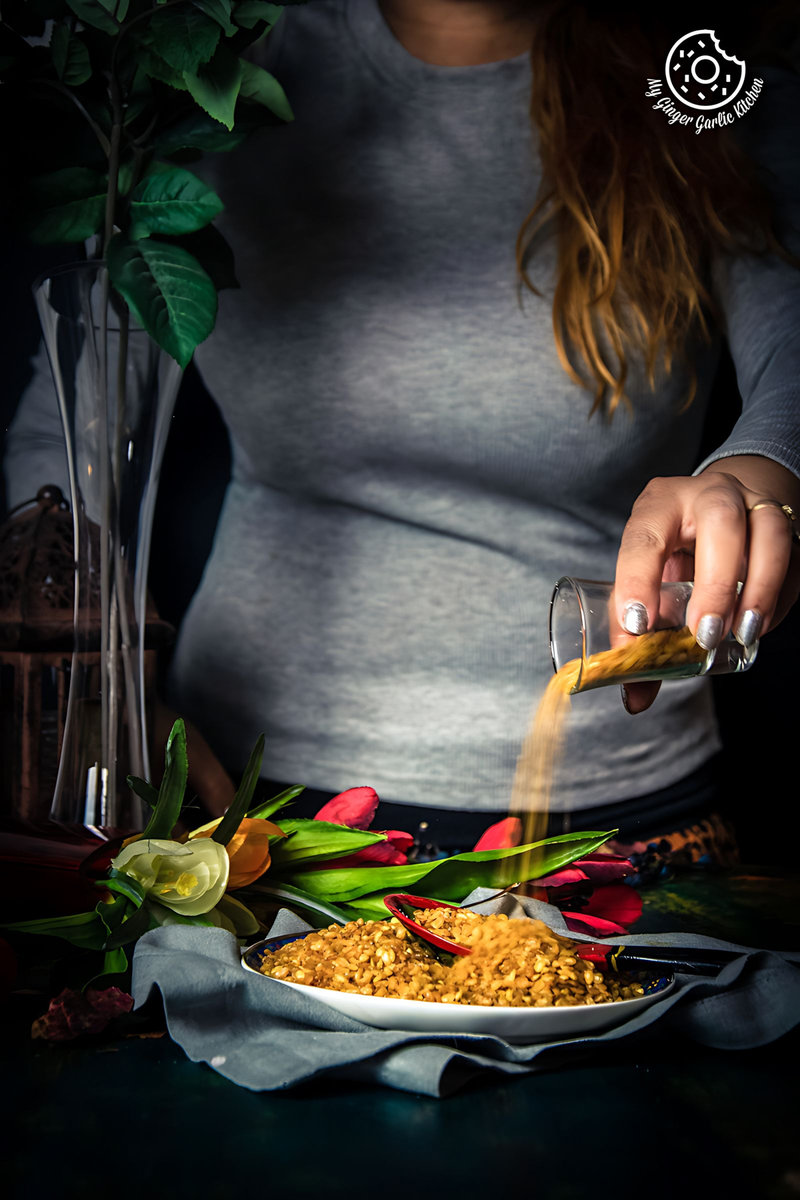
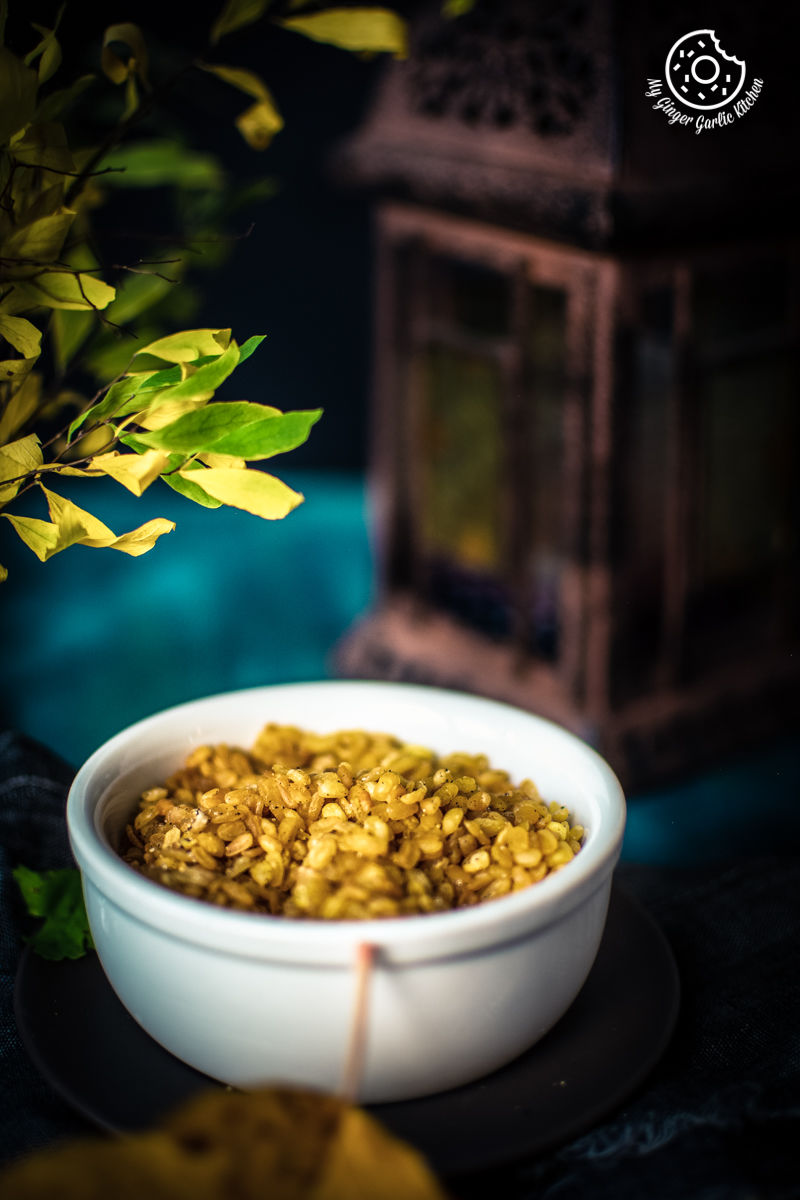
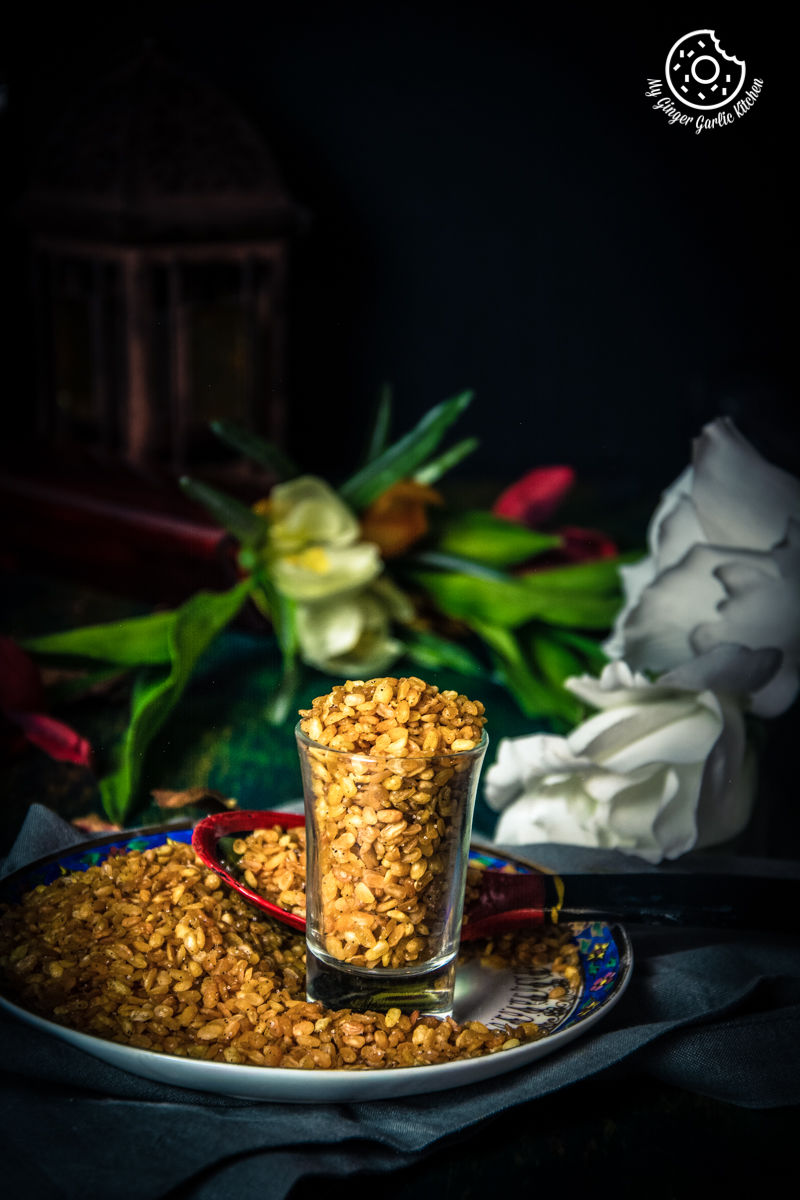
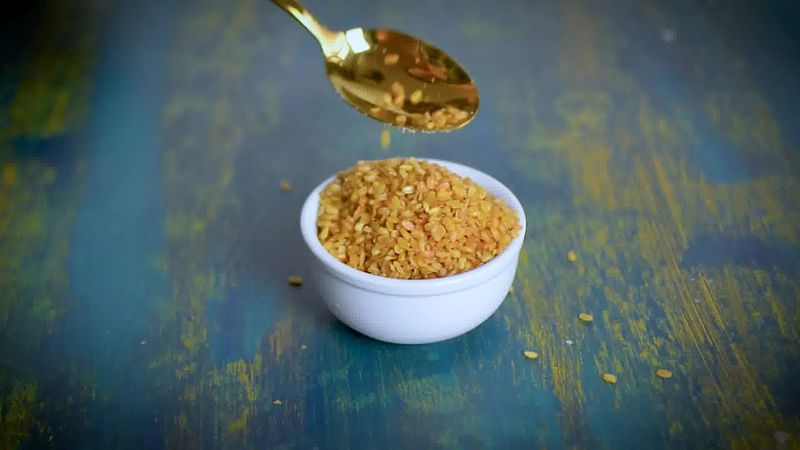
Learn to make Moong Dal Namkeen | Salted Crunchy Fried Moong Dal Snack with an easy and quick recipe video tutorial. Each spoonful of this festive moong dal namkeen is generously seasoned with salt and pepper.
No need to bestow upon some extra special touch to make this namkeen addictive — a simple salt and pepper seasoning can highlight the crunch and crisp in this fried moong dal.
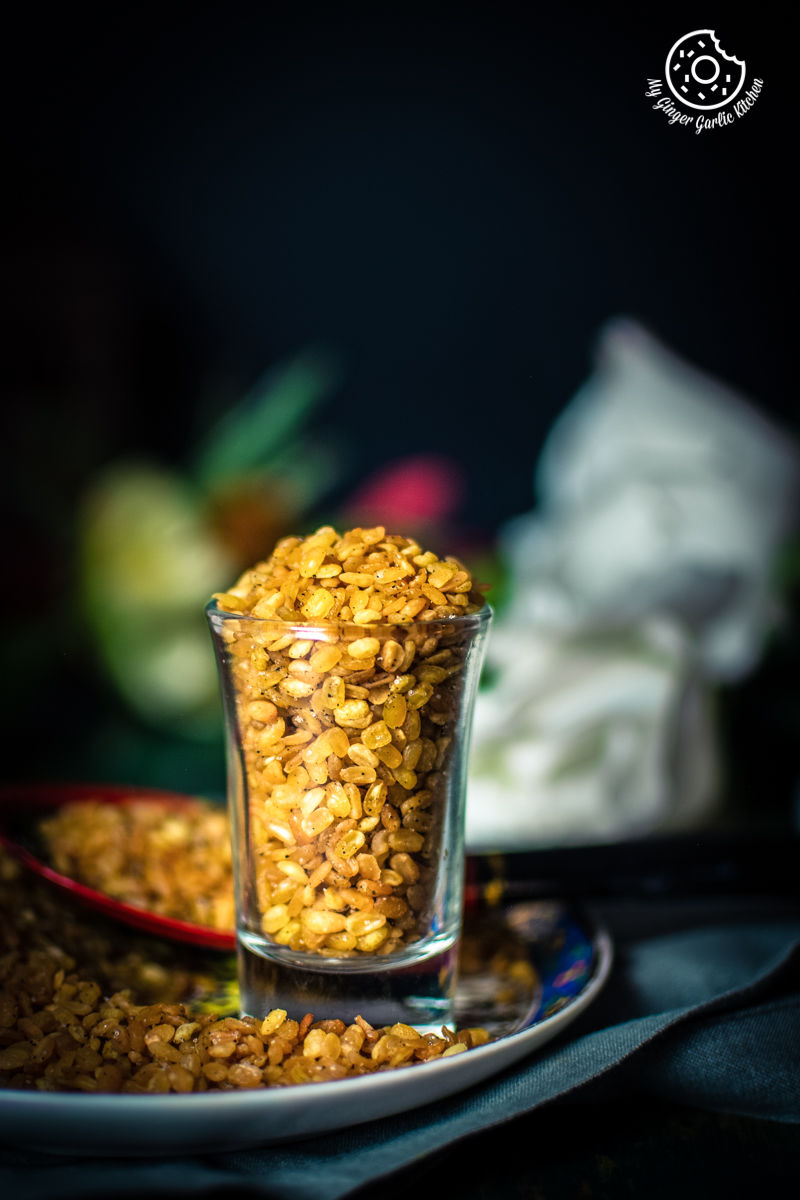
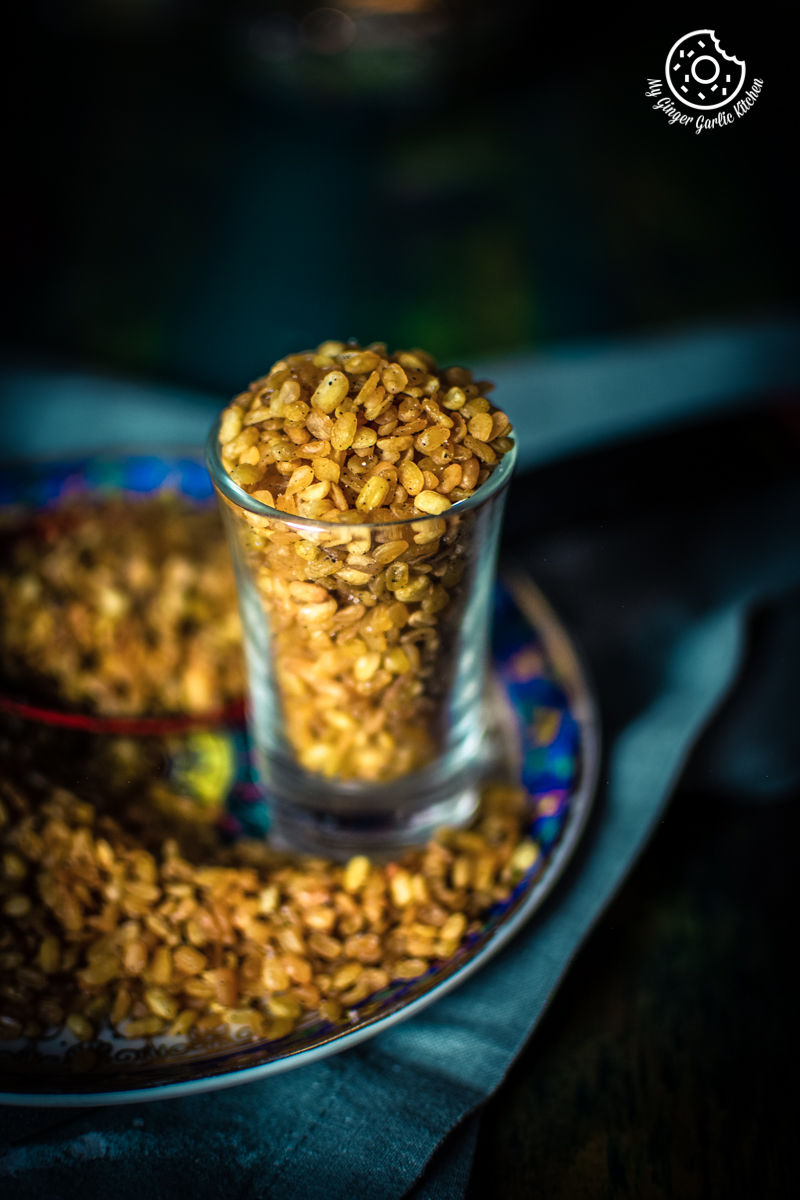
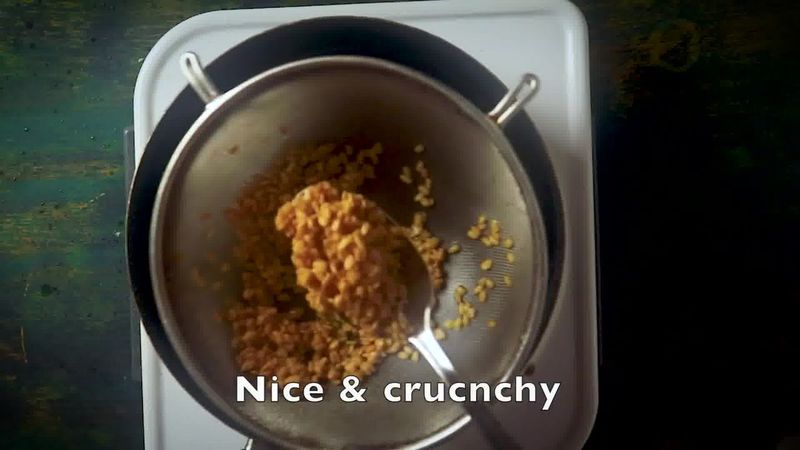
Each and every piece of fried dal/lentil is incredibly crispy and crunchy. It’s simply Beyond perfect!!
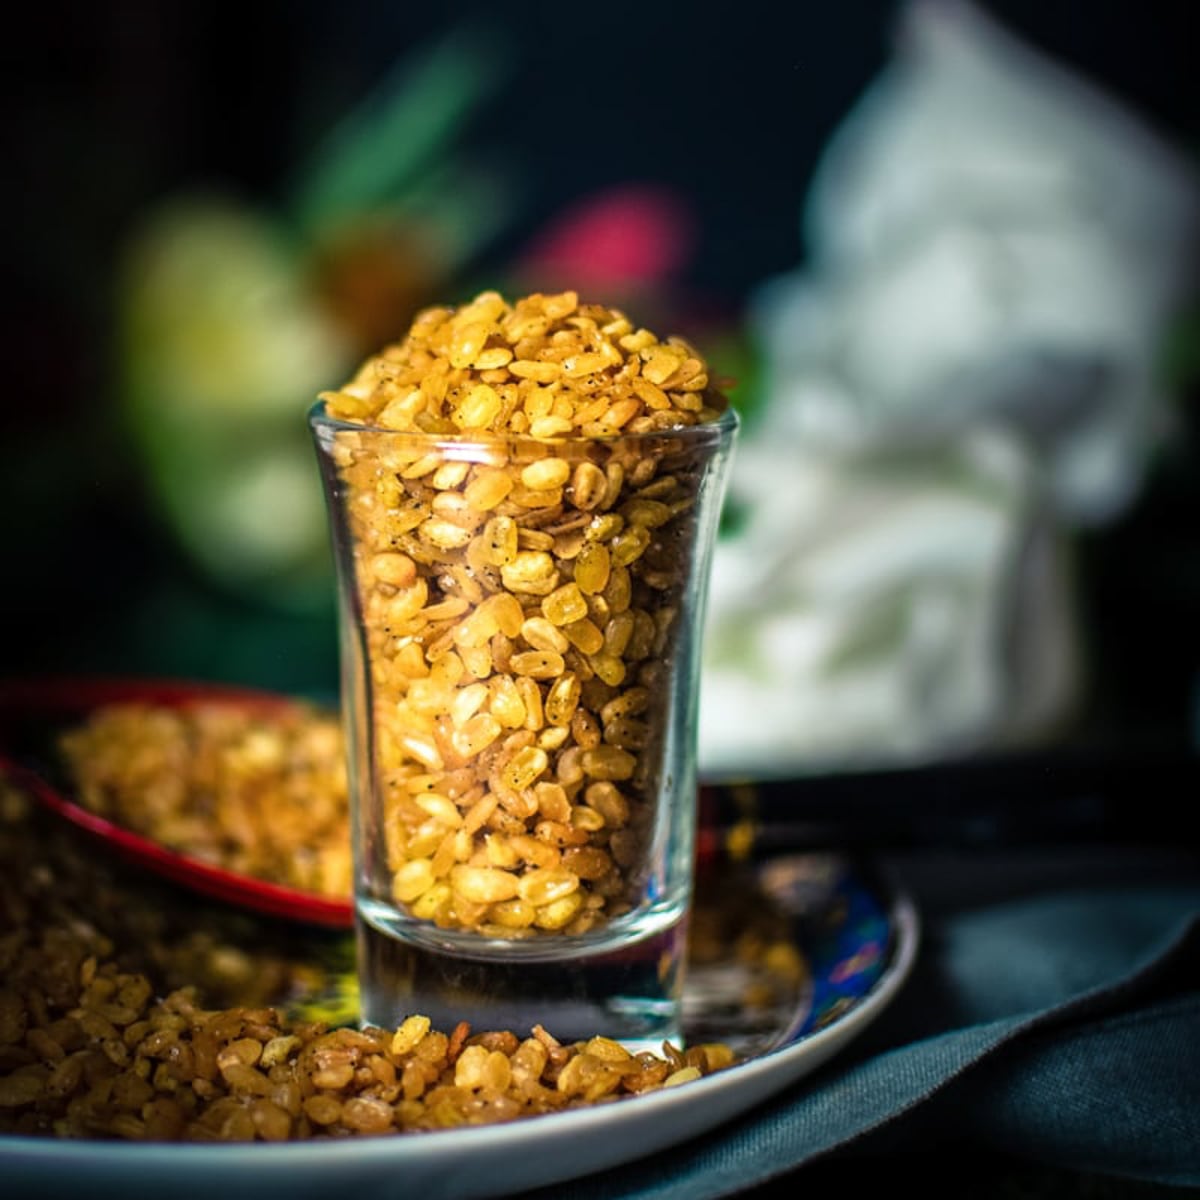
You can relish this crispy and spicy Moong Dal Namkeen/Salted Crunchy Fried Moong Dal Snack along with piping hot cup of tea or coffee at the snack time. Or delight in a bowl full of this namkeen with a glass of sweet white wine is another way to enjoy it while watching your favorite movie. This namkeen is a great alternative to salted peanuts. 🙂
What is Moong Dal Namkeen?
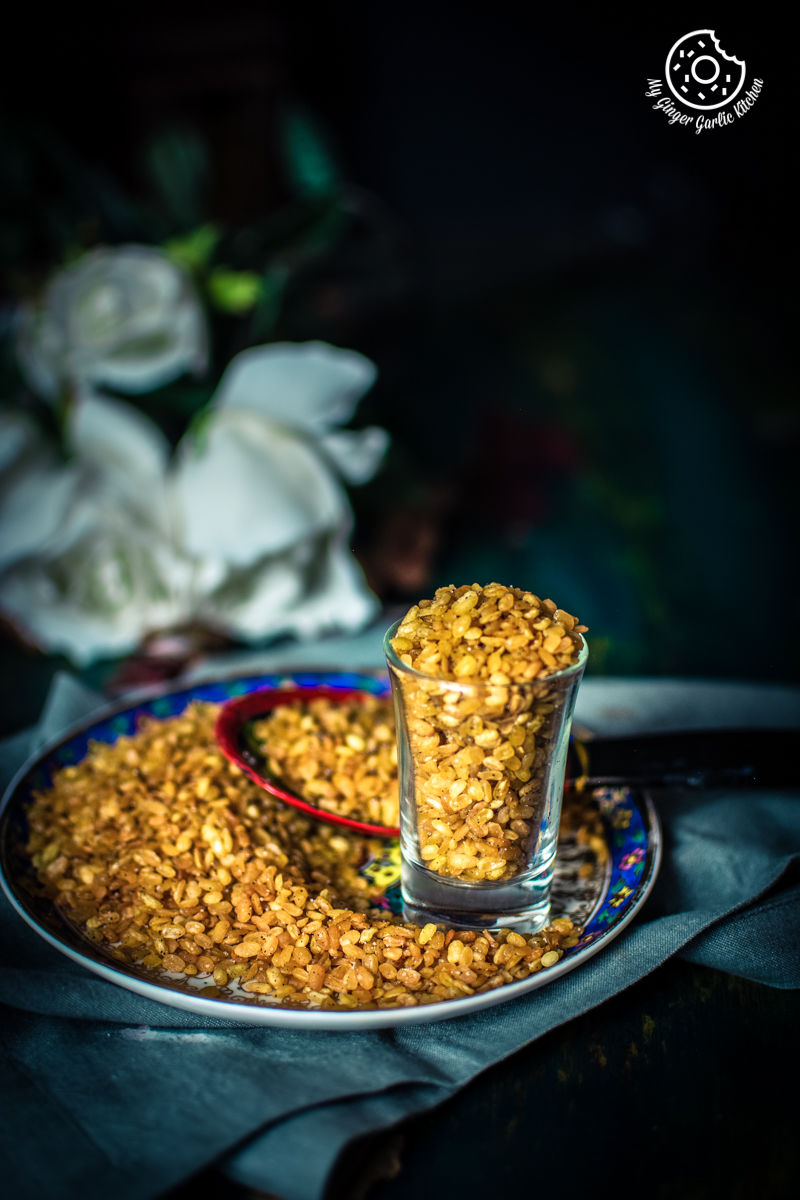
Moong Dal Namkeen is a crispy and crunchy fried snack made with yellow split green gram which is also known as Dhuli Moong Dal, or **Moong ka Mogar. **‘Dhuli’ means washed in Hindi. Namkeen is a common term used for snacks in India.
What are the other names of moong dal namkeen?
Moong Dal or Mung Dal Namkeen is also popular with these names:
-
Moong Mogar Namkeen
-
Dhuli Moong Dal Namkeen
-
Namkeen moong
There are two versions of this Moong Dal Namkeen we get in the store bought packets:
-
Salted Moong Dal Namkeen
-
Masala Moong Dal Namkeen
What is the difference between Salted Moong Dal Namkeen & Masala Moong Dal Namkeen?
The main cooking process for both the namkeens is the same. The only difference is in the seasoning. Salted namkeen only has salt or pepper as seasoning, and masala namkeen has some other spices.
How to make Salted Moong Dal Namkeen?
For Making salted moong dal namkeen, the first step is to soak the dal. The second step is the rinsing and air-drying. The third and the final step is deep-frying and seasoning the fried dal with some salt. DONE!
How to make Moong Dal Masala Namkeen?
For making masala moong dal namkeen, all the steps till frying is similar to the Salted Moong Dal Namkeen.
However, in Masala version of Namkeen, instead of seasoning with salt, you can use a dry spice blend made with salt, black salt, black pepper powder, red chili powder, chaat masala, and amchoor powder for seasoning.
You can also add some crispy fried coriander leaves and some crispy deep-fried green chilies to this spice blend.
History of Moong Dal Namkeen:
Moong Dal Namkeen has been sold by many manufacturers and local vendors in India for many years now. But the one company which is solely in vogue for this moong dal namkeen is Haldiram’s.
I still have those childhood memories of tearing off the namkeen packets and rejoicing with this namkeen as an evening snack along with some pink milk (Chilled milk with rose syrup).
My Mom always thought that these store-bought branded Namkeen Recipes can’t be replicated at home, and I am talking about only some decades ago. She and many of her friends always thought that Haldiram’s have their secret ingredients which we don’t know about.
Back at that time, I never imagined myself cooking this Moong Dal Namkeen at home in the future which would come after 20 years, with so much perfection and ease.
But then things become different when I got this recipe from my Mom almost over a decade ago. To my wonderment making this Moong Dal Namkeen at home was so smooth and fuss-free. And also there was no secret ingredient involved.
My mom collected this recipe from her friend. And my mom’s friend might have found this recipe somewhere, so this is a chain of sharing a simple recipe which has created a puzzle in minds for decades. 😉
This recipe is no more a secret. It is as simple and easy as it could be. Our human mind creates things and makes a mountain out of a molehill even when it’s not needed.
How long can we store Moong Dal Namkeen?
Moong Dal Namkeen can be stored in a clean airtight jar for up to 3 months, or even a little longer when made in a big batch.
Is moong dal namkeen good for health?
Yes, it is because it is made with superfood ‘Moong Dal’. Moong dal is light on the stomach and very easy to digest. It is a good source of iron, protein, fiber, vitamins, and minerals. It also helps you lose weight. It also helps control blood pressure.
The only setback could be that it is fried, so you can’t eat it on a daily basis. But then there is a good alternative. This is to bake them for a healthier version.
How to bake Moong Dal Namkeen?
The procedure of making baked moong dal namkeen involves rinsing moong dal, then soaking, then rinsing again, and finally air drying.
Then soaked dal is seasoned with oil, salt, and pepper, and baked in the preheated oven until golden. After this, the baked moong dal is then seasoned well again with some more pepper and salt. Baked moong dal namkeen will last for up to 10 days.
Like this moong dal namkeen, then you may also love to try makhana namkeen, and Murmura Chivda.
Important tips, tricks, or variations for making the absolute Best Moong Dal Namkeen:
-
Soaking moong dal for at least 4-5 hours or more is a must. I always soak moong dal overnight, and it swells up nicely and gives me great results.
-
Air dry moong dal to remove all the dampness from the dal. Dal might splutter in the oil while frying if there is any moisture left. Also, they won’t turn crisp.
-
Adding some baking soda while soaking makes dal perfectly crispy and gives it the desired texture. So I would recommend using it in this recipe.
-
Moong Dal Namkeen is a Deep-fried snack. But instead of deep frying, you can bake and air fry moong dal namkeen.
-
For air frying moong dal namkeen, follow the same recipe and instead of deep frying, air-fry them according to the manufacturer’s instructions.
-
Always try to fry moong dal using a steel strainer. This way it would be easier to take out the fried moong dal from hot oil.
-
Moong dal namkeen stays fresh for months when stored in airtight container at room temperature.
-
Add the seasoning to dal when the dal is slightly warm. This way it would take in the flavors beautifully.
-
The seasoning I used is for salted moong dal namkeen. I have also given the recipe of seasoning for making Haldirams style masala moong dal namkeen in the recipe box on this page.
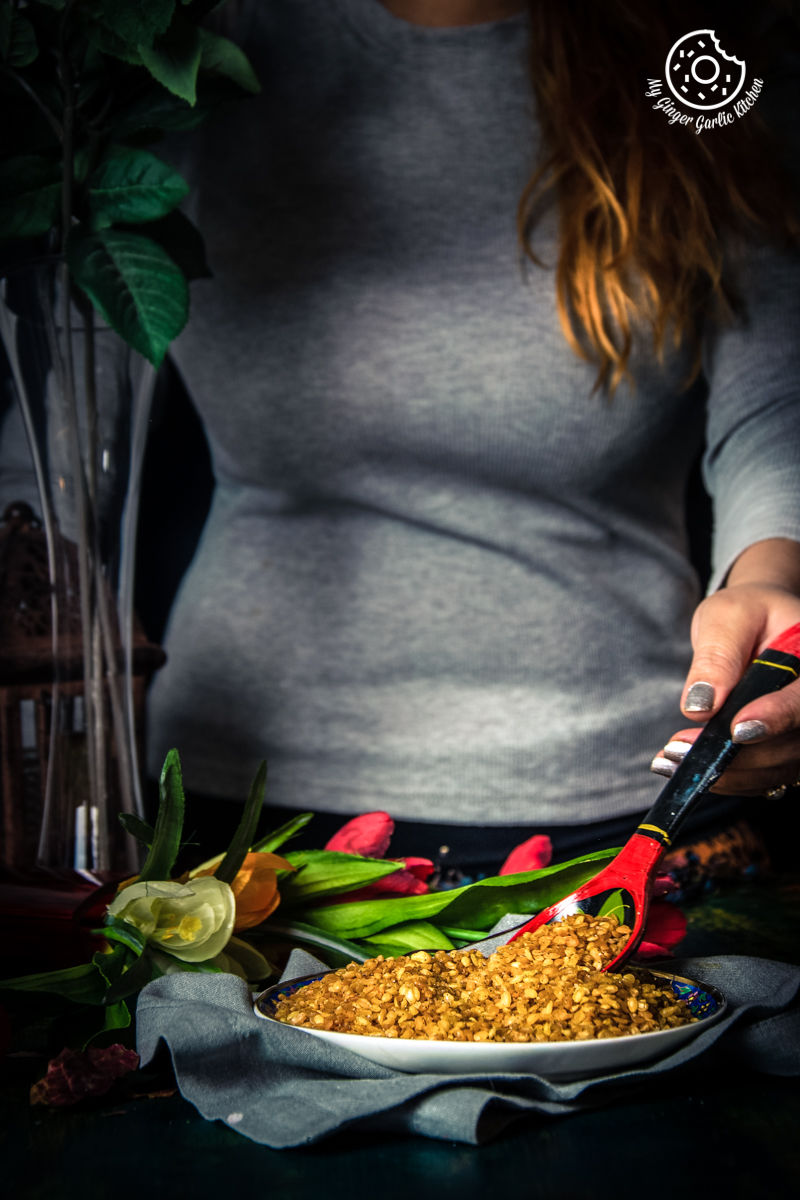
So make this namkeen this weekend. ENJOY, and make sure to leave a comment. If you do make this namkeen recipe, also don’t forget to tag me on Instagram. 🙂
You know I always love to hear from you folks and try my best to reply to each and every comment or question.
Moong Dal Namkeen - Salted Crunchy Fried Moong Dal Snack (Step-by-step photo instructions)
For Soaking Moong Dal:
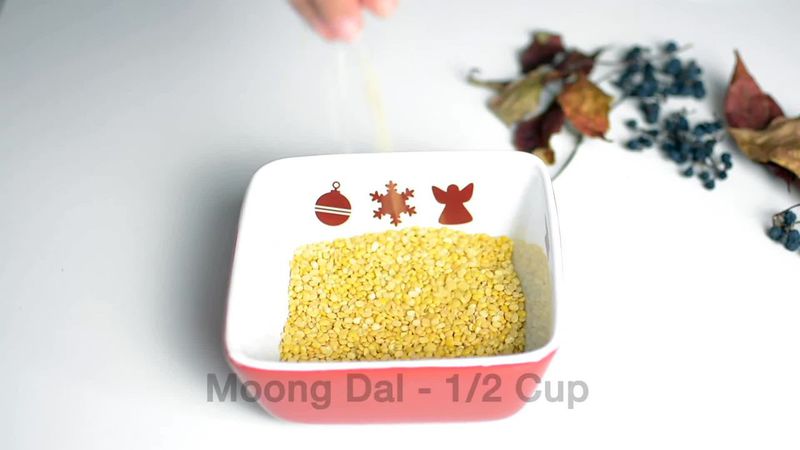
- Rinse 1/2 cup moong dal at least 3-4 times.
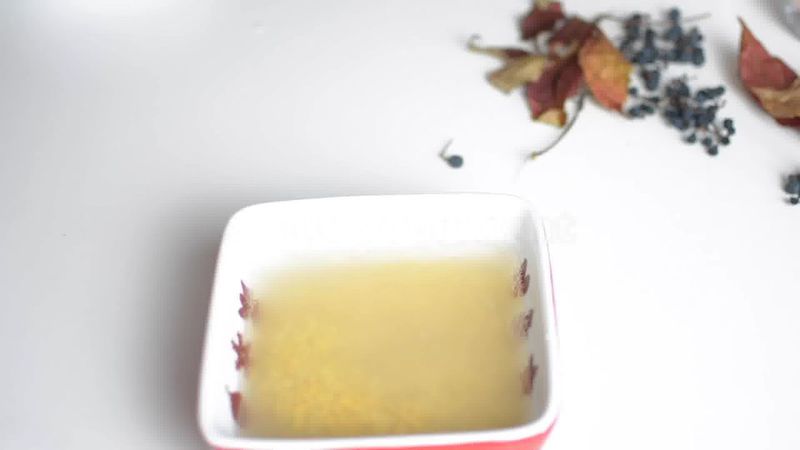
- Soak moong dal in a large bowl with 2 cups of water and 1/4 teaspoon baking soda and mix everything well. (The idea is to soak the dal completely in the liquids. Add more water if needed. The liquid should be about 1-2 inch above the moong dal.)
- Soak it for at least for 5-6 hours or overnight.
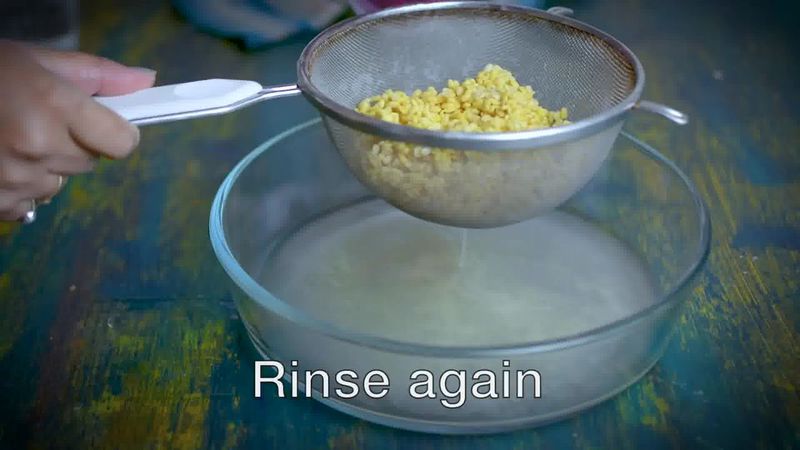
- Once soaked well, drain the excess water from it, rinse again with the clean water using a strainer / sieve. Shake off the excess water.
- Arrange this dal on a muslin cloth in a single layer to pat dry it.
- Let it air dry in a shade for at least 30 minutes to 1 hour. There shouldn’t be any moisture when you fry moong dal, so try to get them as dry as possible.


For Frying Moong Dal Namkeen:
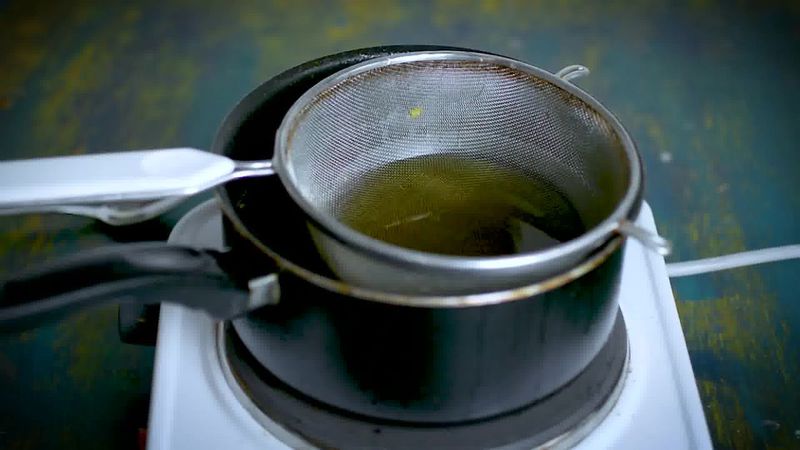
- Now heat vegetable / frying oil in a deep pan over medium heat.
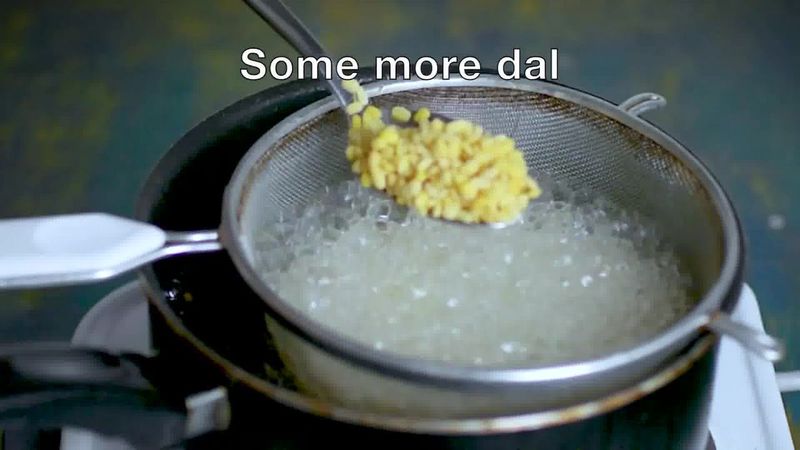
- Fry moong dal in a steel strainer in small batches. Keep stirring the dal occasionally, this step would prevent dal from sticking.
- Deep fry moong dal on medium heat for 7-8 minutes or until it turns crisp.
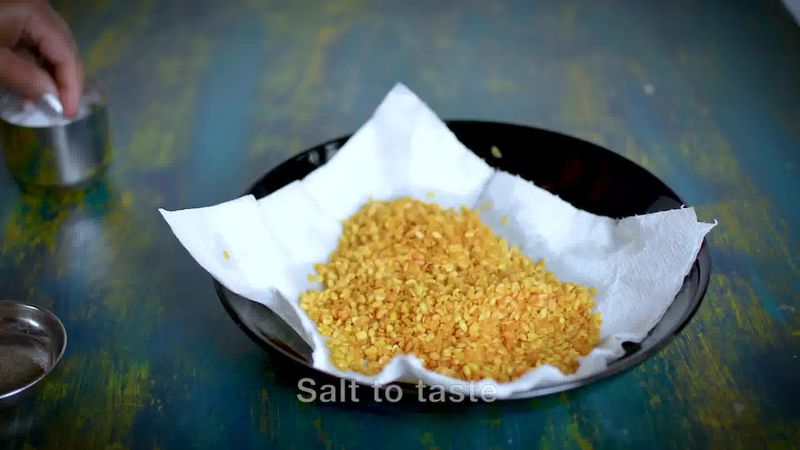
- Drain fried moong dal onto an absorbent paper to remove the excess oil.
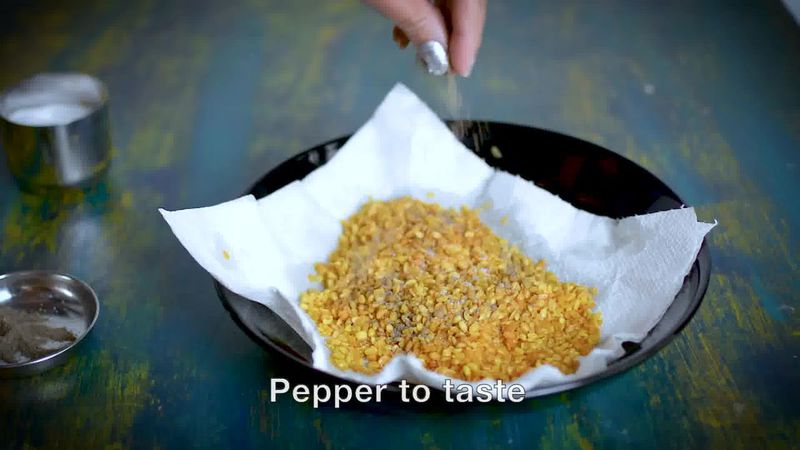
- Add desired spices when dal is slightly warm, and mix well. Cool completely and store moong dal namkeen in an air-tight container.
- Serve moong dal namkeen with hot rose masala chai or cafe mocha.
For Baking Moong Dal Namkeen:
- Preheat the oven to 400°F / 200°C. Line a baking tray with a foil or a parchment paper.
- Add 2 tablespoons of oil, some salt to the soaked moong dal and toss all the ingredients.
- Transfer this moong dal into the prepared baking tray and spread well to arrange them in a single layer.
- Bake for 25-30 minutes or until lightly browned in the preheated oven. Keep stirring every 10-12 minutes. Keep a close eye after 15-18 minutes to avoid any burning.
- Turn off the oven and let the baked moong dal cool inside the oven for 8-10 minutes. Take it out of the oven.
- Add desired spices for seasoning with 1 teaspoon of olive oil and stir everything well.
- Let the dal cool completely before storing in an airtight container. This would last for up to a week.


Recipe Card
Moong Dal Namkeen - Salted Crunchy Fried Moong Dal Snack [Recipe]
★★★★★
(Rating: 5 from 177 reviews)
| Prep time 🕐 | Cook time 🕐 | Total time 🕐 |
|---|---|---|
| Category ☶ | Cuisine ♨ | Servings ☺ |
| Snacks | Indian | 200 g |
| Nutrition Info ⊛ | Serving size ⊚ | |
| 470 calories | 100 g |
INGREDIENTS
For Soaking Moong Dal:
- 1/2 cup moong dal
- 1/4 teaspoon baking soda
- Water
For Cooking Moong Dal:
- Oil for deep frying
For Salted Moong Dal Namkeen Seasoning:
- Salt & pepper to taste
For Masala Moong Dal Namkeen Seasoning:
- Salt to taste
- 1/2 teaspoon chaat masala powder
- 1/4 teaspoon black salt
- 1/2 teaspoon red chili powder (lal mirch powder), or to taste
- 1/2 teaspoon amchoor powder (dried mango powder)
- 1/4 teaspoon black pepper powder (kali mirch powder)
INSTRUCTIONS:
For Soaking Moong Dal:
- Rinse 1/2 cup moong dal at least 3-4 times.
- Soak moong dal in a large bowl with 2 cups of water and 1/4 teaspoon baking soda and mix everything well. (The idea is to soak the dal completely in the liquids. Add more water if needed. The liquid should be about 1-2 inch above the moong dal.)
- Soak it for at least for 5-6 hours or overnight.
- Once soaked well, drain the excess water from it, rinse again with the clean water using a strainer / sieve. Shake off the excess water.
- Arrange this dal on a muslin cloth in a single layer to pat dry it.
- Let it air dry in a shade for at least 30 minutes to 1 hour. There shouldn’t be any moisture when you fry moong dal, so try to get them as dry as possible.
For Frying Moong Dal Namkeen:
- Now heat vegetable / frying oil in a deep pan over medium heat.
- Fry moong dal in a steel strainer in small batches. Keep stirring the dal occasionally, this step would prevent dal from sticking.
- Deep fry moong dal on medium heat for 7-8 minutes or until it turns crisp.
- Drain fried moong dal onto an absorbent paper to remove the excess oil.
- Add desired spices when dal is slightly warm, and mix well. Cool completely and store moong dal namkeen in an air-tight container.
- Serve moong dal namkeen with hot rose masala chai or cafe mocha.
For Baking Moong Dal Namkeen:
- Preheat the oven to 400°F / 200°C. Line a baking tray with a foil or a parchment paper.
- Add 2 tablespoons of oil, some salt to the soaked moong dal and toss all the ingredients.
- Transfer this moong dal into the prepared baking tray and spread well to arrange them in a single layer.
- Bake for 25-30 minutes or until lightly browned in the preheated oven. Keep stirring every 10-12 minutes. Keep a close eye after 15-18 minutes to avoid any burning.
- Turn off the oven and let the baked moong dal cool inside the oven for 8-10 minutes. Take it out of the oven.
- Add desired spices for seasoning with 1 teaspoon of olive oil and stir everything well.
- Let the dal cool completely before storing in an airtight container. This would last for up to a week.
Watch Full Recipe Video:
NOTES:
- Soaking moong dal for at least 4-5 hours or more is a must. I always soak moong dal overnight, and it swells up nicely and gives me great results.
- Air dry moong dal to remove all the dampness from the dal. Dal might splutter in the oil while frying if there is any moisture left. Also, they won’t turn crisp.
- Adding some baking soda while soaking makes dal perfectly crispy and gives it the desired texture. So I would recommend using it in this recipe.
- Moong Dal Namkeen is a Deep-fried snack. But instead of deep frying, you can bake and air fry moong dal namkeen.
- For air frying moong dal namkeen, follow the same recipe and instead of deep frying, air-fry them according to the manufacturer’s instructions.
- Always try to fry moong dal using a steel strainer. This way it would be easier to take out the fried moong dal from hot oil.
- Moong dal namkeen stays fresh for months when stored in airtight container at room temperature.
- Add the seasoning to dal when the dal is slightly warm. This way it would take in the flavors beautifully.
- The seasoning I used is for salted moong dal namkeen. I have also given the recipe of seasoning for making Haldirams style masala moong dal namkeen in the recipe box on this page.
If this recipe helped you, then please spread the word by sharing and subscribing to us on YouTube to get more such Recipe Videos.
Your feedback is so helpful for me and other My Ginger Garlic Kitchen readers. So, for Facebook and Instagram, please mention @MyGingerGarlicKitchen or #mygingergarlickitchen. I would love to see your photos. :)
Author: Anupama
Recipe Source Link: https://www.mygingergarlickitchen.com/moong-dal-namkeen/
Some other Diwali snacks you might like:
Questions or comments about this recipe:
Ask on