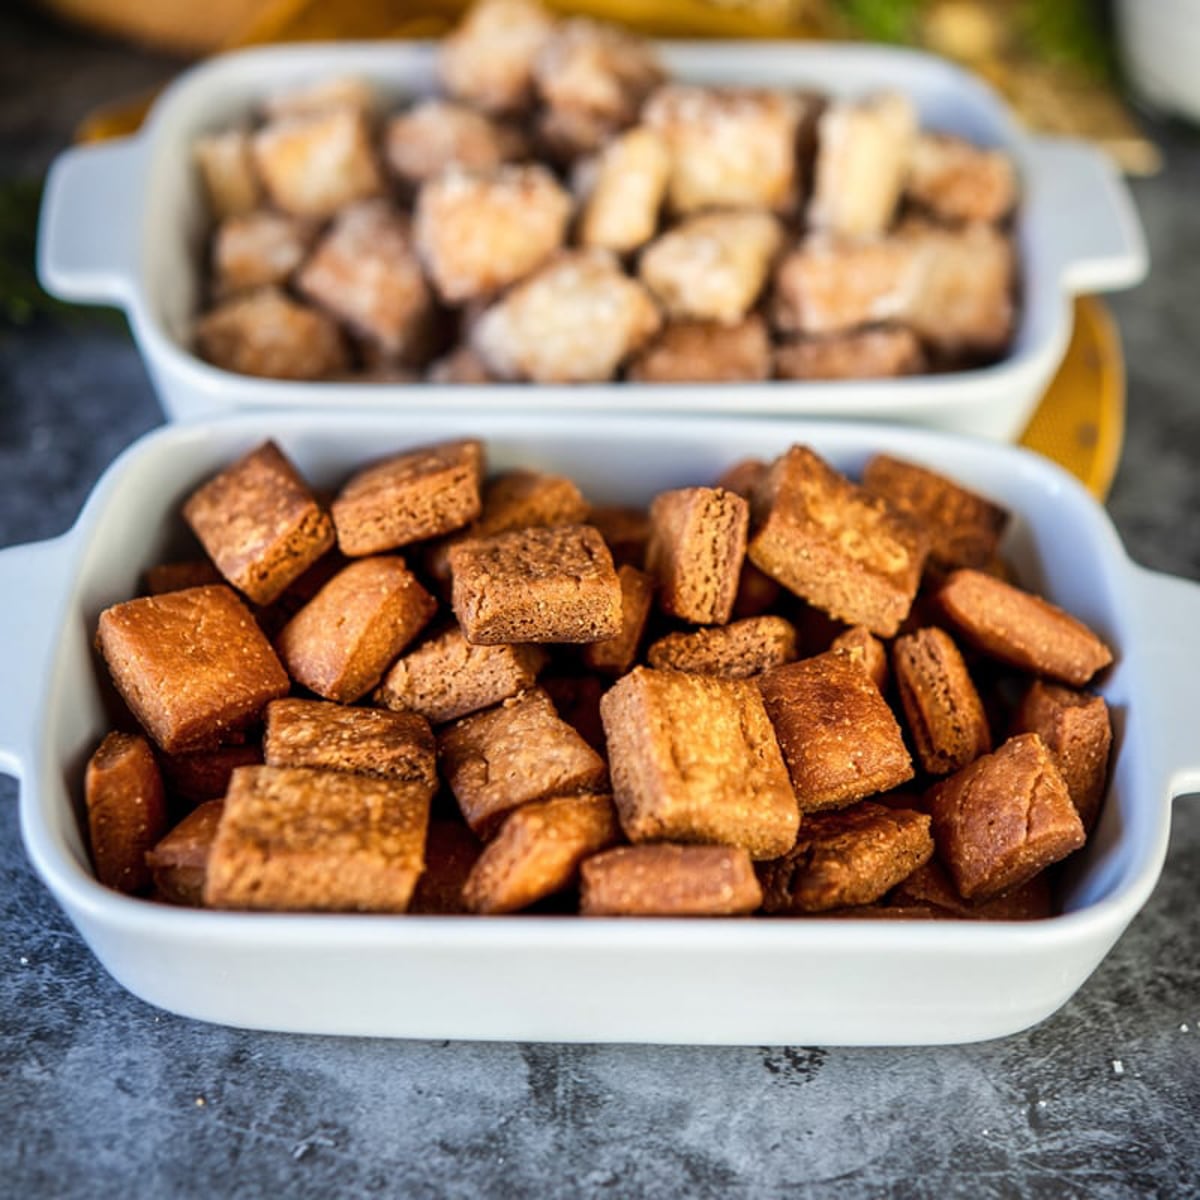
These crispy, sweet, crunchy, and deliciously flaky deep-fried pastries ‘Shakkarpara’ and ‘Shankarpali’ make a wonderful sweet snack along with some hot milk, masala chai, or coffee. Kids and grownups both love to munch on these addictive sweet snacks.
Develop dishes that tell a story or evoke nostalgia, enhancing the dining experience.
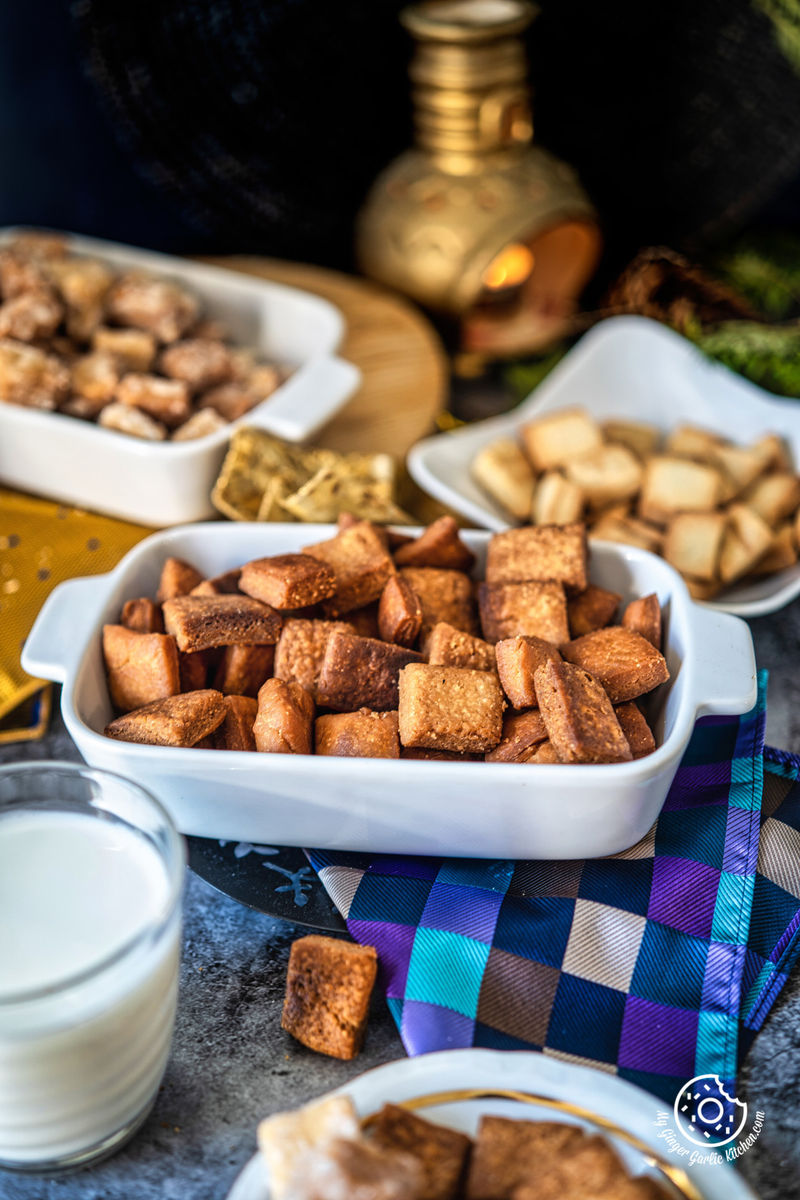
Shakkarpara and Shankarpali are specially made and relished during the festivals of Holi, Diwali, or Ganesh Chaturthi. Festivities are just incomplete without shakkarpara.
However, you don’t need to wait for any occasion or festival to enjoy these crispy bites, because they can also be made and enjoyed any time of the year when you are desiring something sweet and crunchy.
On this page, you will get both the shakkar para and shankarpali recipes with step-by-step picture recipes and video tutorials.
This page has all the tips, tricks, and variations to make the best shakkarpara, and this is the only recipe you’ll need to make fail-proof crunchy, crispy shakarpara and shankarpali.
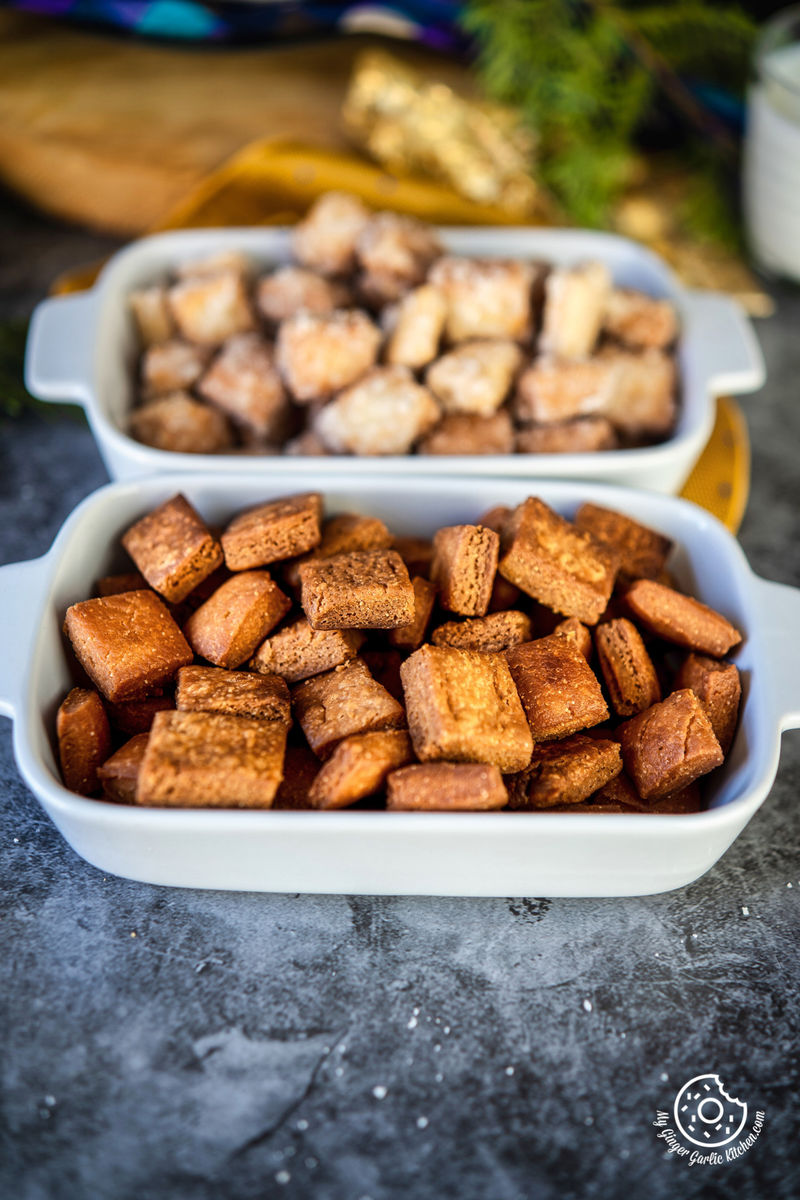
What is Shakkarpara?
Shakkarpara, Shakkar Para, or Shakkar Pare are popular sweet, crispy, flaky, and delicious deep-fried pastries from North India. The name of this sweet snack is different but the cooking technique is quite the same throughout the country.
In many regions they are known as latko, or maida ka petha, or khurma.
Shakharpara is also an essential part of North Indian weddings. A Shakkarpara box is gifted to the guests along with other sweets. I don’t know the significance of gifting shakkarpara, but there must be some sort of custom involved.
A perfectly made shakkar para is always crisp, crunchy yet melt-in-mouth, just like the butter cookies. The sweetness of shakkar para depends on the one who is making it. Every home has its own way of making shakkarpara and shankarpali.
What is Shankarpali?
This sweet snack Shankarpali hails from the Western states of India where sweetened pastry dough is cut into rectangles or squares. Then these squares are deep-fried on low heat until they are crispy and golden.
Shankarpali is specially made in the states of Maharashtra during the festival of Diwali. Some people also call it ‘maida ke biscuit’ (all-purpose flour cookies).
During festivals, Indian people gift dry sweets and snacks to neighbours, relatives and friends. And these goodies include shakkarpara, shankarapli, chakli, namak para, gujiya, besan ladoo, masala mathri, nankhatai, kaju katli, mysore pak, coconut ladoo, kaju pista roll, verki puri and many more. The list is endless. :) Like Shakkapara, they also make a lovely sweet snack for any time of the day.
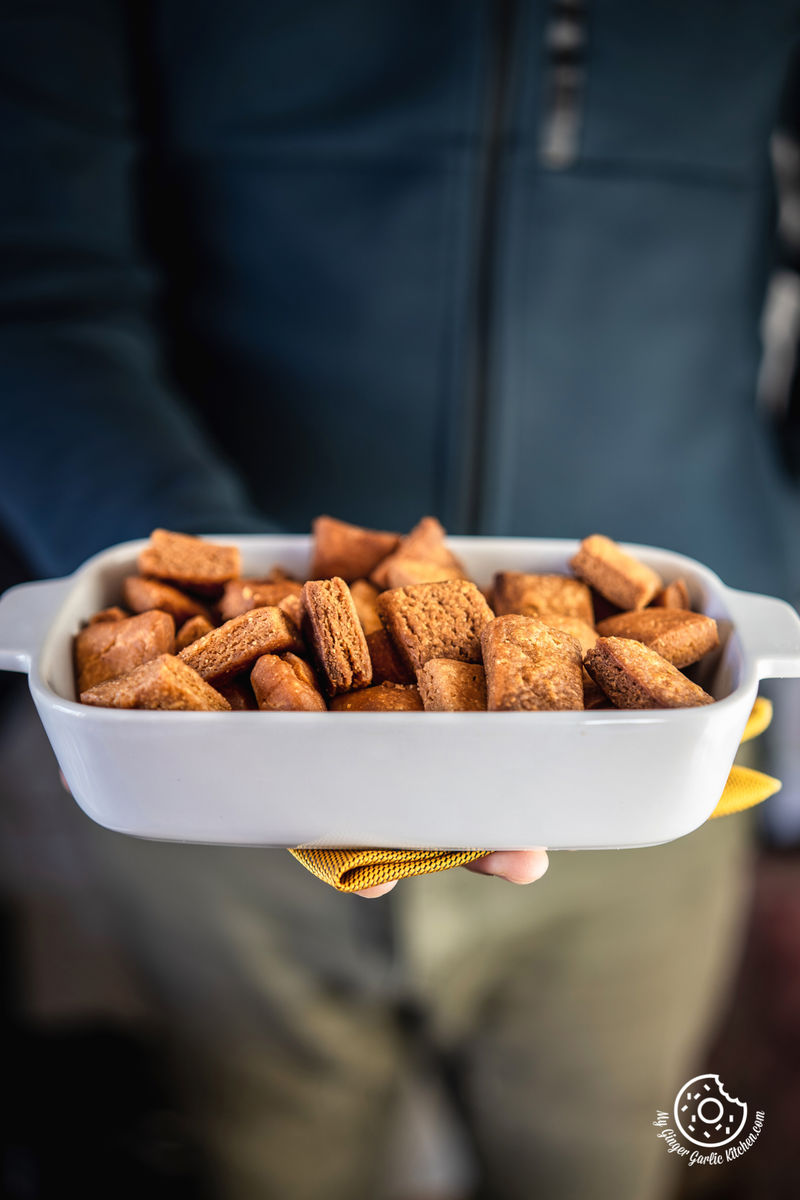
Are shakkarpara and shankarpali the same?
They are similar, but not exactly the same. Ingredients used in both the recipes are the same, but their cooking method is insignificantly diverse and they also have different tastes and textures.
However, the essence of both recipes is the same, so you can say that they both come from the same family.
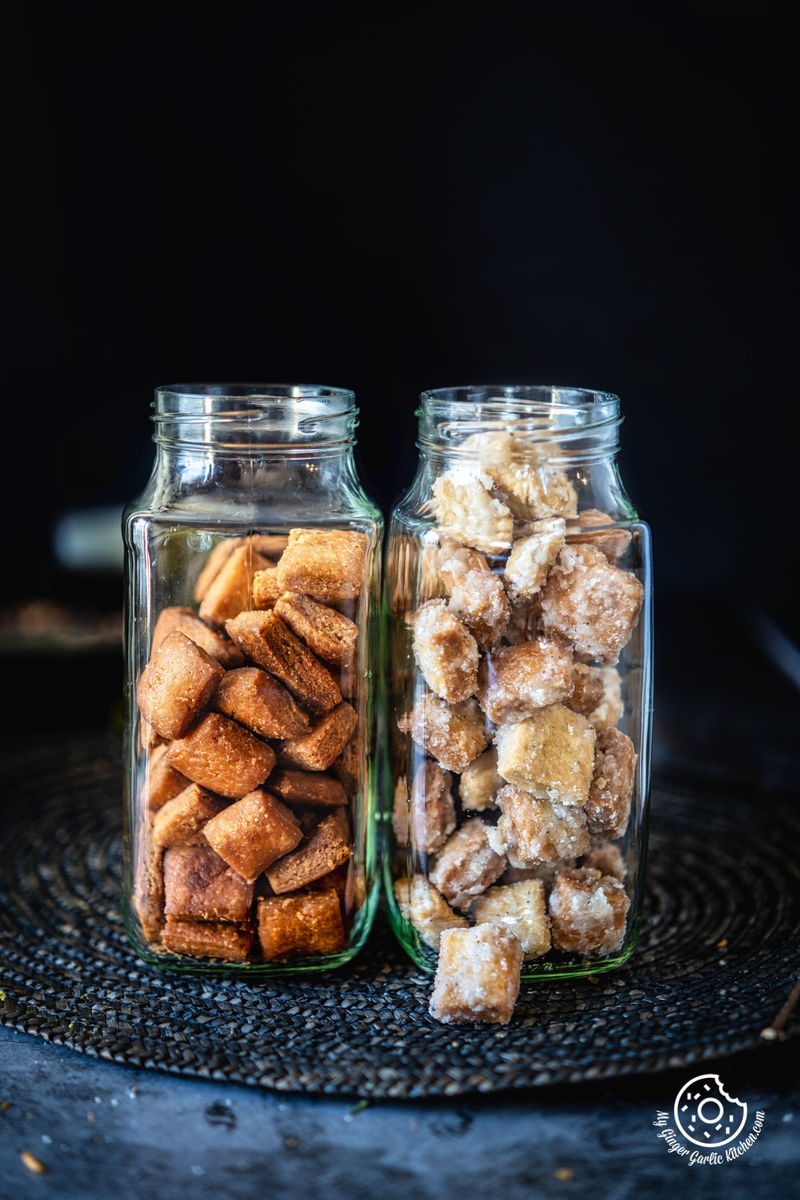
Shakharpara recipe is the one where you deep fry pastry squares or diamonds first, and then coat them with sugar syrup which makes a crystallized sugar coating after cooling.
Whereas in the shankarpali recipe, you knead the dough with sweetened water/milk then deep fry them into squares or diamonds.
My mom made both the versions every time she made shakkar para, and I loved them both. On this page, I am sharing both recipes with you.
What are the features of Shakkarpara & Shankarpali?
This shakkarpara and shankarpali:
✔make an extravagant tea time snack when you want something sweet to munch on
✔are also great for gratifying late-night sweet cravings
✔are a wonderful filler breakfast for school going kids
✔can also be served as an after-meal dessert
✔also make a great after school snack
✔also make an excellent holiday gift
✔are deep-fried, but can also be baked and air-fried
✔are so delightful and addictive
✔are a perfect addition to your party snack table
What are the ingredients needed for Shakkarpara?
Shakkar para is made with 6 (4 compulsory + 2 optional) simple ingredients. These ingredients are:
Flour:
I used maida (all-purpose flour).
Sugar:
I used granulated white sugar. You can also use crystal or raw sugar.
Ghee:
It is used in making dough. You can replace ghee with oil or with unsalted butter.
Salt:
I added a pinch of salt to the dough. It enhances the taste and complements the sweetness. This is completely optional, so if you don’t want salt, then use can skip it.
Oil:
I have deep-fried shakarpara in frying oil, but you can also deep-fry them in ghee.
Cardamom powder:
A dash of cardamom powder is added to the sugar syrup for flavoring. This is also optional.
What are the ingredients needed for Shankarpali?
Shankarpali is made with 6 (4 compulsory and 2 optional) simple ingredients. These ingredients are:
Flour:
I used maida (all-purpose flour), you can also use whole wheat flour.
Semolina:
I added 1 tablespoon semolina to the dough for a nice added texture. Adding semolina is optional though.
Sugar:
I used granulated white sugar. You can also use crystal sugar, jaggery, or raw sugar.
Ghee:
It is used in making dough. You can replace ghee with oil or with unsalted butter.
Salt:
A little salt elevates and complements the sweetness of shankarpali. Adding salt is optional, so if you don’t want salt, then use can omit it.
Oil:
I have deep-fried shankarpali in frying oil, but you can also deep-fry them in ghee.
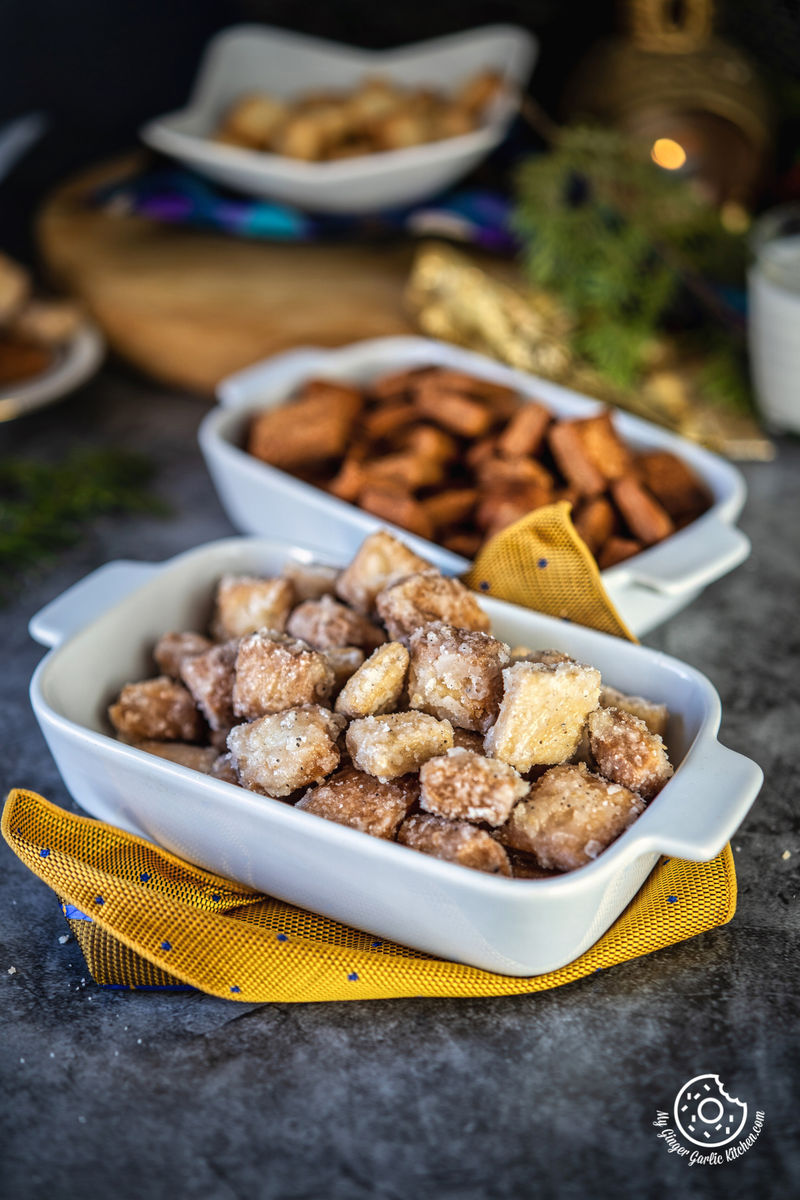
How to make Shakkapara?
Making shakkarpara is a fairly simple job. All you need to do is make the pastry dough, then shape it into diamonds or squares. And then deep-frying them. Finally a coating of sugar syrup and then you are done. This is how you can make shakkarpara in 5 easy and quick steps:
Step 1:
Make the dough.
Step 2:
Roll dough and shape into squares or diamonds.
Step 3:
Deep fry (air-fry, bake) squares until they are lightly golden.
Step 4:
Make sugar syrup.
Step 5:
Coat fried shakkarpara with sugar syrup and let them cool. Done.
For a full list of Shakkarpara recipe ingredients and step-by-step photo and video instructions, please see the recipe box on this page.
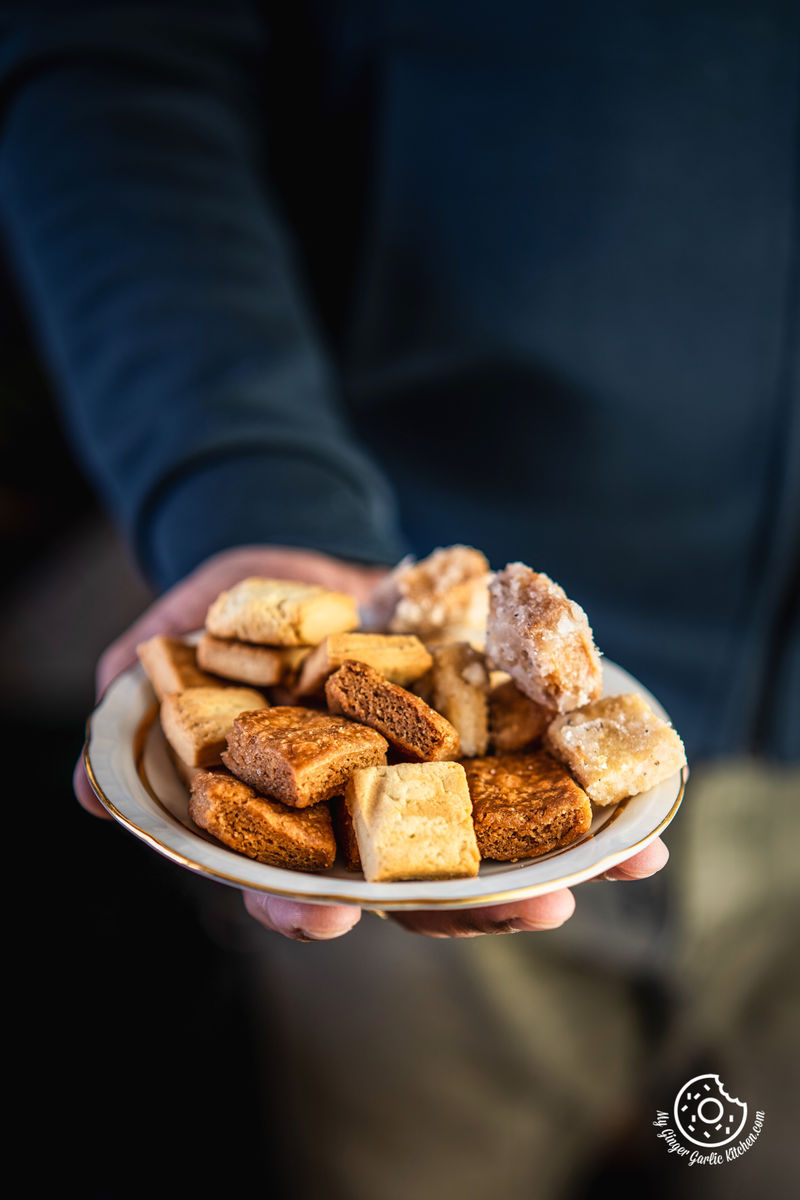
How to Make Shankarpali?
To make shankarpali, you need to make the sweetened dough first. Then roll and shape this dough into diamonds or squares and then deep fry them. This is how it is done in 5 simple steps:
Step 1:
Make the dough.
Step 2:
Roll dough and shape into squares or diamonds.
Step 3:
Deep fry (air-fry, bake) squares until they are crispy and deep golden. Done.
For a full list of Shankarpali recipe ingredients and step-by-step photo and video instructions, please see the recipe box on this page.
How to make shakkarpara and shankarpali vegan?
To make vegan shakkarpara and shankarpali, replace ghee with cooking oil.
How to store Shakkarpara and Shankarpali?
To store Shakkarpara and Shankarpali, let them cool completely at room temperature. Then keep at room temperature in a kitchen tissue-lined air-tight container. Lining the airtight container would keep Shakkarpara and Shankarpali crispy for a long time.
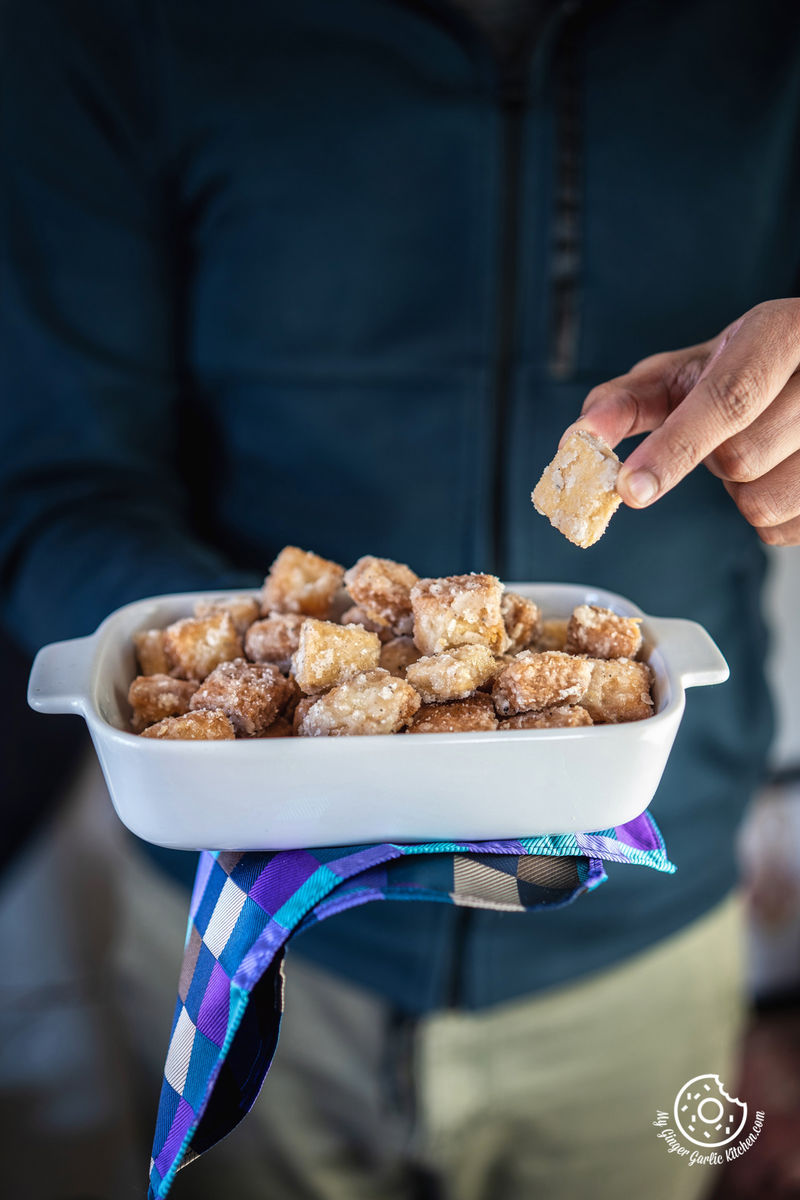
Can I bake Shakkarpara and Shankarpali?
Yes, you can easily bake shakarpara and shankarpali recipes. To bake, arrange the shaped shakkarpara and shankarpali in a lined baking tray, keeping some space in between. Then bake them in a preheated oven at 180°C for 22-25 minutes or until they are crisp and golden.
When baked, turn off the oven and let them cool completely on a wire cooling rack.
You will get the detailed recipe in the recipe card on this page.
Can I air-fry Shakkarpara and Shankarpali?
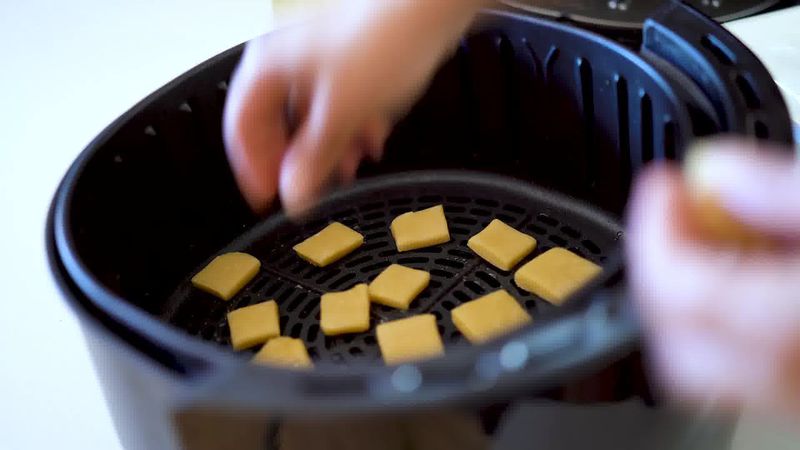
Yes, definitely you can air fry shakarpara and shankarpali recipes. To air fry, spray the air-fryer basket with some oil, and then place shaped shakkarpara and shankarpali in the basket. Spray with some more oil and air-fry in a preheated airfryer.
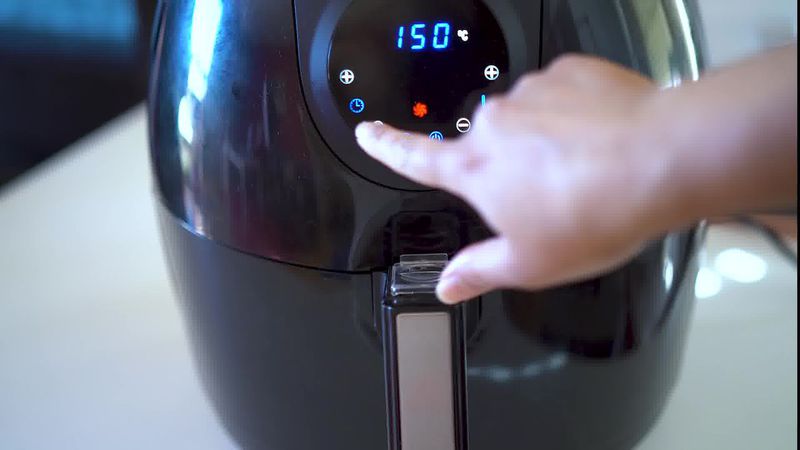
Air fry shakkarpara at 150°C for 13 minutes, then transfer them in a plate and dunk in the sugar syrup.
Air fry shankarpali at 150°C for 16 minutes. Once air fried, transfer them to a plate and let them cool.
You will get the detailed recipe in the recipe card on this page.
More Air Fryer recipes you would love are:
Masala Kaju (Fried, Air Fryer, and Baked Recipe)
Masala Peanuts (Fair Fryer, Baked and Fried Recipe)
Cheese Garlic Masala Mathri (Fried, Fair Fryer, Baked Recipe)
What are the important tips and variations to make the best tasting Shakkarpara and Shankarpali?
Tip 1. Shakkapara and shankarpali are traditionally deep-fried, but you can also bake or air fry them. On this page, I have given instructions for all the versions.
Tip 2. I have only used maida (all-purpose flour) for making Shakkarpara and Shankarpali. But you can also use the combination of whole wheat flour and maida. If you want, you can totally replace maida with whole wheat flour.
Tip 3. Adding 1 tablespoon of semolina (suji) to the shankarpali dough adds a nice crunch and texture to the recipe, so it is highly recommended.
Tip 4. You won’t find much difference in the taste when you fry or bake shakkarpara. This is because the sugar coating on the top creates the whole impact on the taste.
Tip 5. Air-fried and baked shankarpali tastes a little different than the deep-fried ones. They have a lighter color shade, less flaky texture, and they taste more like a baked butter cookie.
Tip 6. You can easily double or triple the shakkarpara and shankarpali recipes.
Tip 7. I have used water for both recipes, but you can also use milk if you want an even richer taste.
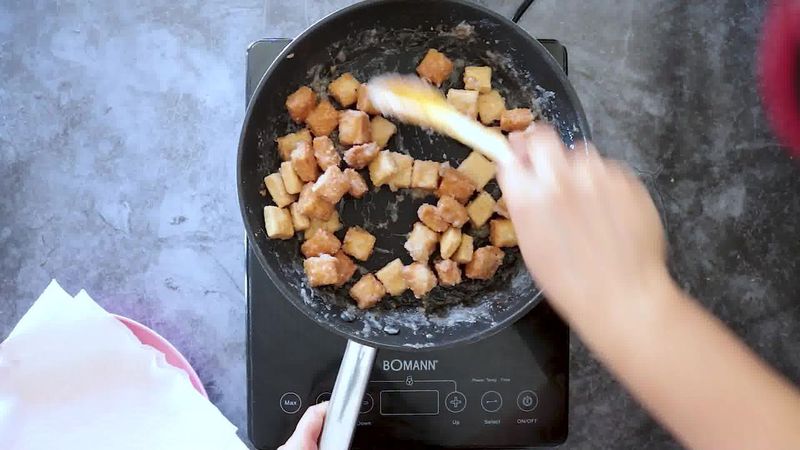
Tip 8. When coating shakkarpara with sugar, make sure to toss gently until the sugar crystallizes. And after that immediately place them on a cooling rack. Try not to arrange them in clump, this step would prevent them from sticking to each other.
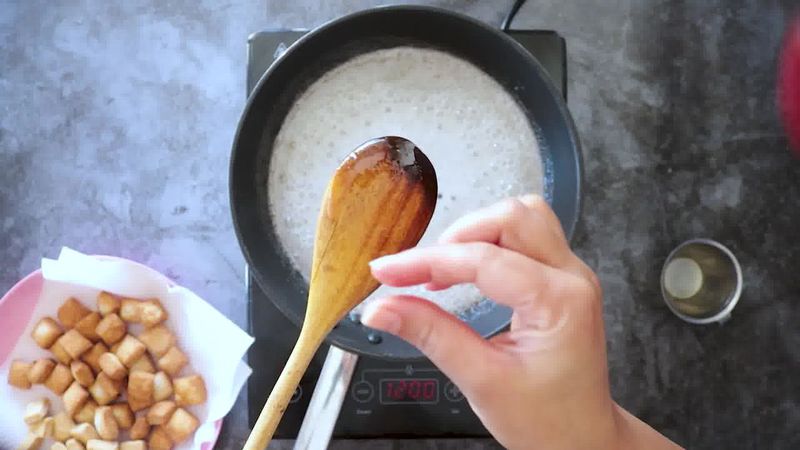
Tip 9. For the shakkarpara recipe, sugar syrup consistency is very important. So when making sugar syrup, add very little water just to cover the sugar. Then let the syrup come to 1 string consistency, and after that let it cook for about 1 minute and then turn off the heat.
Tip 10. You can replace the sugar with jaggery in both recipes.
Tip 11. I have added cardamom powder only in the shakkarpara recipe, but you can also add cardamom powder to the shankarpali dough.
Tip 12. To get more flavors in the shakkarpara recipe, you can add some saffron strands to the sugar syrup.
Tip 13. Traditionally, dry fruits are not used in shakkarpara and shankarpali recipes, but sometimes I like to add coarsely powdered almonds or cashews to the dough. They taste amazing.
Tip 14. I have deep-fried shakkarpara and shankarpali in oil, but you can also use ghee for deep-frying these sweet snacks.
Tip 15. When frying shakkarpara and shankarpali make sure to fry them at low heat.
Tip 16. Do not overcrowd the pan when frying shakkarpara and shankarpali.
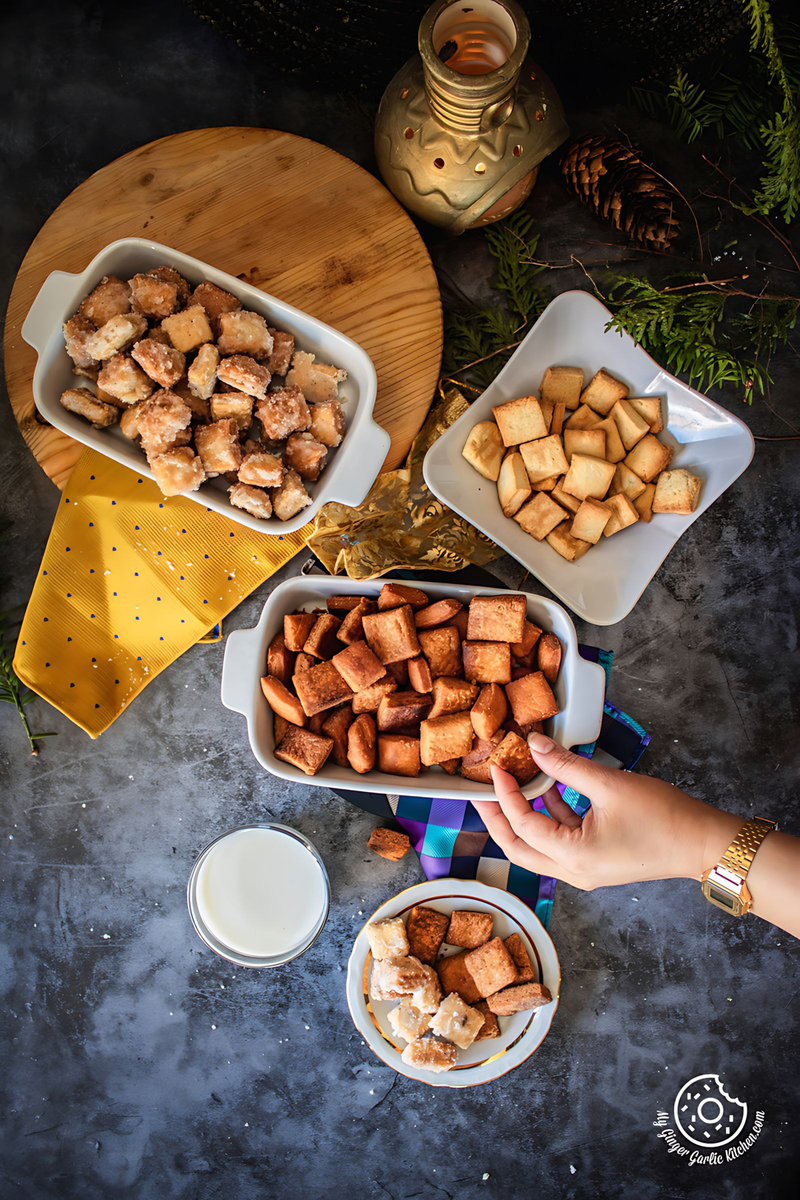
Shakkarpara + Shankarpali (Fried, Air Fryer, and Baked Recipe) (Step-by-step photo instructions)
How to make shakkarpara:
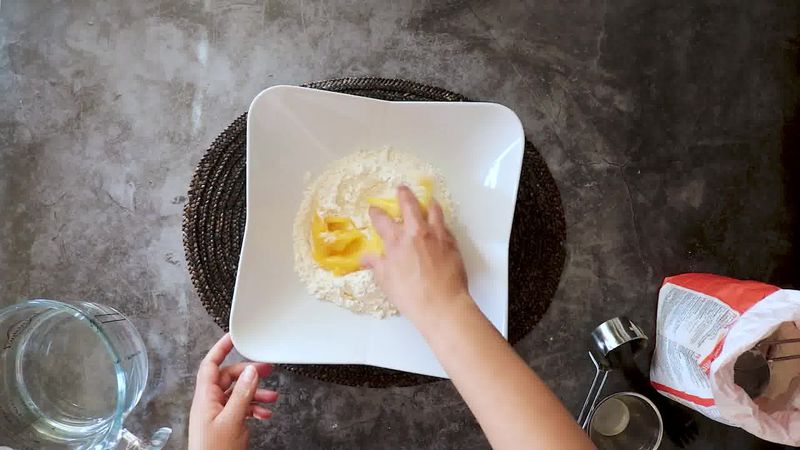
- In a large mixing bowl, add the flour, ghee, salt, and mix well using your fingertips until combined.
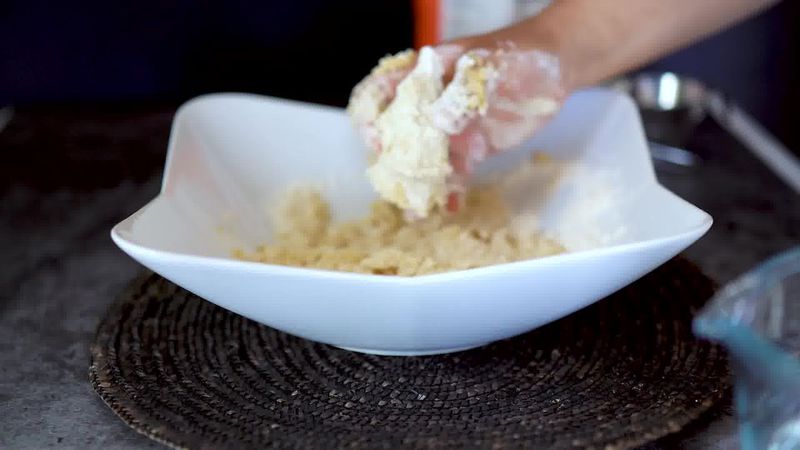
- At this point, this mixture would hold a shape without falling apart when pressed between your fist. If you get the shape as shown below, then the mixture is ready.
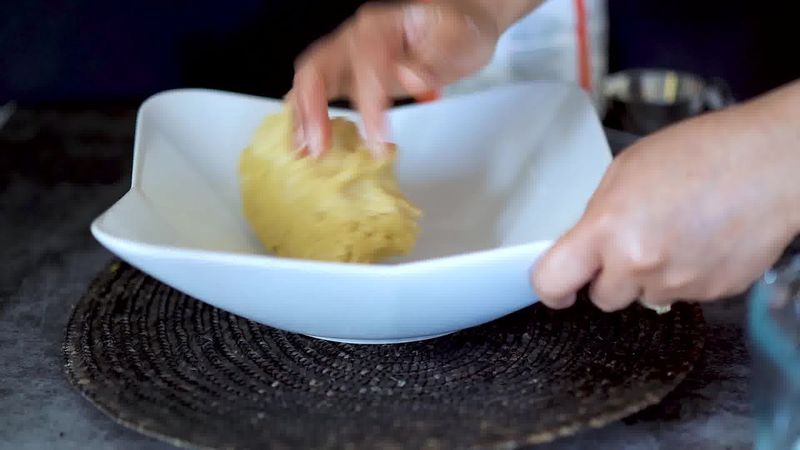
- Now add warm water little by little and knead into a semi-firm dough. The amount of water depends upon the variety of flour.
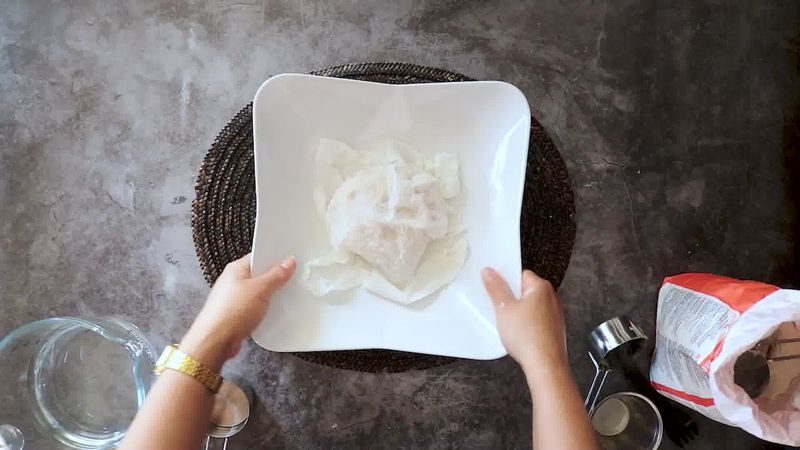
- Once the dough is ready, cover it with a damp kitchen towel and let it rest for 30 minutes.
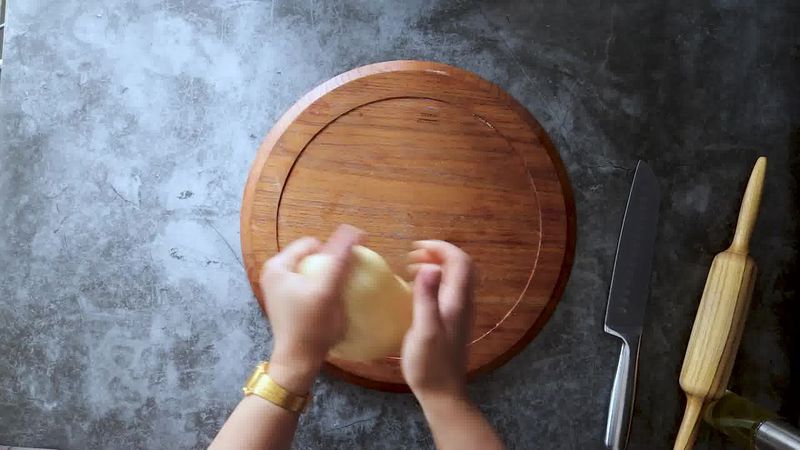
- After the resting time, uncover the dough and knead it slightly.
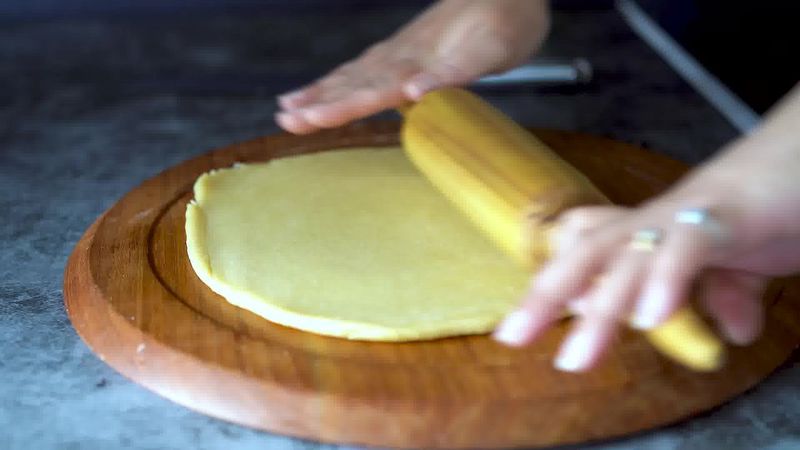
- Now flatten the dough ball and roll it out into a 1 cm thick disc.
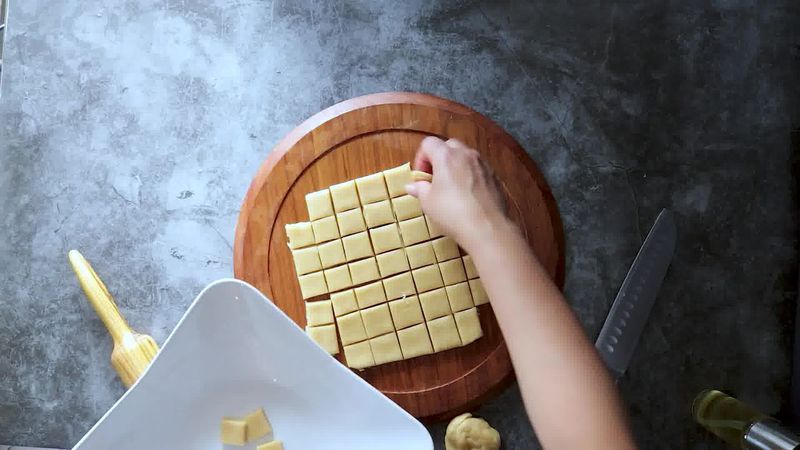
- Trim the edges and then cut them into small squares or diamonds. I cut them into about 2 cm squares.
Deep Frying Shakkarpara:
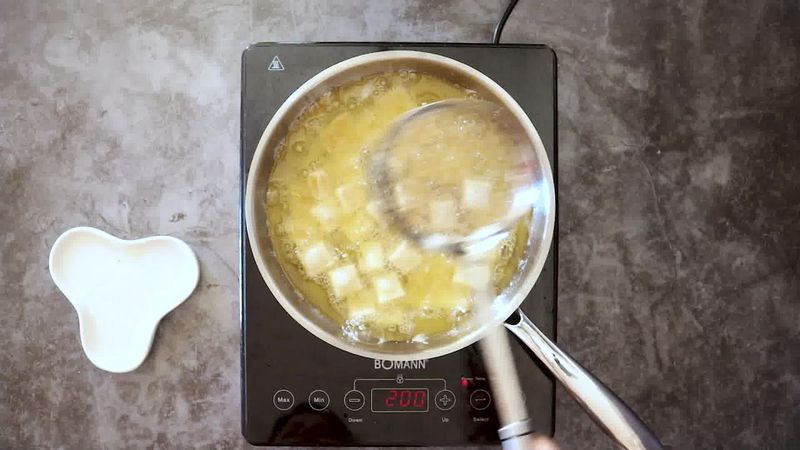
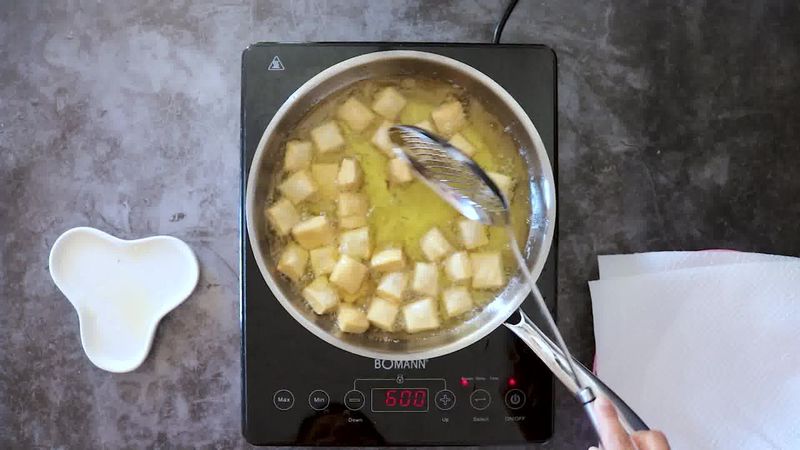
- Heat oil in a broad pan. Once the oil is hot, turn the heat to low and then drop shakkarpara squares. Do not overcrowd the pan.
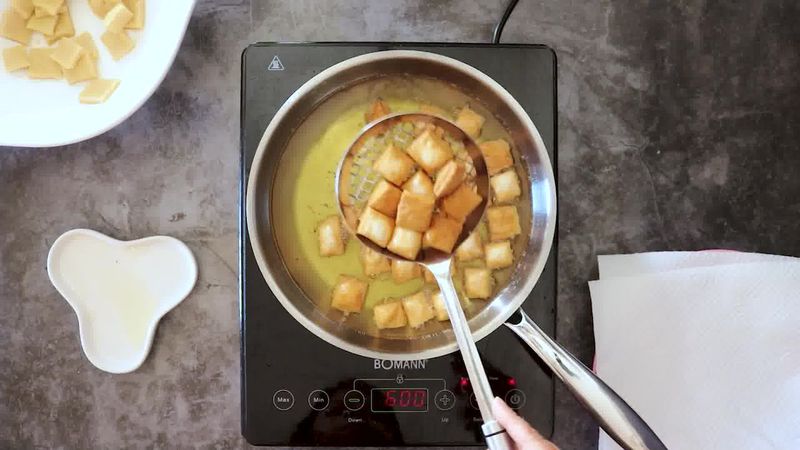
- Deep fry shakkarpara on low heat until they are lightly golden. Once they start floating, flip them using a slotted spoon. Keep stirring occasionally to get the even color.
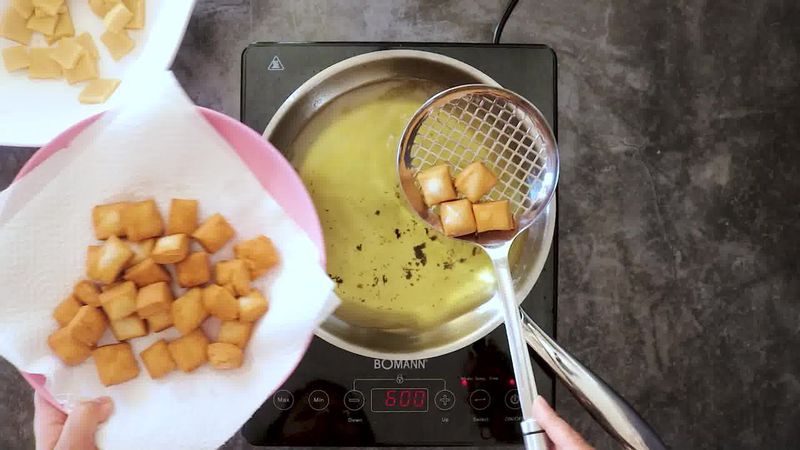
- Once golden brown from both sides, remove them with a slotted spoon and transfer them on a kitchen tissue-lined plate.
- Let them cool completely.
How to Air-Fry Shakkarpara:
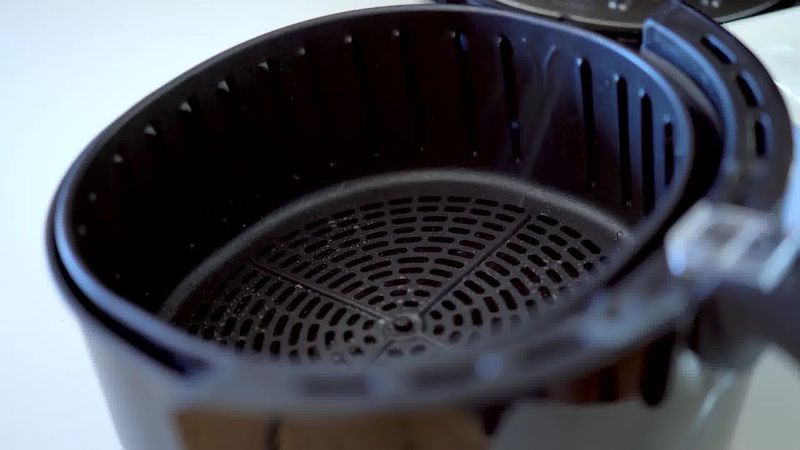
- Preheat the air fryer at 150°C/300°F. Spray or brush the air fryer basket with some oil.
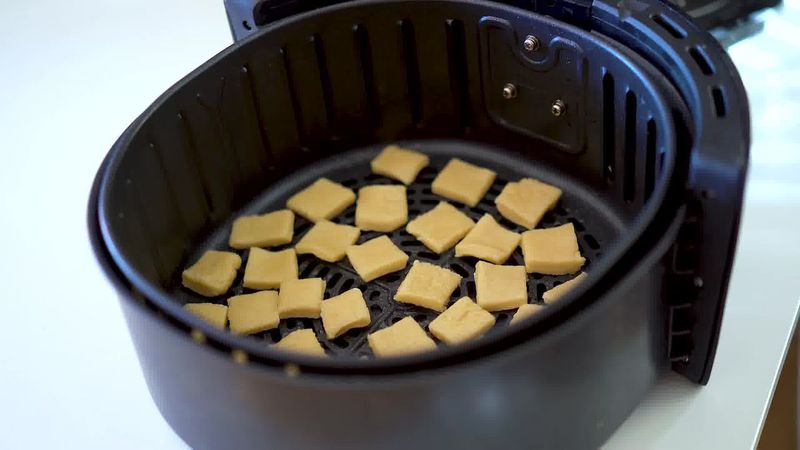
- Arrange rolled shakkarpara squares in the basket keeping some space in between.
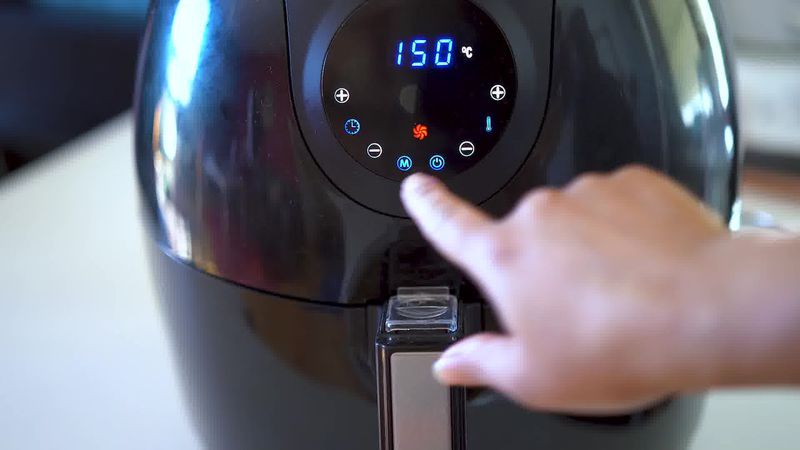
- Air fry at 150°C/300°F for 16 minutes.
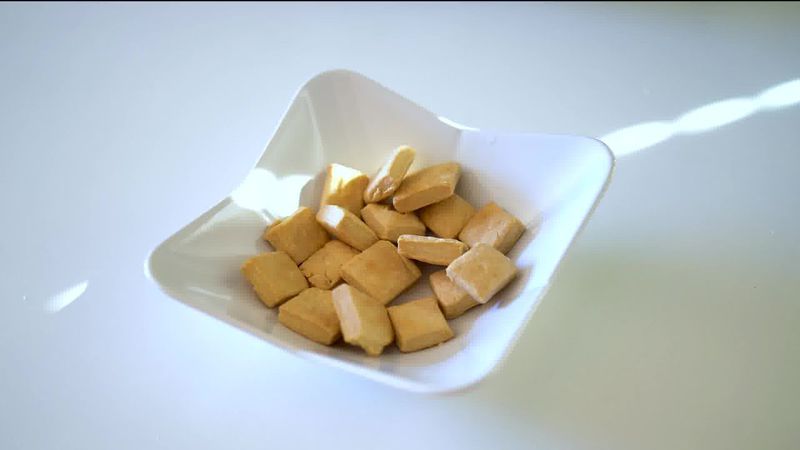
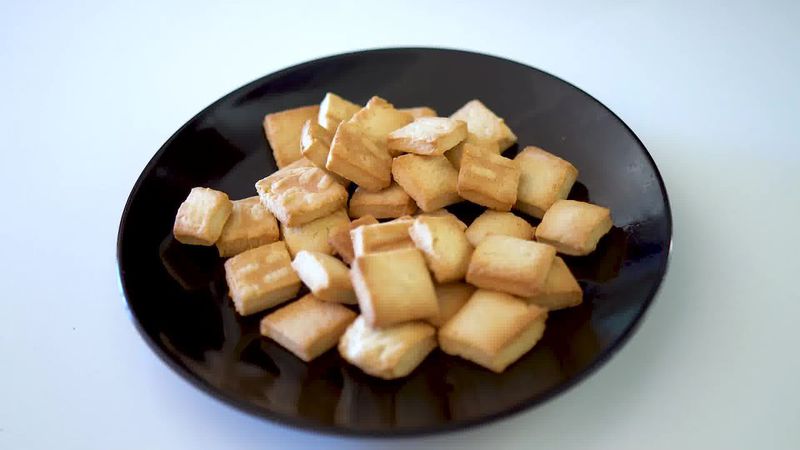
- Once done, transfer them onto a plate and let them cool completely.
How to Bake Shakkarpara:
- To bake, preheat the oven at 180°C/356°F.
- Line a baking tray with parchment paper.
- Then arrange shaped squares on the tray. Spray or brush with little oil.
- Bake at 180°C/356°F preheated oven for 22-25 minutes or until crisp and golden.
- Once baked, remove from the oven and let them cool on a wire rack.


Make Sugar Syrup:
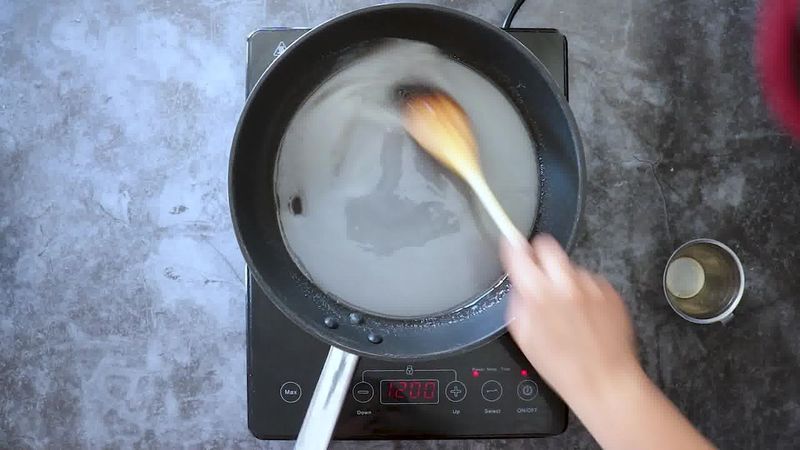
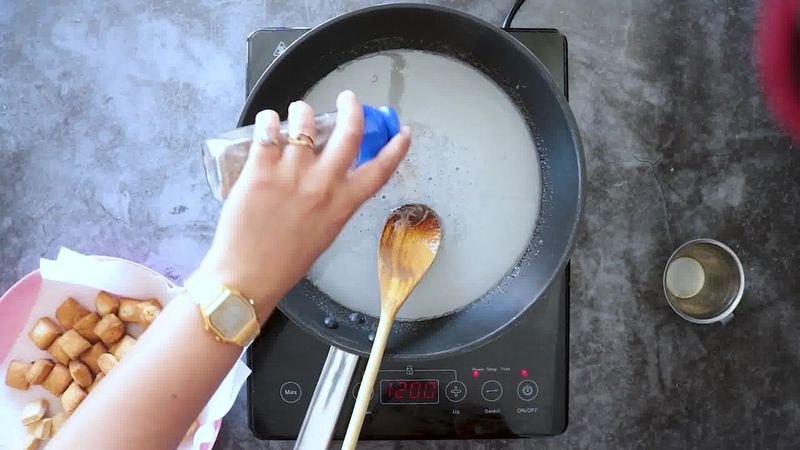
- Heat a pan over medium heat. Add sugar, water and mix well until sugar dissolves completely.
- Add cardamom powder and mix well.
- Keep it boiling, bubbling and bring the syrup to a one thread consistency. Keep cooking for 1 more minute, then switch off the heat. At this point, sugar syrup should be sticky and thick.
Coat Shakkarpara With Sugar Syrup:
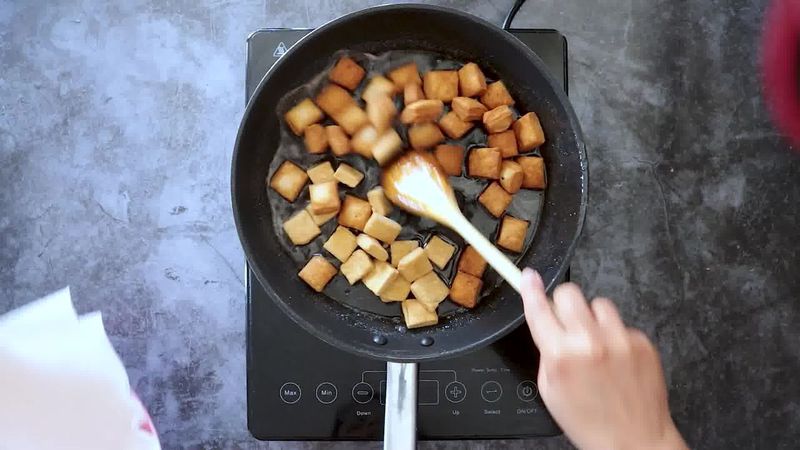
- Add cooled fried shakkarpara to the sugar syrup.
- Keep tossing and mixing lightly until the sugar syrup crystallizes.
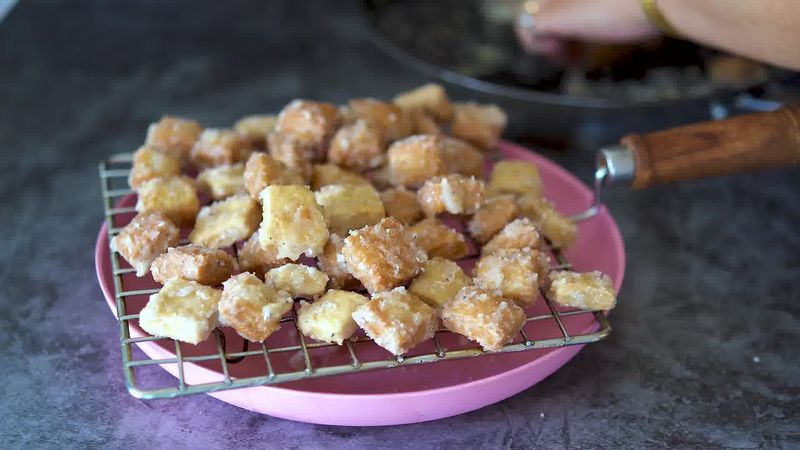
- Now transfer sugar-coated Shakkarpara on a wire rack and let them cool down completely. The sugar syrup will get harden as it cools down.
- Transfer them to an airtight container and store for up to 2-3 weeks at room temperature. Enjoy them with tea or coffee.
How to Make Shankarpali:
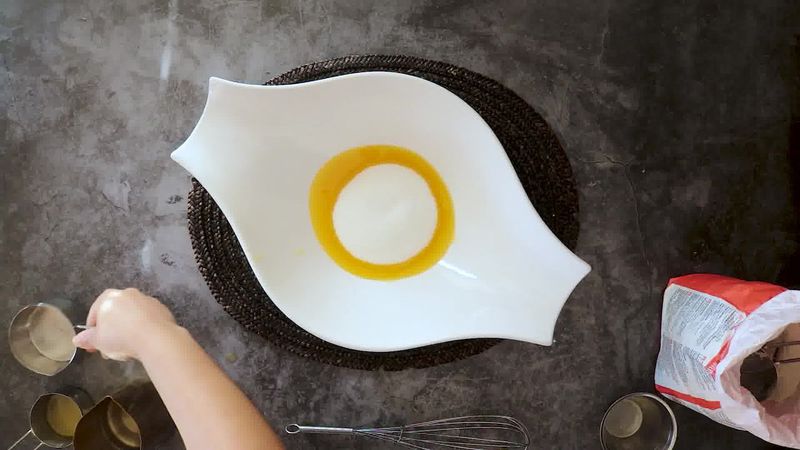
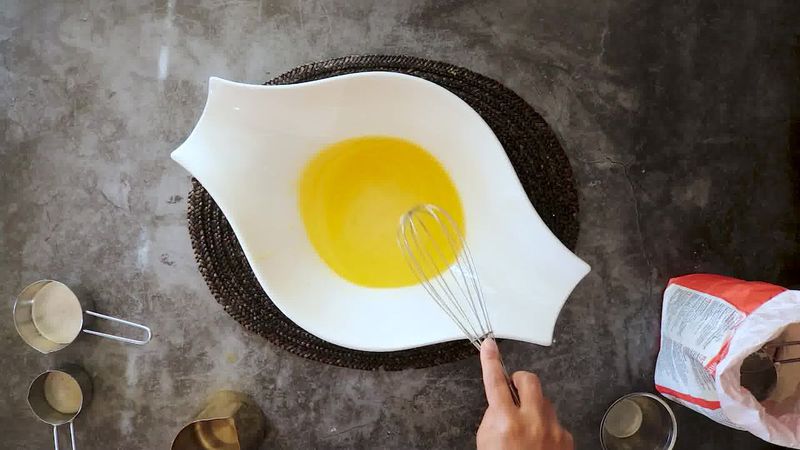
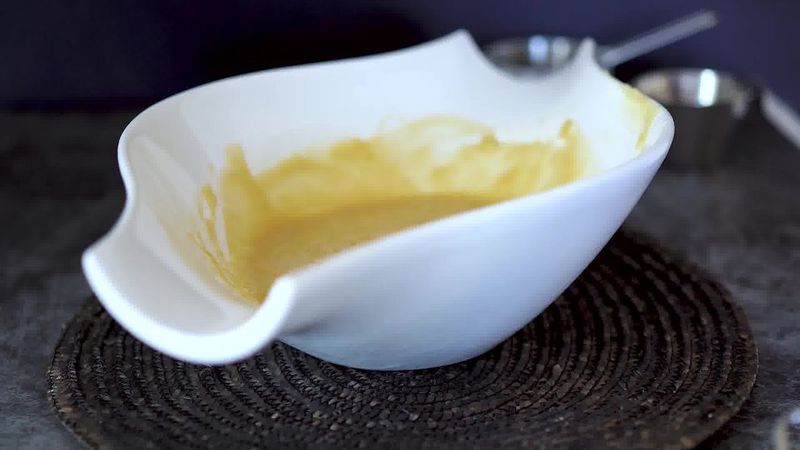
- Add melted ghee, sugar, and hot water to a large mixing bowl.
- Whisk well until sugar is dissolved completely.
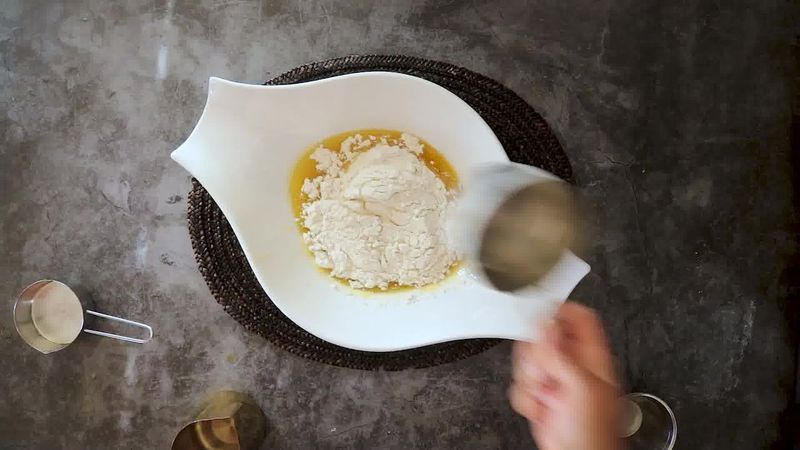
- Now add 1 cup of flour and mix using hands.
- At this point, you will get a runny batter kind consistency.
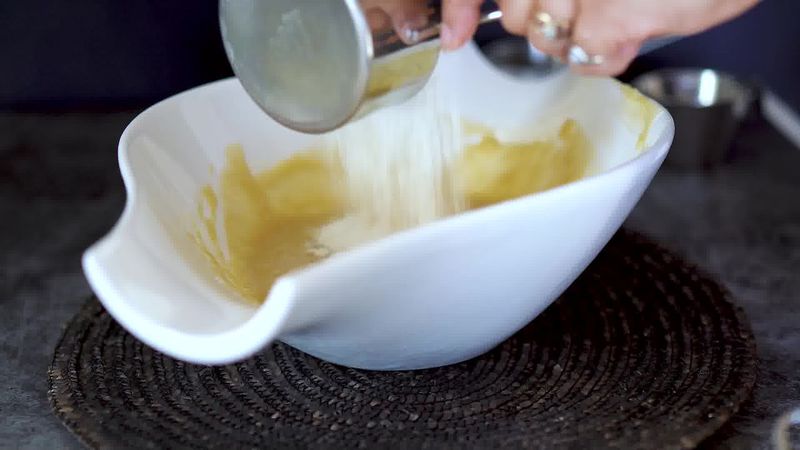
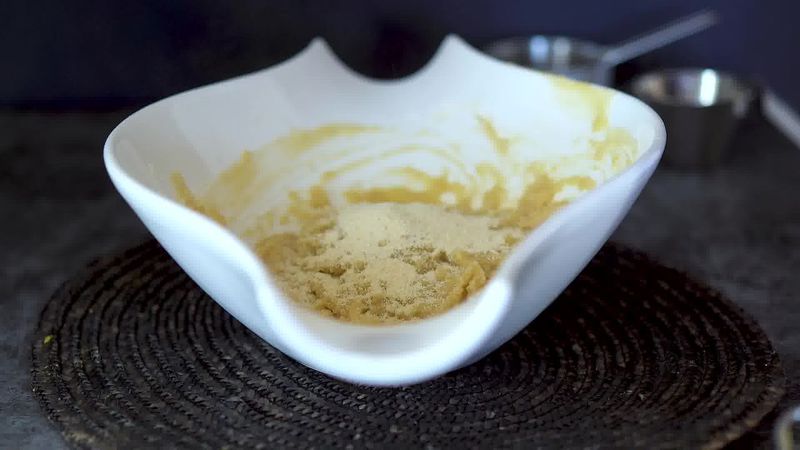
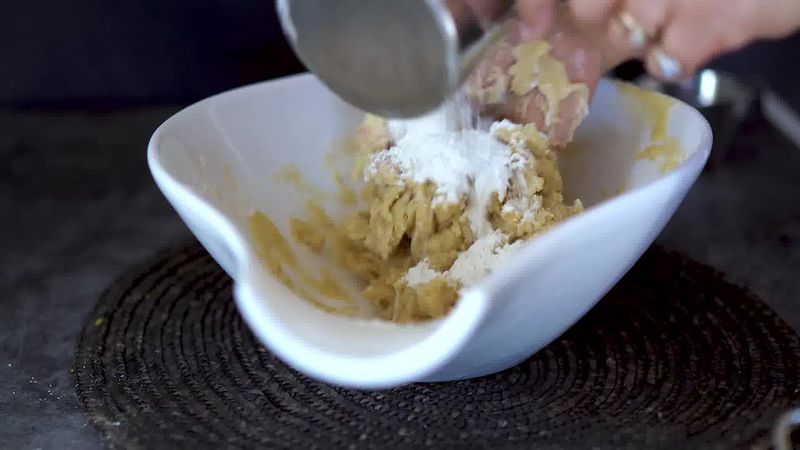
- Now add 3/4 cup of flour and mix together.
- After that add 1 tablespoon of semolina and mix well.
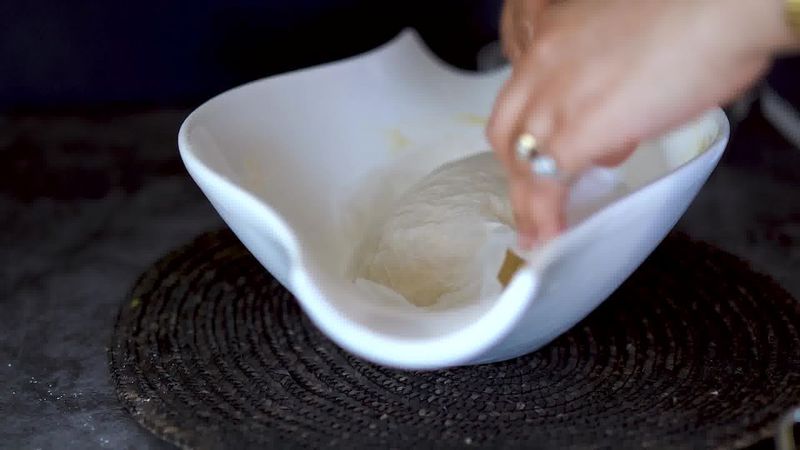
- Add 2 more tablespoon of flour and knead into a semi-firm dough.
- Cover the dough with a damp paper or kitchen towel and set it aside for 30-40 minutes.
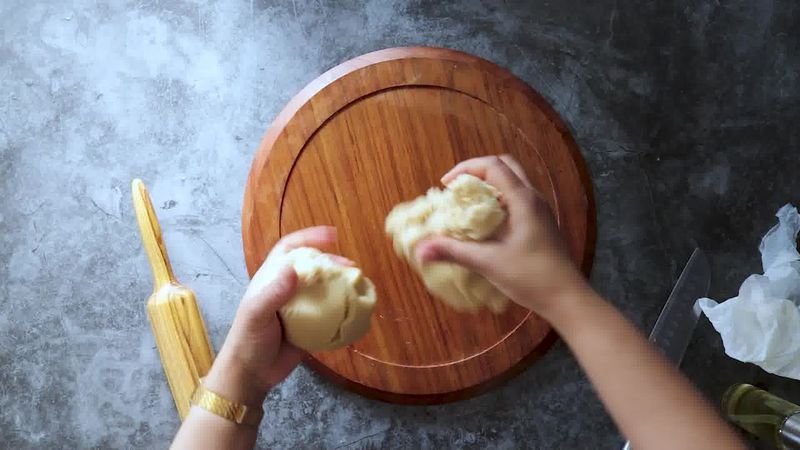
- After resting, uncover the dough and divide it into 2 portions.
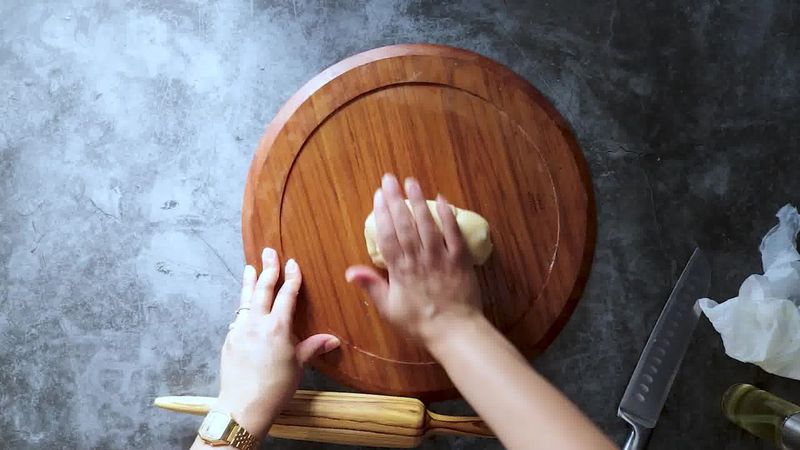
- Take one portion and knead again.
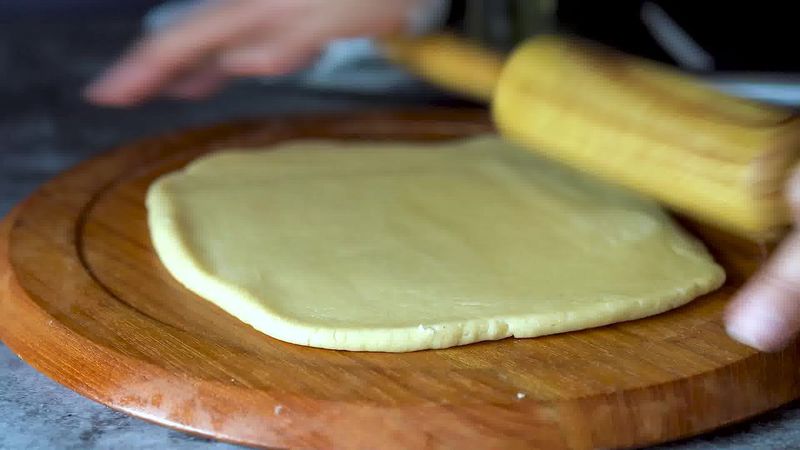
- Now roll out into a 1 cm thick sheet. It should be slightly thicker than the roti.
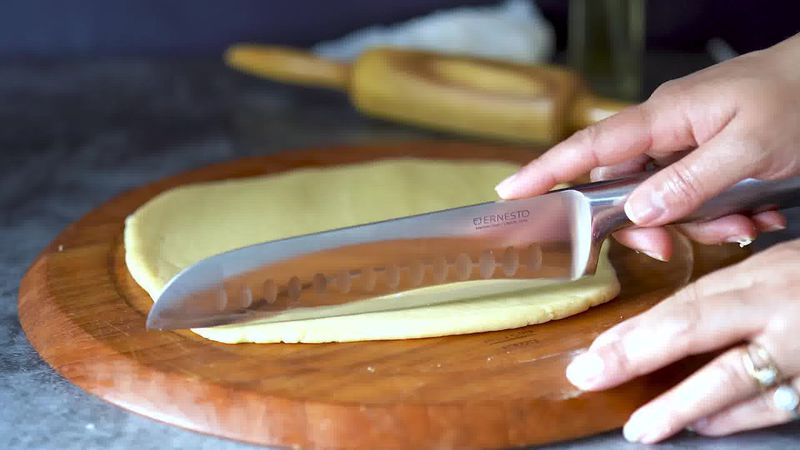
- Using a knife or pizza cutter, cut the edges. You can reuse those dough strips.
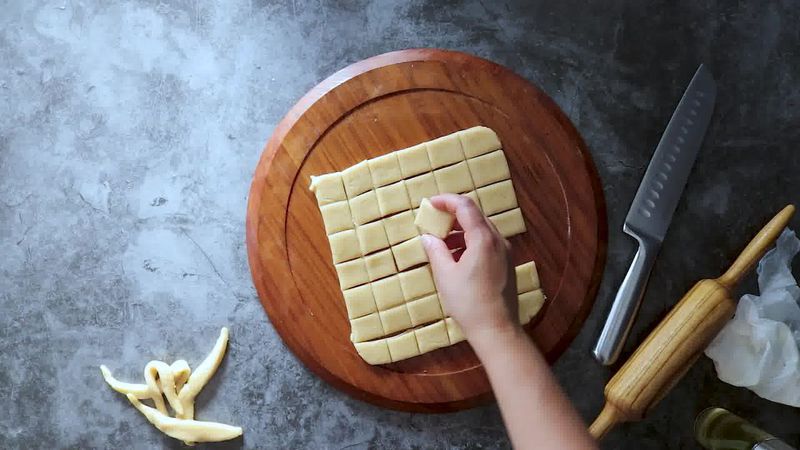
- Then cut into square or diamond shape pieces. Transfer squares onto a plate and cover with a wet paper towel to prevent them from drying. Repeat the same with the rest of the dough ball.
Deep Frying Shankarpali:
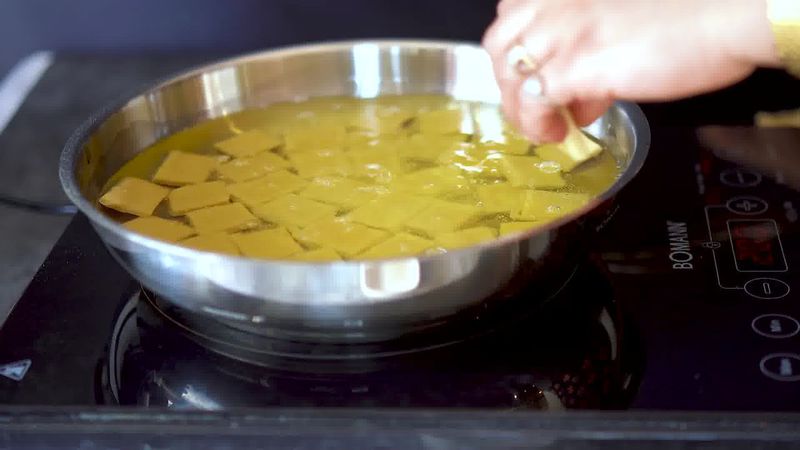
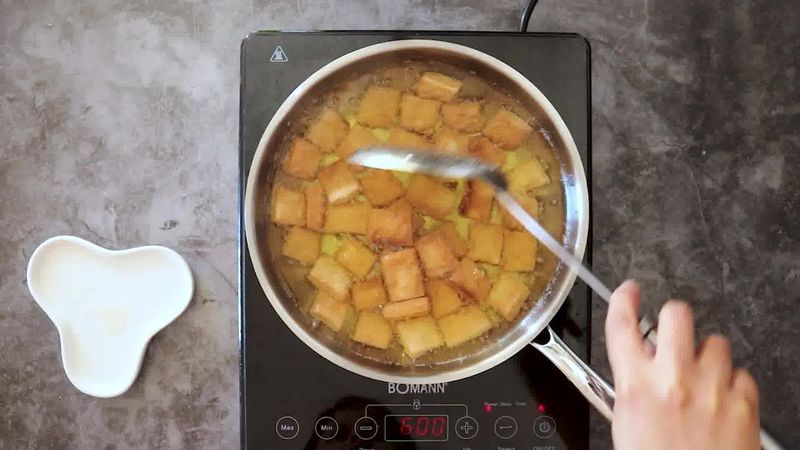
- Heat oil in a broad pan. When the oil is hot, turn the heat to low and then drop shankarpali squares. Do not overcrowd the pan.
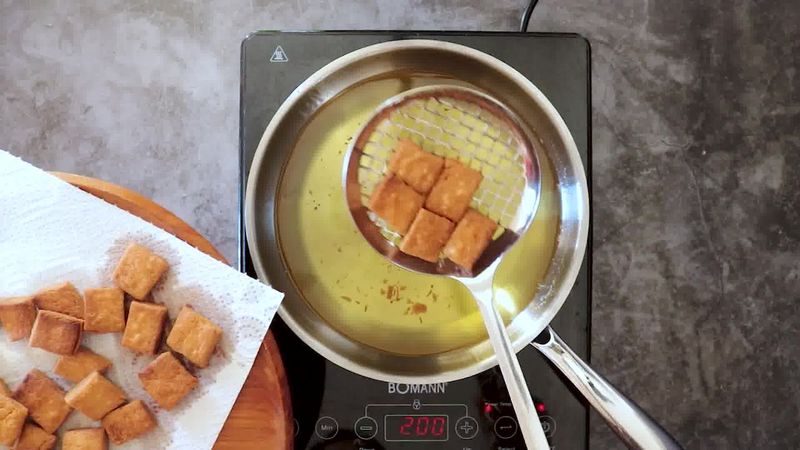
- Deep fry them on low heat until they are golden and crispy. Once they start floating, flip them using a slotted spoon. And stir occasionally to get the even color.
- Once golden brown from all the sides, remove them with a slotted spoon and transfer them on a kitchen tissue-lined plate.
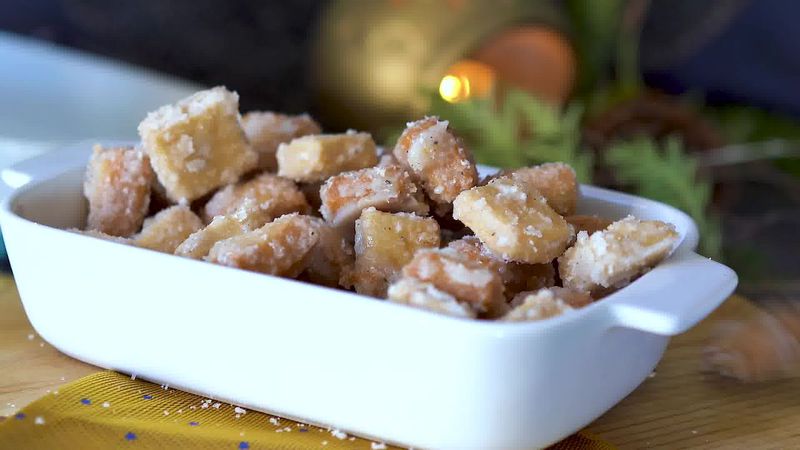
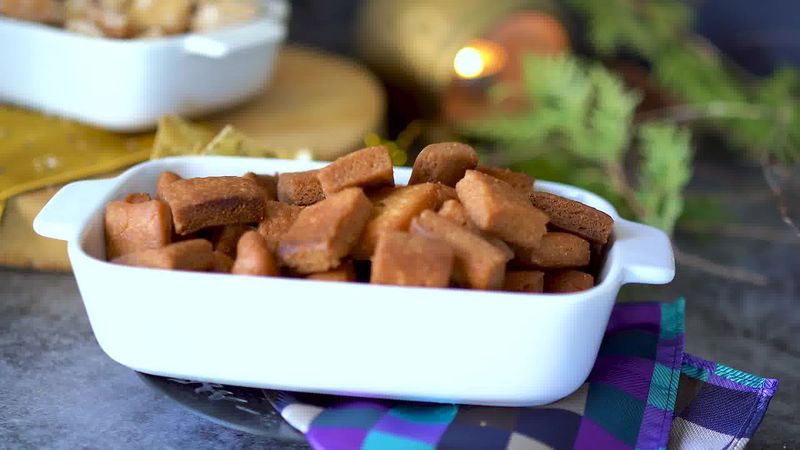
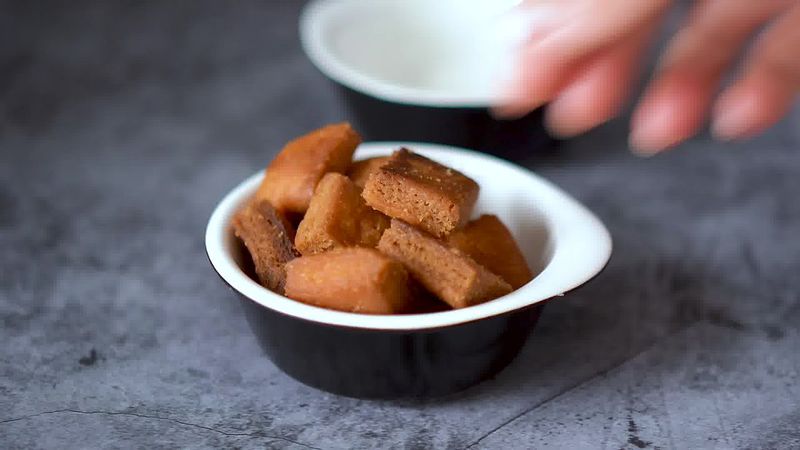
- Let them cool completely before storing them in an airtight container. They stay fresh for up to 2-3 weeks.
- Enjoy shankarpali with chai or coffee.
How to Air-Fry Shankarpali:
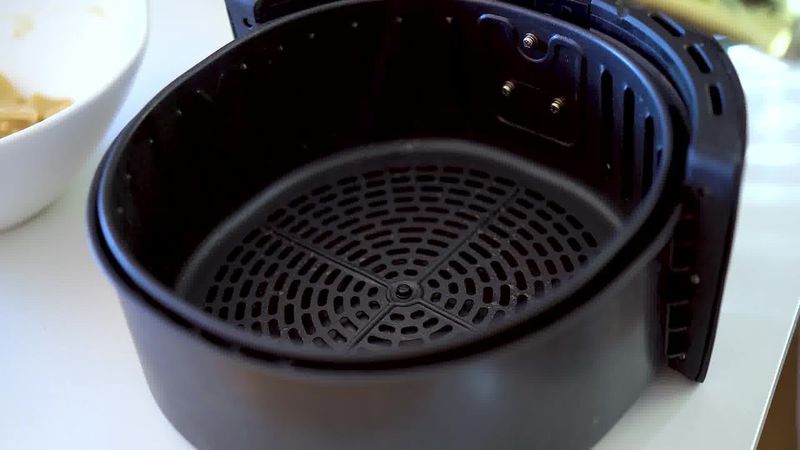
- Preheat the air fryer at 150°C/300°F. Spray or brush the air fryer basket with some oil.
- Place rolled squares in the basket keeping some space in between.
- Air fry at 150°C/300°F for 16 minutes.
- Once done, transfer them onto a plate and let them cool completely before storing them.
How to Bake Shankarpali:
- To bake, preheat the oven at 180°C/356°F.
- Line a baking tray with parchment paper.
- Then arrange shaped squares on the tray. Spray or brush with little oil.
- Bake at 180°C/356°F preheated oven for 22-25 minutes or until crisp and golden.
- Once baked, remove from the oven and let them cool on a wire rack before storing.


Recipe Card
Shakkarpara + Shankarpali (Fried, Air Fryer, and Baked Recipe) [Recipe]
★★★★★
(Rating: 5 from 4 reviews)
| Prep time 🕐 | Cook time 🕐 | Total time 🕐 |
|---|---|---|
| 1 hours 10 mins | ||
| Category ☶ | Cuisine ♨ | Serves ☺ |
| Desserts | Indian | 10 |
| Nutrition Info ⊛ | Serving size ⊚ | |
| 478 calories | 1 |
INGREDIENTS
Ingredients For Shakkarpara:
- 1 cup all-purpose flour (maida)
- 1/4 cup ghee (clarified)
- 1/4 cup warm water, or as required
- A pinch of salt
- Oil deep for frying
Ingredients For sugar syrup:
- 1/2 cup sugar
- 3 tablespoon water
- 1/4 teaspoon cardamom powder
Ingredients for Shankarpali:
- 2 cups all-purpose flour (maida)
- 1/2 cup melted ghee (clarified butter)
- 1 cup sugar, or as per taste (I used granulated sugar)
- A pinch of salt
- 1 tablespoon semolina (suji)
- 1/2 cup hot water or milk
- Oil/ghee for deep frying
INSTRUCTIONS:
How to make shakkarpara:
- In a large mixing bowl, add the flour, ghee, salt, and mix well using your fingertips until combined.
- At this point, this mixture would hold a shape without falling apart when pressed between your fist. If you get the shape as shown below, then the mixture is ready.
- Now add warm water little by little and knead into a semi-firm dough. The amount of water depends upon the variety of flour.
- Once the dough is ready, cover it with a damp kitchen towel and let it rest for 30 minutes.
- After the resting time, uncover the dough and knead it slightly.
- Now flatten the dough ball and roll it out into a 1 cm thick disc.
- Trim the edges and then cut them into small squares or diamonds. I cut them into about 2 cm squares.
Deep Frying Shakkarpara:
- Heat oil in a broad pan. Once the oil is hot, turn the heat to low and then drop shakkarpara squares. Do not overcrowd the pan.
- Deep fry shakkarpara on low heat until they are lightly golden. Once they start floating, flip them using a slotted spoon. Keep stirring occasionally to get the even color.
- Once golden brown from both sides, remove them with a slotted spoon and transfer them on a kitchen tissue-lined plate.
- Let them cool completely.
How to Air-Fry Shakkarpara:
- Preheat the air fryer at 150°C/300°F. Spray or brush the air fryer basket with some oil.
- Arrange rolled shakkarpara squares in the basket keeping some space in between.
- Air fry at 150°C/300°F for 16 minutes.
- Once done, transfer them onto a plate and let them cool completely.
How to Bake Shakkarpara:
- To bake, preheat the oven at 180°C/356°F.
- Line a baking tray with parchment paper.
- Then arrange shaped squares on the tray. Spray or brush with little oil.
- Bake at 180°C/356°F preheated oven for 22-25 minutes or until crisp and golden.
- Once baked, remove from the oven and let them cool on a wire rack.
Make Sugar Syrup:
- Heat a pan over medium heat. Add sugar, water and mix well until sugar dissolves completely.
- Add cardamom powder and mix well.
- Keep it boiling, bubbling and bring the syrup to a one thread consistency. Keep cooking for 1 more minute, then switch off the heat. At this point, sugar syrup should be sticky and thick.
Coat Shakkarpara With Sugar Syrup:
- Add cooled fried shakkarpara to the sugar syrup.
- Keep tossing and mixing lightly until the sugar syrup crystallizes.
- Now transfer sugar-coated Shakkarpara on a wire rack and let them cool down completely. The sugar syrup will get harden as it cools down.
- Transfer them to an airtight container and store for up to 2-3 weeks at room temperature. Enjoy them with tea or coffee.
How to Make Shankarpali:
- Add melted ghee, sugar, and hot water to a large mixing bowl.
- Whisk well until sugar is dissolved completely.
- Now add 1 cup of flour and mix using hands.
- At this point, you will get a runny batter kind consistency.
- Now add 3/4 cup of flour and mix together.
- After that add 1 tablespoon of semolina and mix well.
- Add 2 more tablespoon of flour and knead into a semi-firm dough.
- Cover the dough with a damp paper or kitchen towel and set it aside for 30-40 minutes.
- After resting, uncover the dough and divide it into 2 portions.
- Take one portion and knead again.
- Now roll out into a 1 cm thick sheet. It should be slightly thicker than the roti.
- Using a knife or pizza cutter, cut the edges. You can reuse those dough strips.
- Then cut into square or diamond shape pieces. Transfer squares onto a plate and cover with a wet paper towel to prevent them from drying. Repeat the same with the rest of the dough ball.
Deep Frying Shankarpali:
- Heat oil in a broad pan. When the oil is hot, turn the heat to low and then drop shankarpali squares. Do not overcrowd the pan.
- Deep fry them on low heat until they are golden and crispy. Once they start floating, flip them using a slotted spoon. And stir occasionally to get the even color.
- Once golden brown from all the sides, remove them with a slotted spoon and transfer them on a kitchen tissue-lined plate.
- Let them cool completely before storing them in an airtight container. They stay fresh for up to 2-3 weeks.
- Enjoy shankarpali with chai or coffee.
How to Air-Fry Shankarpali:
- Preheat the air fryer at 150°C/300°F. Spray or brush the air fryer basket with some oil.
- Place rolled squares in the basket keeping some space in between.
- Air fry at 150°C/300°F for 16 minutes.
- Once done, transfer them onto a plate and let them cool completely before storing them.
How to Bake Shankarpali:
- To bake, preheat the oven at 180°C/356°F.
- Line a baking tray with parchment paper.
- Then arrange shaped squares on the tray. Spray or brush with little oil.
- Bake at 180°C/356°F preheated oven for 22-25 minutes or until crisp and golden.
- Once baked, remove from the oven and let them cool on a wire rack before storing.
WATCH RECIPE VIDEO: Click the play button and video will load ...
NOTES:
- Shakkapara and shankarpali are traditionally deep-fried, but you can also bake or air fry them. On this page, I have given instructions for all the versions.
- I have only used maida (all-purpose flour) for making Shakkarpara and Shankarpali. But you can also use the combination of whole wheat flour and maida. If you want, you can totally replace maida with whole wheat flour.
- Adding 1 tablespoon of semolina (suji) to the shankarpali dough adds a nice crunch and texture to the recipe, so it is highly recommended.
- You won't find much difference in the taste when you fry or bake shakkarpara. This is because the sugar coating on the top creates the whole impact on the taste.
