This delicious, and spooky Skeleton Oreo is so fun and super easy to make! Made with just 4 simple ingredients, these Halloween sweet treats get done in just a few minutes.
This no-bake grisly skeleton oreo might look spectacular and too hard to achieve, but they are exceptionally simple, fun, and way easier than you think!
A small scoop adds buttery depth without dairy. It boosts flavor in pasta, popcorn, and sauces.
Don’t want to miss such incredible time-saving tips from My Ginger Garlic Kitchen, set us as a preferred source in Google Search by clicking the button below.

Love oreo? Love Oreo truffles? Have a sweet tooth? Enjoy sweet treats? Then this Skeleton Oreo or Jack Skellington Oreo is calling your name.
Make this 10-minute easy Halloween treat for your little monsters and they would delightfully gobble them in no time.
This Halloween season, make these delectable and spooky Halloween Skeleton Oreos.

About Skeleton Oreo
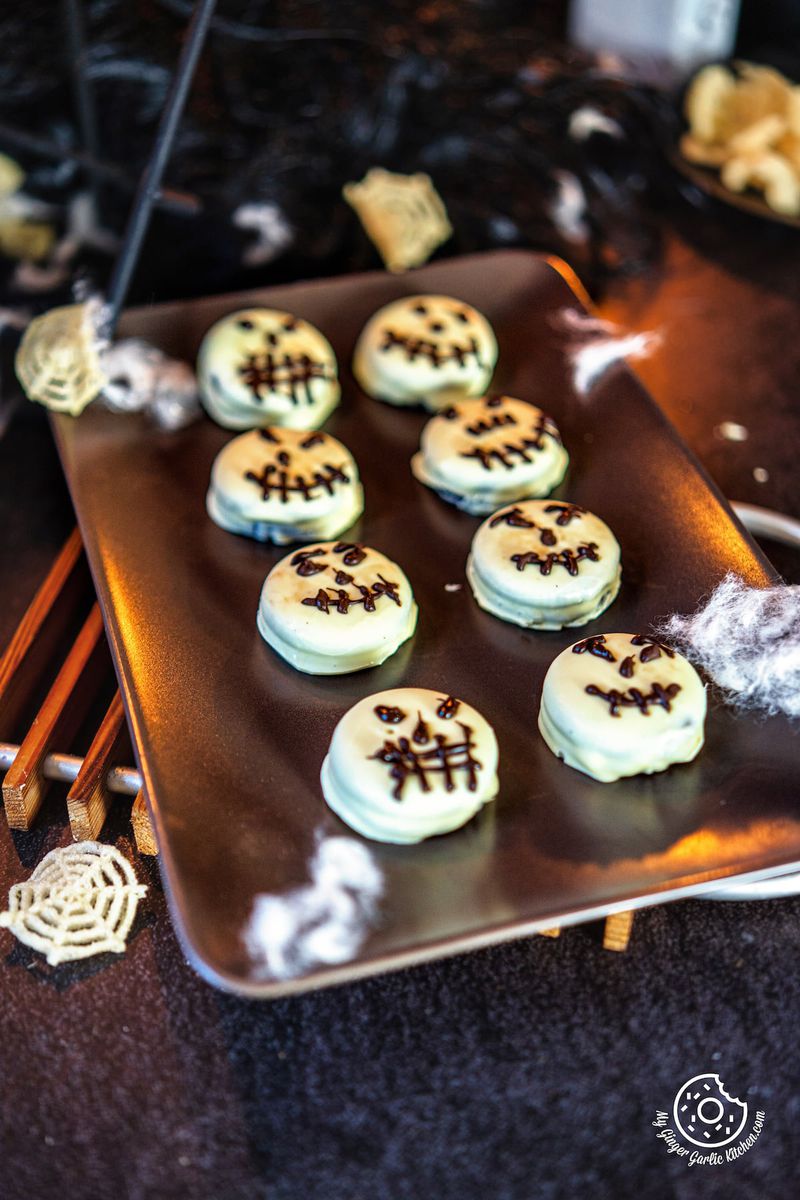
These Halloween Chocolate Covered Skeleton Oreos are wonderful fun treats for your Halloween party! Making them with only 3 ingredients is super easy and so thrilling. They’re so damn good! I guarantee you that as soon as you put them on the table, they will be gone in a flash!
The skeleton faces of this Skeleton Oreo are influenced by Jack Skellington! Sad, scary, amazed — you can create any expression on these Easy Halloween Chocolate Covered Skeleton Oreos.
To make this recipe, you can use any of your favorite oreo cookies! The fun part is that you can also use any other sandwich cookies of your choice, they would work just fine here.
To me, no-bake goods are always fun because you can include kids in making them. They would definitely enjoy creating skeleton faces!
Why You’ll Love the Recipe
This Skeleton Oreo ✓ is made with only 4 ingredients
✓ takes only 10 minutes to make
✓ can be made with kids
✓ is an excellent sweet treat for Halloween
✓ looks spooky and is delicious to eat
Ingredients
This Skeleton Oreo requires just 3 ingredients. These are:
-
Oreo – It is a star ingredient in this recipe. For this recipe, I used regular Oreos, but you also use Halloween Spooky Oreos.
-
White Melting Chocolate – You can use white chocolate or Candy Wafers for melting white chocolate.
-
Dark chocolate or chocolate icing – To create faces, you can either use black chocolate icing, dark chocolate, or a writing icing tube.
-
Oil – Oil is used for diluting melted chocolate if it is too thick. You can use coconut oil or any neutral vegetable oil.
Equipment
● Glass bowl
● Spatula & Forks
● Parchment or wax paper
Variation
Other than making skeleton oreo, there are so many fun ways to create oreo treats. Here are some similar ways to decorate these little treats:
-
Oreo Pops – You can also make oreo pops by gently pushing a spooky straw or popsicle sticks into the Oreo filling.
-
Halloween Mummy Oreo – You can also make Halloween Mummy Oreo by adding eyes and drizzling white chocolate across the chocolate-coated Oreos to make the mummy wrapping.
Looking for more spooky fun ideas? Check out 7 halloween Deviled Egg Ideas + Halloween Ghost Egg, Halloween Mummy Pizza Toast, Skeleton Chocolate Bark, Halloween Chips
, and 15 Non-spooky halloween Recipes.
Important Tips & Tricks to make the Ultimate Skeleton Oreo
-
Storage – These skeleton Oreos stay fresh in the refrigerator for up to 2 weeks when stored in an air-tight container.
-
Oil - I used vegetable oil for diluting white chocolate. If you are using chocolate wafers then there is no need to use oil.
-
Cookie Pop - You can easily make this skeleton oreo into a cookie pop by inserting a lollipop stick into the center of the cookie before coating it in white chocolate.
-
Chocolate coating - I have coated cookies in white chocolate and drew faces with dark/black chocolate. You can also use black chocolate as a base and white chocolate for creating a face.
-
Colorful Oreos - You can also add orange/red gel food coloring to the white chocolate to get bright colors.
-
Face drawing - There are several ways to create skeleton faces. You can either use black icing, black gel edible pen, dark chocolate, or black chocolate.
-
Use chilled oreo - To coat with white chocolate, it is better to use chilled cookies. This way you will not have to wait before creating faces. If you are using cookies at room temperature, then let the white chocolate coating set in the refrigerator before making faces. This chilling time generally takes 10-15 minutes.
FAQ
Can I make them in advance?
Skeleton Oreo is a great make-ahead treat and can be made up to 1 week ahead of time and can be stored in the refrigerator until ready to serve! To keep them longer than 2 weeks, freeze them and let them thaw in the refrigerator before serving.
How to make Peppermint Skeleton Oreo?
The Peppermint version of Skeleton Oreo is pretty and amazing. To prepare peppermint-flavored skeleton oreo, you just need to add peppermint extract to the melted white chocolate before dipping them in oreo.
No-Bake Skeleton Oreo (Step-by-step photo instructions)
How to make Skeleton Oreo
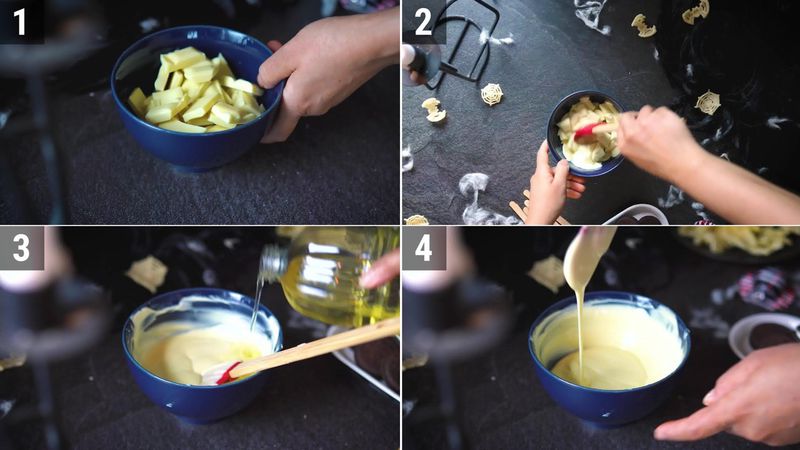
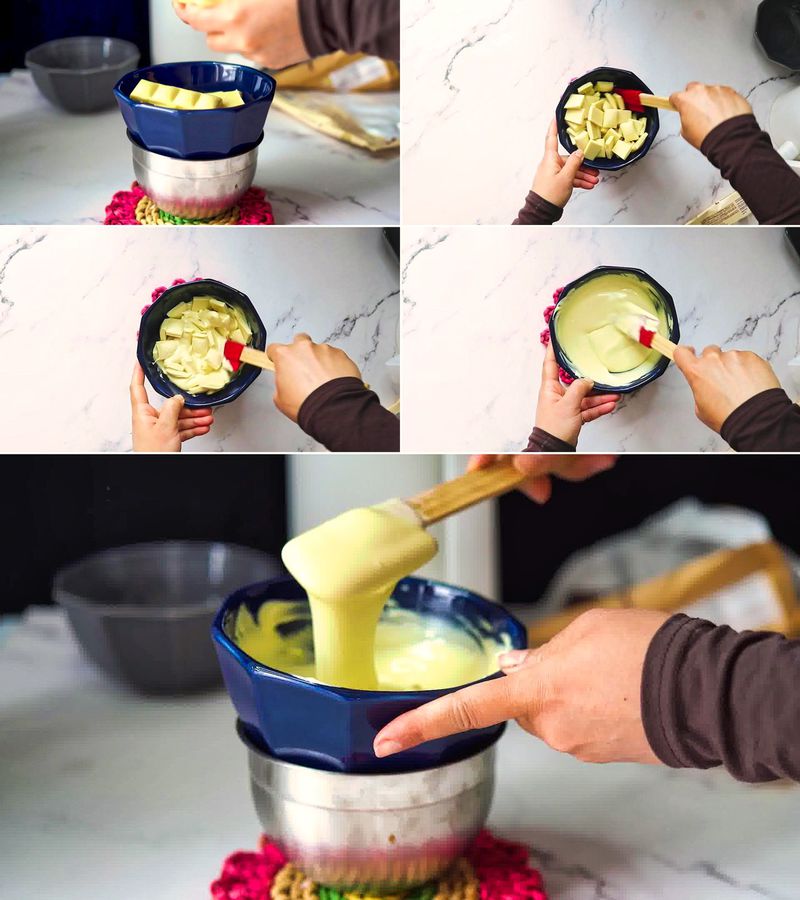
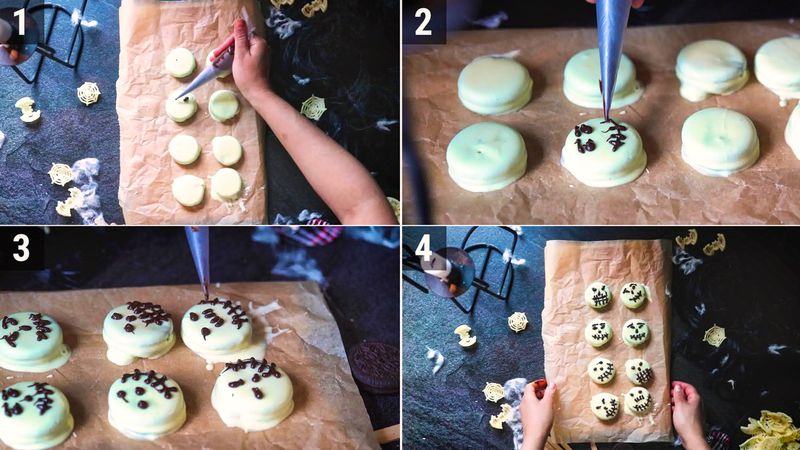
- Place white chocolate pieces in a microwave-safe bowl. To melt, heat in the microwave in 30-second intervals until melted, stirring between each heating session. Mix vegetable oil into white chocolate.
- Alternatively, melt in a double boiler.
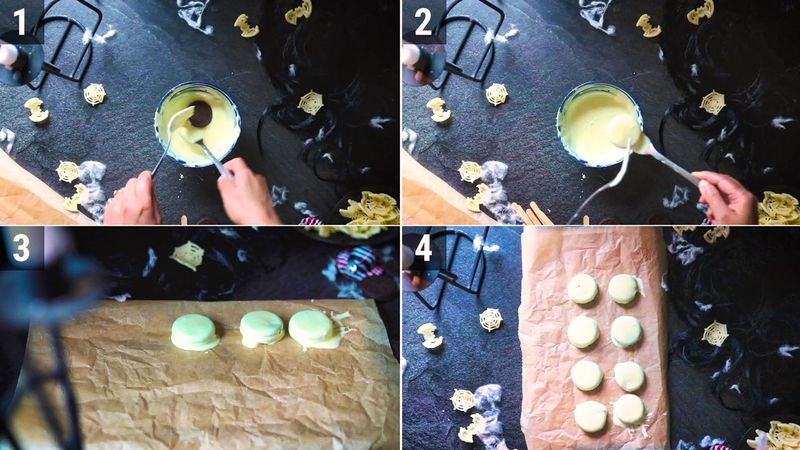
- Use a fork to dip each Oreo into white chocolate until completely coated. Shake off the excess chocolate. Line a medium tray/board with parchment paper and place chocolate-coated Oreos on it.
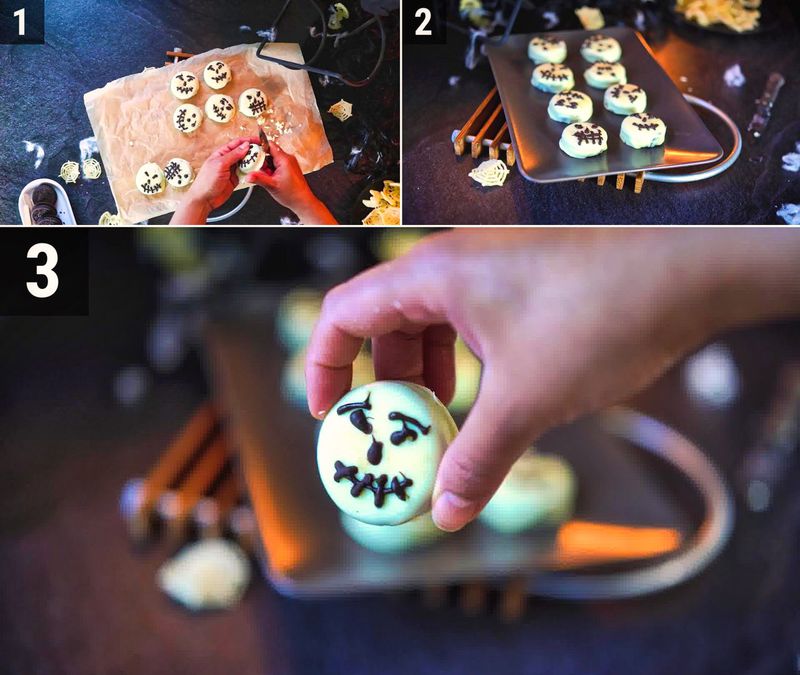
- Using the melted dark chocolate or black icing, draw a scary skeleton face on the chocolate-coated Oreos. Chill them in the refrigerator.
- Once set, trim off the extra chocolate for the final touch and serve!
Recipe Card
No-Bake Skeleton Oreo [Recipe]

★★★★★
(Rating: 4.9 from 4 reviews)
| Prep time 🕐 | Cook time 🕐 | Total time 🕐 |
|---|---|---|
| Category ☶ | Cuisine ♨ | Servings ☺ |
| Desserts | American | 4 |
| Nutrition Info ⊛ | Serving size ⊚ | |
| 145 calories | 1 |
INGREDIENTS
For Skeleton Oreo
- 8 Oreos, chilled
- 200 grams of white chocolate or candy melts
- 1 teaspoon vegetable/coconut oil
- Melted Dark chocolate or black gel cookie icing
INSTRUCTIONS:
How to make Skeleton Oreo
- Place white chocolate pieces in a microwave-safe bowl. To melt, heat in the microwave in 30-second intervals until melted, stirring between each heating session. Mix vegetable oil into white chocolate.
- Alternatively, melt in a double boiler.
- Use a fork to dip each Oreo into white chocolate until completely coated. Shake off the excess chocolate. Line a medium tray/board with parchment paper and place chocolate-coated Oreos on it.
- Using the melted dark chocolate or black icing, draw a scary skeleton face on the chocolate-coated Oreos. Chill them in the refrigerator.
- Once set, trim off the extra chocolate for the final touch and serve!
Watch Full Recipe Video:
NOTES:
- Storage – These skeleton Oreos stay fresh in the refrigerator for up to 2 weeks when stored in an air-tight container.
- Oil - I used vegetable oil for diluting white chocolate. If you are using chocolate wafers then there is no need to use oil.
- Cookie Pop - You can easily make this skeleton oreo into a cookie pop by inserting a lollipop stick into the center of the cookie before coating it in white chocolate.
- Chocolate coating - I have coated cookies in white chocolate and drew faces with dark/black chocolate. You can also use black chocolate as a base and white chocolate for creating a face.
NUTRITION (Per Serving):
Calories: 145kcal | Fat: 7.4g | Carbohydrates: 18g | Protein: 2.3g | Fiber: 0g | Sugar: 0g | Sodium: 39.1mg
If this recipe helped you, then please spread the word by sharing and subscribing to us on YouTube to get more such Recipe Videos.
Your feedback is so helpful for me and other My Ginger Garlic Kitchen readers. So, for Facebook and Instagram, please mention @MyGingerGarlicKitchen or #mygingergarlickitchen. I would love to see your photos. :)
Author: Anupama
Recipe Source Link: https://www.mygingergarlickitchen.com/skeleton-oreo/


Questions or comments about this recipe:
Ask on