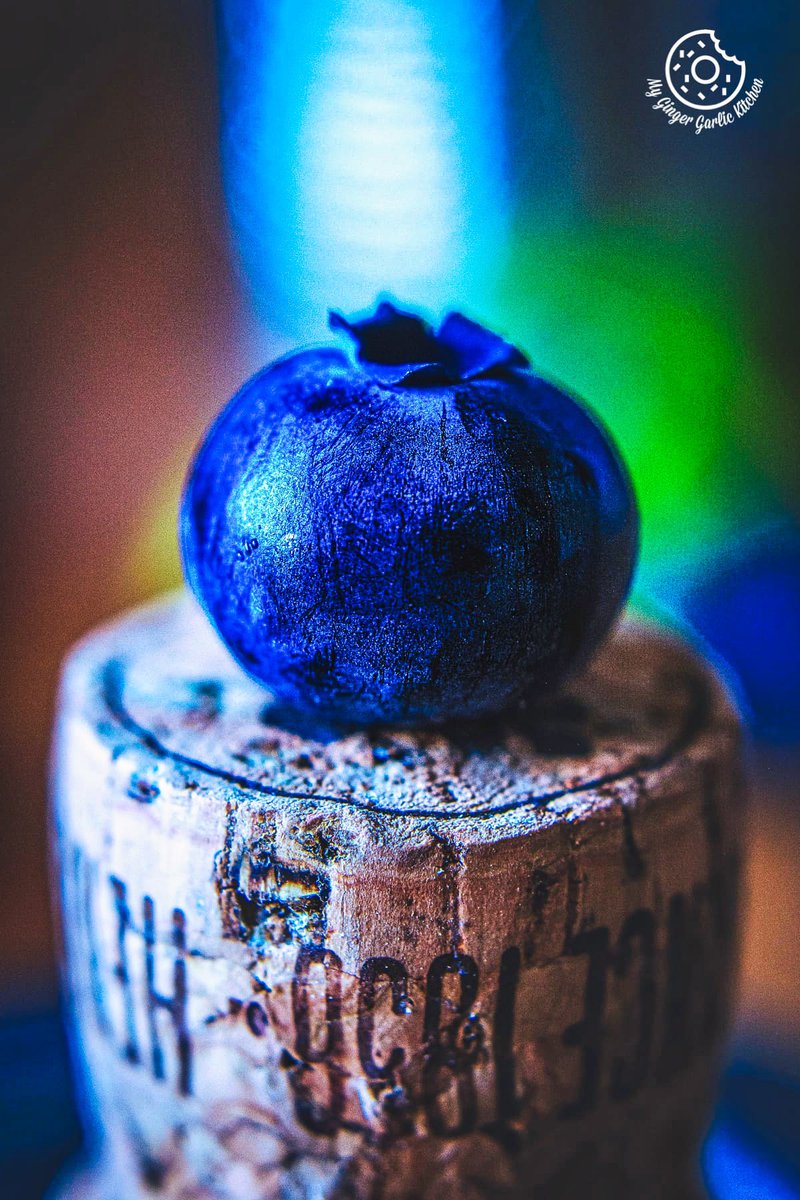
Close-up or macro photography is a photography technique that involves capturing subjects at a very close range and in extreme detail.
In macro photography, the primary objective is to magnify and highlight small elements and underline the subject’s features, often making them look much larger than they actually are.
Within the realm of food photography, close-ups involve getting personal with your culinary masterpieces.
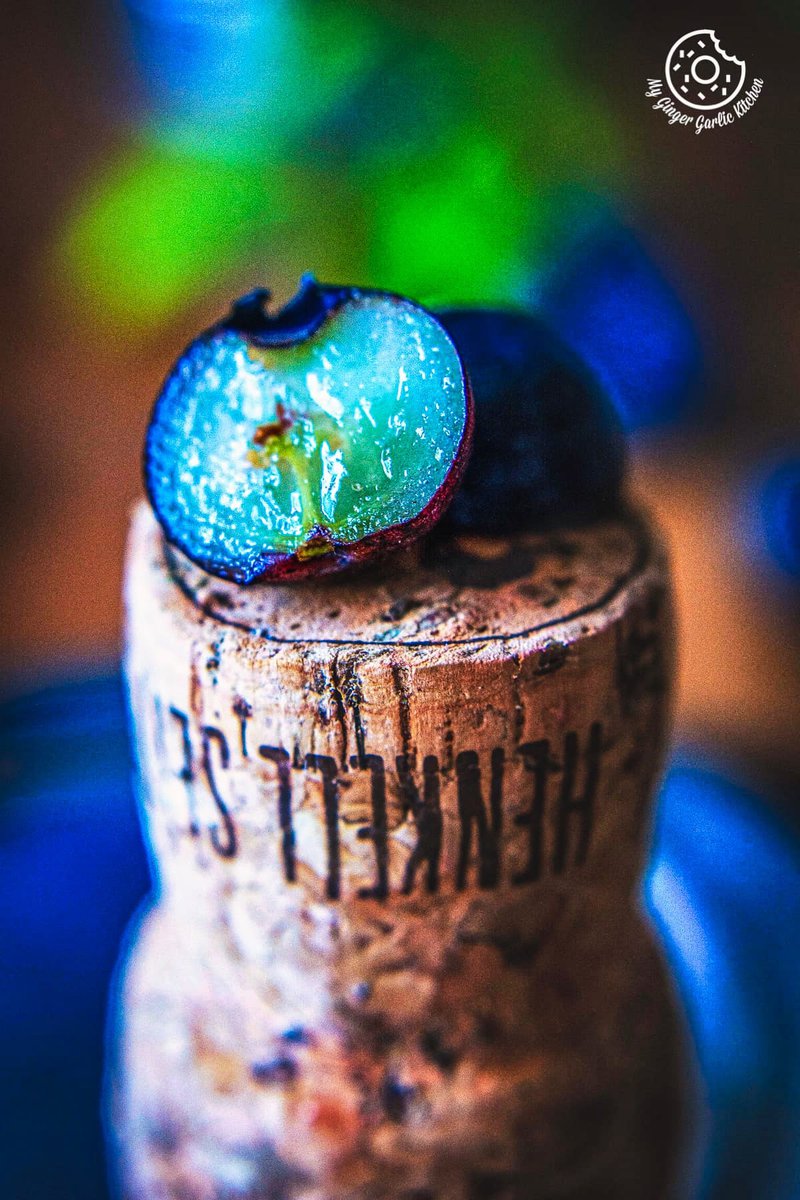
By capturing the colors, textures, and fine elements that make each dish a work of art, you demonstrate the irresistible allure of a beautifully plated meal, a sumptuous dessert or a freshly prepared ingredient.
This technique allows you to showcase the smallest nuances of your culinary creations, from the delicate frosting on a cake to the glistening droplets of a sauce.
Through the camera lens, you can take your audience on a visual journey that ignites their appetite and sparks their imagination.
In this comprehensive guide, we will explore the world of close-up food photography, delving into key aspects of preparation and post-processing stages to elevate your culinary storytelling and impress your audience.
Choosing the Best Macro Lens for Food Photography
The lens is the eye of a photographer, the key tool for capturing the beauty of the world and sharing it with the audience. So, if you have not chosen your ideal macro lens yet, this is what you should take into consideration:
Camera Compatibility
Ensure that your macro lens is compatible with your camera’s mount. Most major camera manufacturers offer a variety of macro lenses tailored to their systems, so you’ll have options to explore.
Focal Length
Common focal length options range from 60mm to 105mm, each offering unique advantages. Shorter focal lengths, like 60mm, are great for tight spaces and flat subjects, while longer focal lengths, such as 105mm, allow for more working distance between the camera and the subject. For food photography, a lens with a focal length around 90mm often strikes a perfect balance, giving you flexibility without putting the image quality at risk.
Aperture
A wide aperture, typically around f/2.8, is a must-have feature for your macro lens. This wide aperture allows for fascinating background blur (bokeh), making your subject pop while creating a dreamy, professional look.
It also allows you to work in low-light conditions, common for taking food pictures indoors.
Specialty Lenses
Tilt-shift lenses can add a unique dimension to your compositions by allowing you to control the plane of focus in ways that traditional lenses cannot.
These lenses enable you to create stunning miniature effects, emphasizing certain elements of your dish while gently blurring others.
Additionally, lens attachments like extension tubes can transform existing lenses into pseudo-macro options, expanding your creative toolkit without a hefty investment.
Exploring these alternatives can add diversity and artistic flair to your close-up food photography, helping you shoot your culinary creations from fresh and intriguing perspectives.
Image Stabilization
Consider a macro lens with image stabilization (IS) or vibration reduction (VR) to capture those ultra-sharp macro photos without blur. This technology compensates for small movements, especially when shooting handheld or low-light situations.
We will talk about lighting conditions for food photography in the next section.
Finding the Best Light for Food Photography
Lighting is the foundation of any great photograph so let’s learn to find the proper light balance to complement your culinary masterpieces.
The golden hour light—just after sunrise and before sunset—can work wonders. Place your setup near a window, but avoid direct sunlight. Sheer curtains or diffusers can help soften harsh rays.
Natural light brings out your food’s true colors and textures, making it an ideal choice for macro photos.
Sometimes, the best light for food photography is the ambient light available in the environment. Candlelight or the warm, cozy glow of a kitchen can add authenticity to your shots, especially in restaurant settings or home kitchens.
But natural or ambient light is not always an option, especially if you are a professional photographer working in studio conditions for hours. Softboxes, diffusers, reflectors, and LED panels are your best helpers in this case.
Controlling shadows, glows, and light color temperature with the help of these devices, you understand that artificial light is not an obstacle but a tool for creative expression.
Placing your light source behind your dish can create a stunning backlight effect, making the edges of your food glow. This technique adds depth and drama to your close-up food photography, accentuating textures and creating a captivating visual story.
Successful food photographers often experiment with different lighting setups to find what works best for their specific project.
With practice, you will develop an intuitive sense of the right light that enhances the visual appeal of your culinary creations, making them even more enticing through your camera lens.
And even when the light lets you down, there is still a chance to create a masterpiece of macro food photography during post-processing. We will tell you how to do it in the upcoming section.
Post-Processing: Enhancing Your Culinary Artistry
Post-processing lets you adjust exposure, color balance, and sharpness and even remove unwanted distractions or imperfections. With close-up food photography, every detail matters, and post-processing gives you the control to make those details shine.
A bulk photo editor is a time-saving tool, especially when you have a series of close-up food shots to process. These editors enable you to apply consistent edits across multiple photos simultaneously. You can uniformly adjust exposure, contrast, and color balance, maintaining a cohesive look for your portfolio.
Focus stacking is a technique used to capture a series of shots at different focal points and combine them into a single image with enhanced depth of field. This technique is particularly useful in close-up food photography, where you want to ensure that all elements of your dish are in sharp focus. Focus stacking software automates the process, making it easier than ever to achieve stunning results.
Lastly, remember that your close-up food photographs should tell a story. Avoid over-editing, which can make your food appear unnatural. Your primary goal is to maintain the balance. Post-processing should enhance the story, not overshadow it.
Pay attention to the colors, textures, and mood you want to convey, use post-processing to amplify those elements.
Conclusion
In close-up food photography, every click of the shutter reveals a sumptuous world of flavors, textures, and stories.
Close-up food photography lets us appreciate the intricate details that make each dish a masterpiece. It invites us to savor the artistry behind each creation and to share these culinary stories with the world.
Whether you are a professional photographer, a passionate food enthusiast, or simply someone who appreciates the beauty of gastronomy, mastering close-up food photography is a journey worth taking.
It’s a journey which elevates your culinary storytelling and leaves a lasting impression on those fortunate enough to feast their eyes on your captivating images.