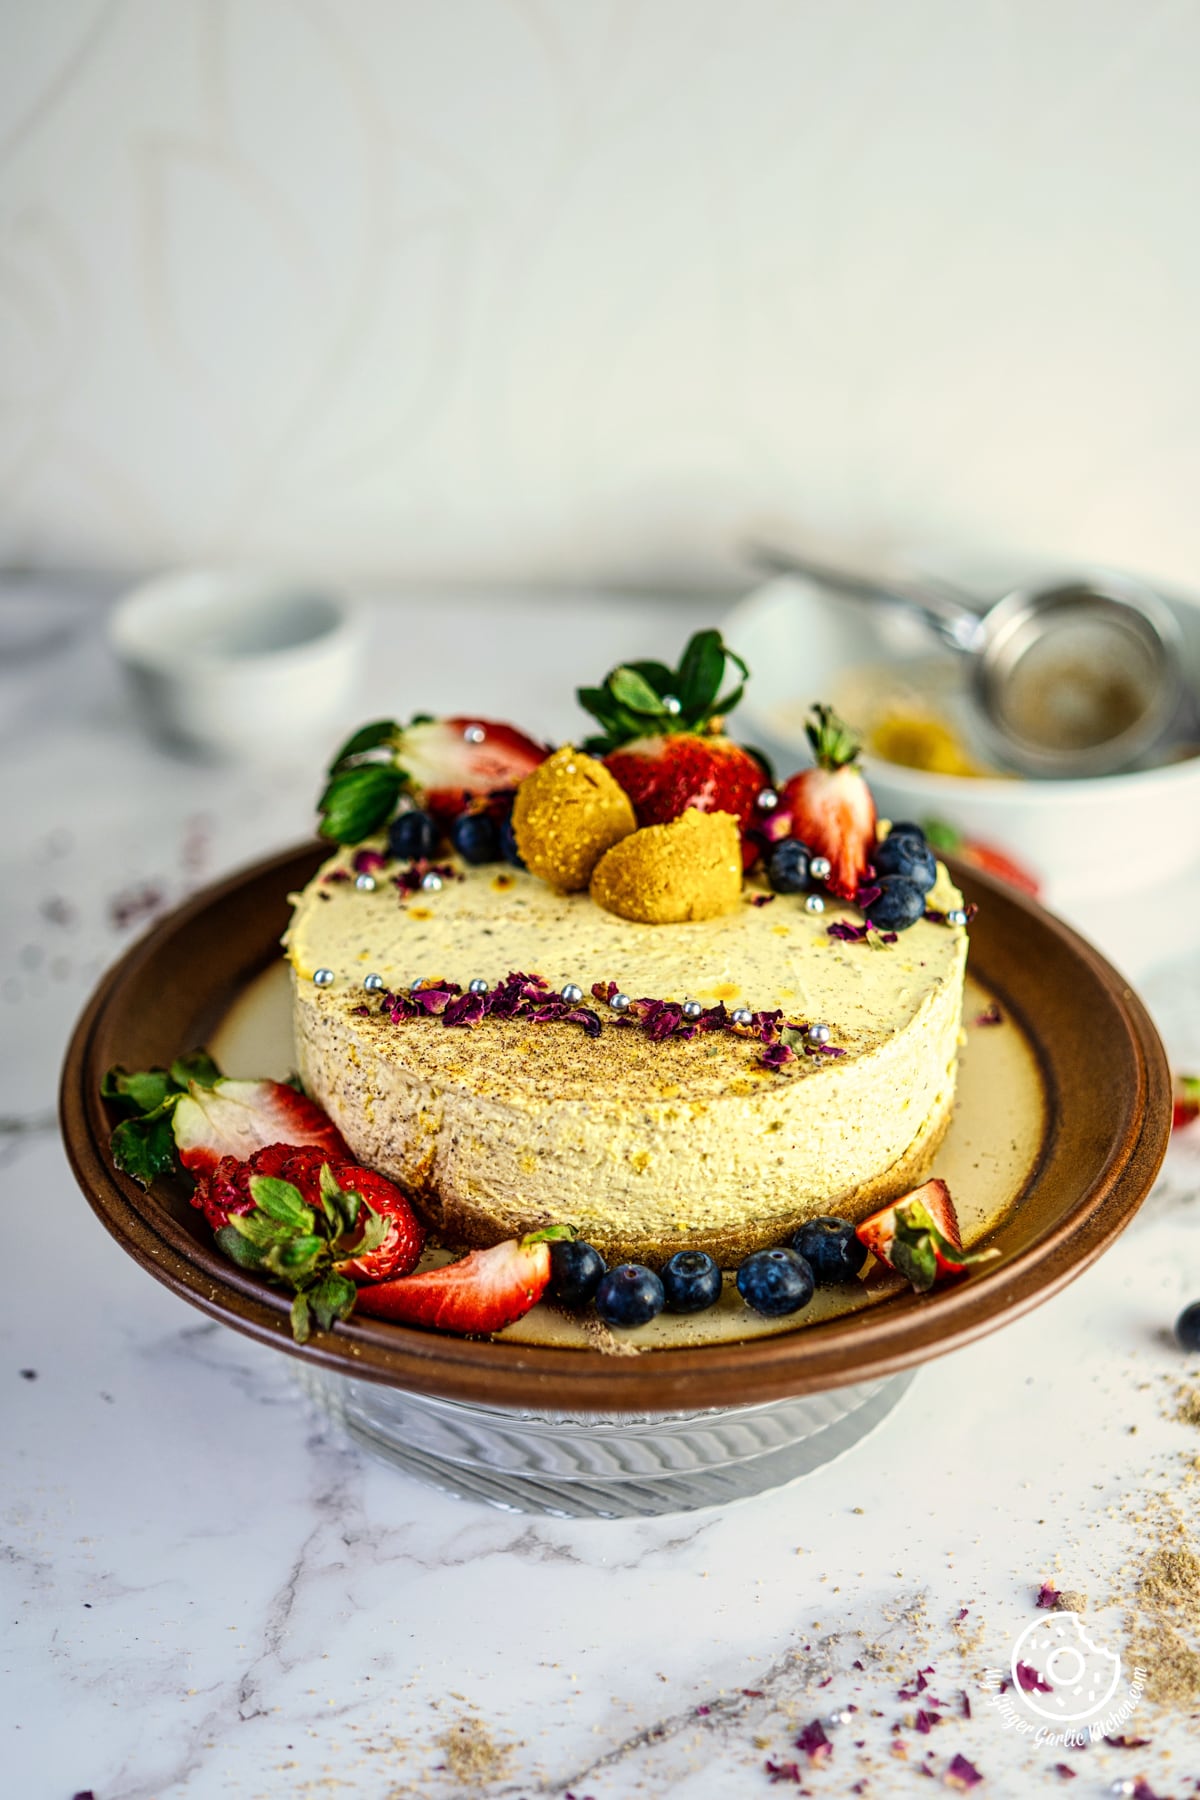
Thandai Cheesecake
Thandai Cheesecake is a creamy, delicious no-bake dessert which makes it an ideal treat for Holi! Made without egg, gelatin, and agar agar.
Recipe Source Link:https://www.mygingergarlickitchen.com/thandai-cheesecake/
« Go back Print this recipe »
Prep Time = 5 minutes
Cook Time = 20 minutes
Total Time = 25 minutes
Category = Desserts
Cuisine = Indian
Serves = 8
Nutrition Info = 408 calories
Serving Size = 1
RECIPE INGREDIENTS
» For Saffron Milk
- 28-30 saffron strands
- 2 tablespoons hot milk
» For Cheesecake Crust
- 10 (150 grams) digestive biscuits
- 1/4 cup (57 grams) unsalted butter (can be replaced with the same amount of cold milk)
» For Cheesecake Filling
- 400 grams full-fat cream cheese, room temperature
- 55 grams (a little more than 1/2 cup) powdered sugar
- 118 ml (1/2 cup) whipping cream, min 35% fat, chilled
- 3 tablespoons thandai masala powder
- 1/2 teaspoon cardamom powder
» Decoration (optional)
- Fruits or berries
- Badam ladoo (sliced)
- Thandai masala powder
- Dried rose petals
- Edible silver/golden pearls
» Equipment
- 6 inch or 16 cm springform tin/pan
- Electric mixer
- Knife, offset spatula, cake spatula, flat spatulas, spoon, bowls
- Parchment paper
- INGREDIENT_2
RECIPE INSTRUCTIONS
» Making saffron milk
- Add saffron strands to a bowl, and crush it using fingers. Now add 2 tablespoons of hot milk to it and set it aside to infuse for 20 minutes.
» Making crust for thandai cheesecake
- Brush a springform pan/tin base with some butter. Top with the parchment paper and brush again. Keep it aside. Melt the butter in a microwave.
- Place digestive biscuits in a Ziploc bag and crush with a rolling pin until it resembles coarse crumbs. Alternatively, you can also process them in a food processor.
- Add the melted butter to the bag and mix well until combined. I mixed in the Ziploc bag itself, but you can also transfer biscuit crumbs to a bowl and then mix it with the melted butter.
- Next, pour the biscuit crumbs mixture into the prepared cake pan. Press down evenly with the back of a spoon to make the crust. Once the crust is ready, place the pan in the refrigerator for 30-40 minutes to let the crust set.
» Making thandai cheesecake filling
- Add cream cheese to the mixing bowl and whisk for about 5-6 minutes or until fluffy, using a handheld/stand mixer. Now add in thandai masala powder, saffron-soaked milk, cardamom powder, and powdered sugar. Whisk again until well combined. Set it aside.
- In another bowl, whisk whipping cream until stiff peaks (do not to over-beat it). Now, add whipped cream to the cream cheese mixture and gently fold everything together, using a spatula. Do this in 2 parts.
» Assembling thandai cheesecake
- Pour the prepared cheesecake filling into the prepared springform pan. Smoothen the top. Run a towel along inside of the cake tin, all the way around, and clean the edges off with a paper towel. Gently tap the pan a couple of times. Cover the cake tin with cling wrap. Chill for about 8 hours (overnight) or until fully set.
» Removing thandai cheesecake from the pan
- Once set, remove the cheesecake from the fridge, and uncover the cake pan. Run a knife all around the cheesecake to help loosen it up. Release the spring and remove the ring.
- Lift up the cheesecake using a spatula and place it on a serving plate. Smooth out rough edges, and decorate the cake. I decorated mine with berries, dried rose petals, badam ladoo, thandi masala powder, and edible pearls.
- Slice and serve!
RECIPE NOTES
- I recommend chilling the thandai cheesecake overnight. However, if you don?t have much time, then the minimum recommendation time is 8 hours.
- When making thandai cheesecake, make sure that the cream cheese is completely at room temperature before you start whipping it. This way you won?t end up with lumps. If you don't have a hand mixer then you can also use a wired whisk. You need to whisk it until it is completely smooth and creamy without any lumps.
- Easy removal: For an easy cake removal, simply run a knife all around the cheesecake to loosen the edges. If possible, use a springform pan for this cheesecake recipe. This helps in easy removal.
- Use heavy cream: Make sure to use chilled whipping cream or heavy cream which has at least 35% fat or more. The higher fat content allows the cream to whip up thicker, which is required to hold this cheesecake filling together.
NUTRITION (Per Serving)
Calories: 408kcal | Fat: 17.5g | Carbohydrates: 49g | Protein: 14.3g | Fiber: 1.6g | Sugar: 21.2g | Sodium: 307.2mg
Nutritional information is meant to serve as a helpful guide and is approximate. Actual values may vary depending on ingredients and preparation.
For questions and suggestions:
If you have any questions or suggestions about this recipe, please do contact us via this contact form or via the social channels:
Website: www.mygingergarlickitchen.com // Contact Form // Facebook Page // Youtube Page // Instagram Page // Pinterest Page