Samosa Recipe
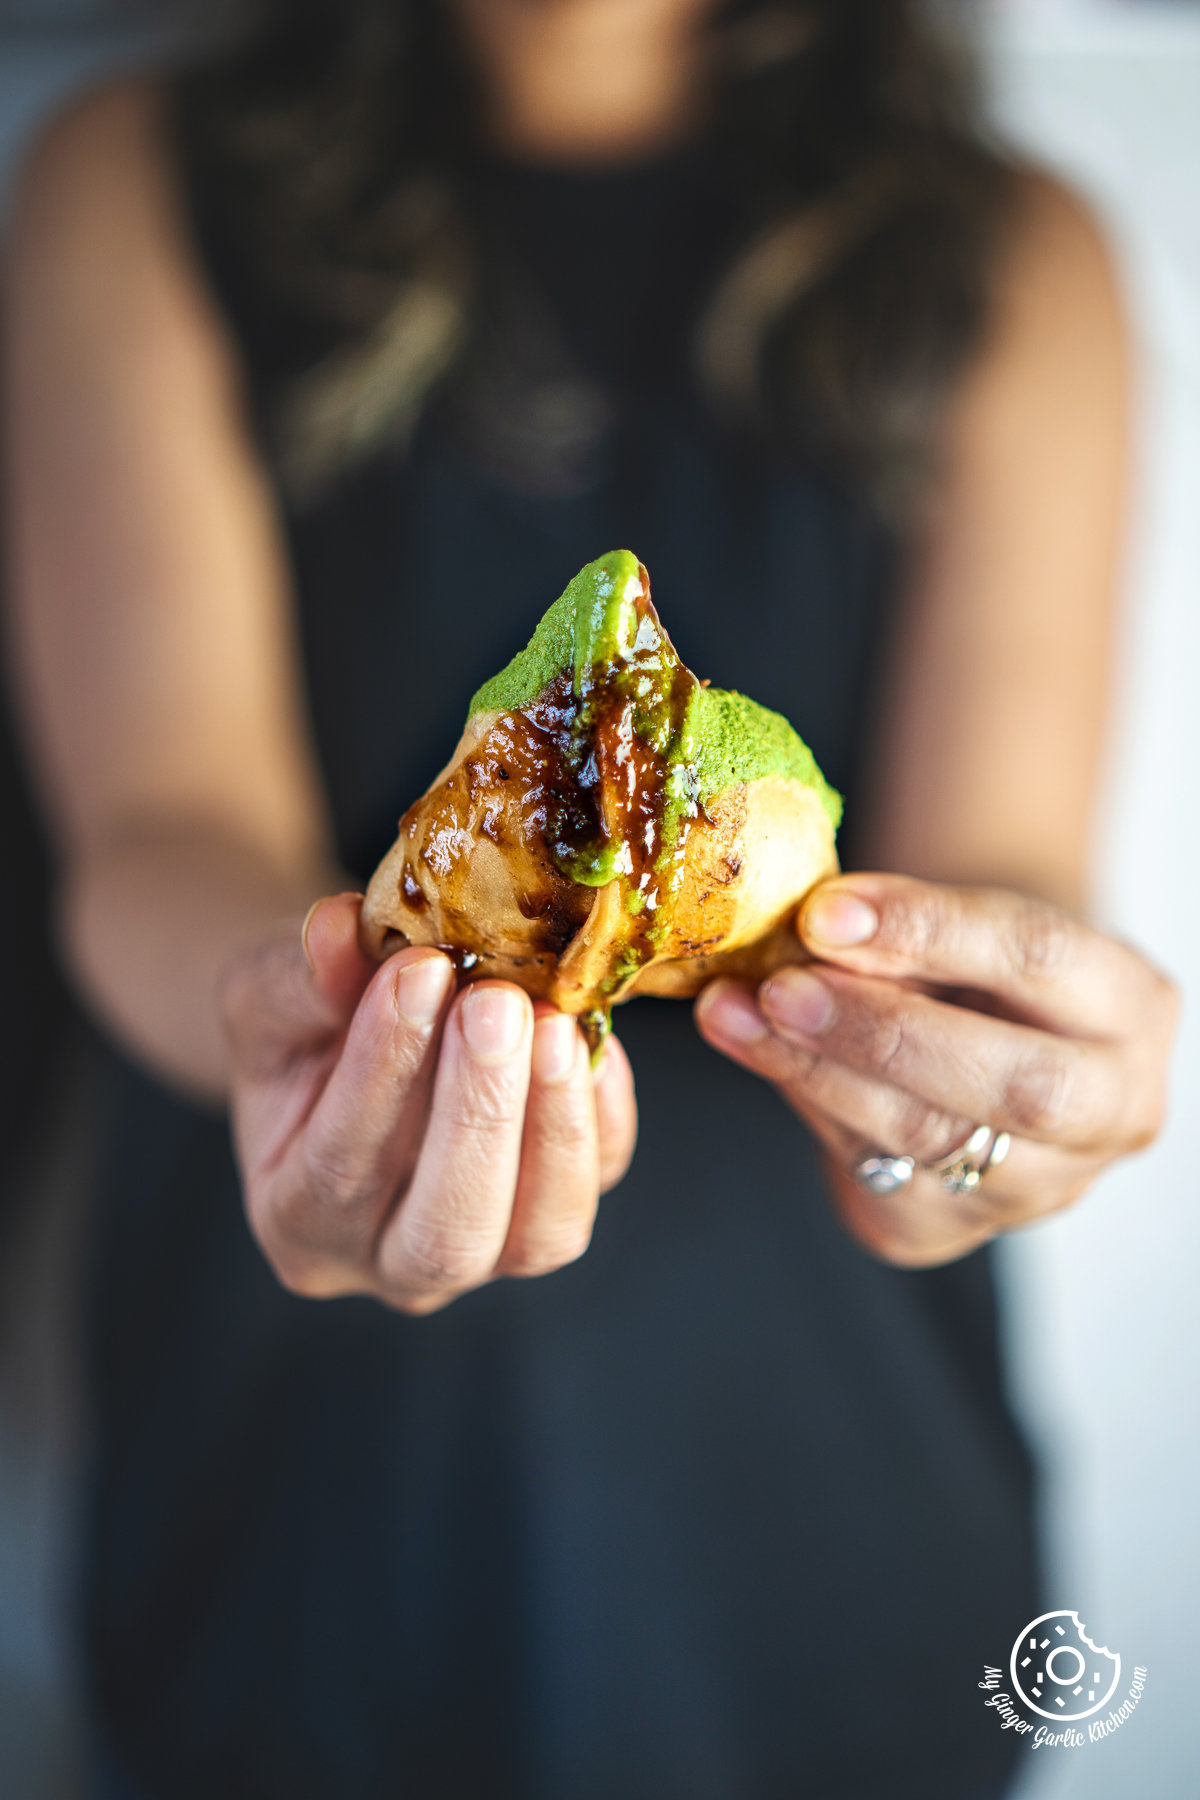
The crispy and flaky Aloo Samosa makes for an ideal appetizer or snack. Packed with a spicy potato filling, it is also suitable for vegans.
Recipe Source Link:https://www.mygingergarlickitchen.com/samosa-recipe/
« Go back Print this recipe »
Prep Time = 15 minutes
Cook Time = 30 minutes
Total Time = 45 minutes
Category = Snacks
Cuisine = Indian
Serves = 16
Nutrition Info = 311 calories
Serving Size = 1 samosa
RECIPE INGREDIENTS
» For the Samosa Dough
- 2 cups all-purpose flour (maida)
- 1/4 teaspoon salt
- 3/4 teaspoon carom seeds (ajwain)
- 4 tablespoons ghee or oil
- Water (for kneading)
» For the Spiced Potato Filling
- 4-5 medium-sized potatoes, boiled and peeled
- 2 tablespoons oil
- 1 teaspoon coarsely pounded coriander seeds
- 1 teaspoon coarsely pounded fennel seeds
- 4-5 cloves, roughly crushed
- 1 teaspoon cumin seeds
- 2 tablespoons chopped cashews
- 1 tablespoon raisins (optional)
- 1-inch piece of ginger, grated
- 2 small green chilies, chopped
- 1/2 cup green peas (fresh or frozen)
- Pinch of asafoetida (hing)
- 1 teaspoon red chili powder, or to taste
- 2 teaspoons coriander powder
- 1/2 teaspoon garam masala powder
- 1 teaspoon amchur (mango powder)
- 1/2 teaspoon turmeric
- Salt to taste
- 1 tablespoon fresh cilantro/coriander leaves, chopped
- Oil for deep frying samosas, plus more for brushing
RECIPE INSTRUCTIONS
» For the Samosa Dough:
- In a mixing bowl, combine the all-purpose flour, carom seeds (ajwain), salt, and ghee (or oil). Mix the ingredients well until the mixture resembles breadcrumbs. To check, take some flour mixture between your palm and make a fist. If it holds the shape, then you have added enough fat. If the dough falls to pieces, that means you need to add more oil/ghee. Gradually add water and knead the mixture into a firm, smooth dough. Cover it with a cloth and let it rest for 30 minutes.
» For the Spiced Potato Filling:
- Using a potato masher, mash the boiled and peeled potatoes. Keep them aside. Heat oil in a pan on medium heat. Add the coarsely pounded coriander seeds, fennel seeds, crushed cloves, cumin seeds chopped cashews, and raisins. Sauté until they turn fragrant and golden brown. Next, add grated ginger and saute for a few seconds. Then add chopped green chilies. Sauté for 30 seconds.
- Add mashed potatoes and peas to the pan. Also, add asafoetida (hing), red chili powder, coriander powder, garam masala, amchur (dried mango powder), and turmeric. Stir to combine, gently pressing the potatoes to help bind the filling. Cook for another 2-3 minutes. Add salt to taste and mix again. Cook for 2 more minutes and add chopped cilantro/coriander leaves. Mix again and remove from heat. Let it cool.
» For Deep-Fried Samosas:
- Knead the rested dough again. Then divide the dough into 8 equal-sized portions and roll each portion into a ball. Keep all the balls covered.
- Dip one ball in the oil and roll it out into a thin oval or circle, about 6-7 inches in diameter. Roll out all the balls. Cut each circle in half to form two semi-circles. Now, take one semi-circle, fold it in half to create a cone, and seal the edge using a little water to form a triangular pocket.
- Fill the cone with about 2 tablespoons of prepared potato filling, ensuring it's not overfilled. Apply water to the edge and seal the open edge of the triangle by folding it over and pressing gently to form a triangular-shaped samosa. Follow the same steps to prepare and fill the remaining samosas.
- Heat oil for deep frying in a pan to medium-low heat. Carefully slide in the samosas and fry on low heat for about 12-15 minutes or until they turn golden brown and crispy. Remove the fried samosas from the pan and place them on a paper towel-lined plate to absorb any excess oil. Set them aside and fry the remaining samosas.
» For Air Fryer Samosas:
- Preheat your air fryer to 347°F (175°C). Lightly brush or spray the samosas with oil. Place the samosas in the air fryer basket in a single layer, without overcrowding. Air fry for 10 minutes. Flip the samosas and air-fry for 5 more minutes or until they are golden brown and crispy.
» Serving:
- Serve your deep-fried or air-fried samosas hot with your favorite chutney or sauce. Enjoy your homemade samosas!
RECIPE NOTES
- When making samosas, use enough 'moyan' (ghee or oil) to achieve a flaky crust. A small amount of fat can make the crust hard, so use the recommended amount in this recipe for a crispier texture.
- When shaping samosas, be cautious not to overfill them. Overfilling can lead to difficulty sealing and bursting during frying.
- The dough should have a consistent texture for making samosas. It should neither be too soft nor too hard. You need to strike the right balance of moisture and stiffness in your dough. It should be pliable but not overly soft. If your dough is too soft, add a bit more flour; if it's too hard, add a touch more water while kneading.
- It's especially important to let the dough rest for at least 30 minutes. This step relaxes the gluten, making the dough easier to work with.
For questions and suggestions:
If you have any questions or suggestions about this recipe, please do contact us via this contact form or via the social channels:
Website: www.mygingergarlickitchen.com // Contact Form // Facebook Page // Youtube Page // Instagram Page // Pinterest Page